Laravel is a back-end framework, but most web-projects still require a front-end theme. And there are no sites with "Laravel themes", all front-end themes are mostly based on WordPress CMS. But it shouldn't be a problem - we can easily transform a WP theme to Laravel Blade. We often do that for our clients, so I will show you a simple example.
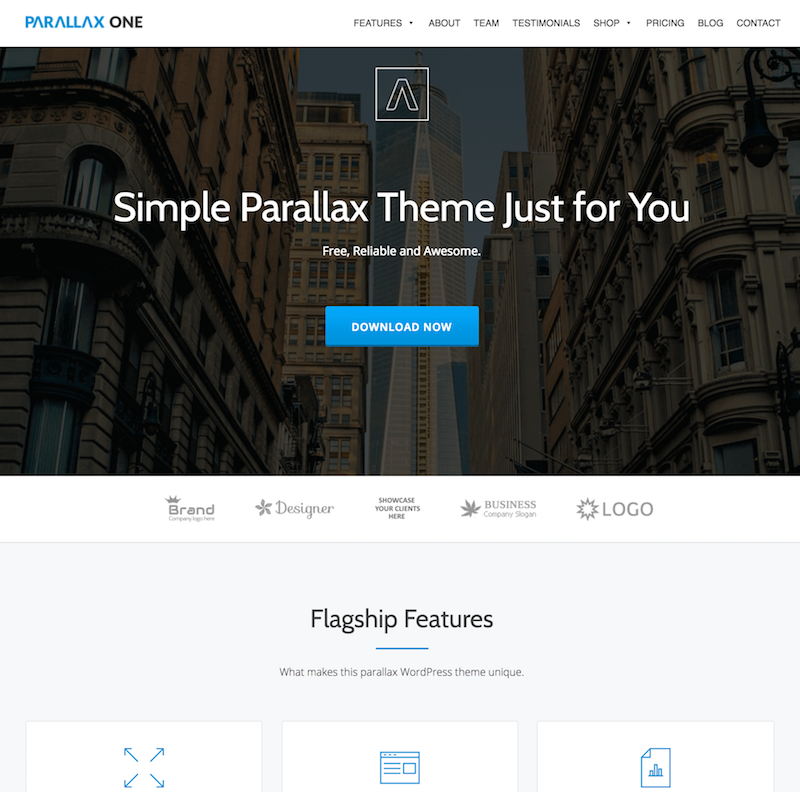
We will take a very simple and free WordPress theme called Parallax One.
Step 1. Find public demo and analyze source
To convert WordPress theme into Blade, we actually don't need the WordPress version - we need HTML/CSS/JavaScript files and other assets. We just want our project to look like the official demo version, right?
And, by the way, it's the biggest problem of WordPress themes - purchase/download takes minutes, but making it look exactly like in demo version is often a huge work of multiple hours, additionally installing a set of plugins.
So my tip for you - if you are trying to convert WordPress themes to Laravel (or to any other system), you should do it from demo version directly, without installing actual WordPress theme.
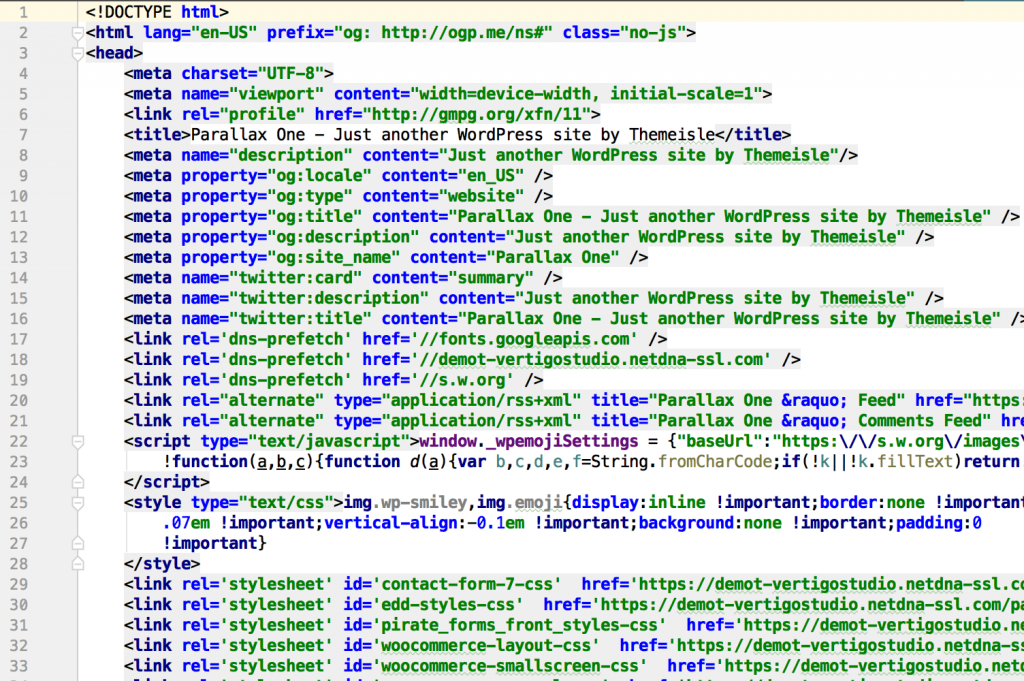
This is exactly what we'll do in this example - first, we navigate to demo version here and look at its source code in the browser:
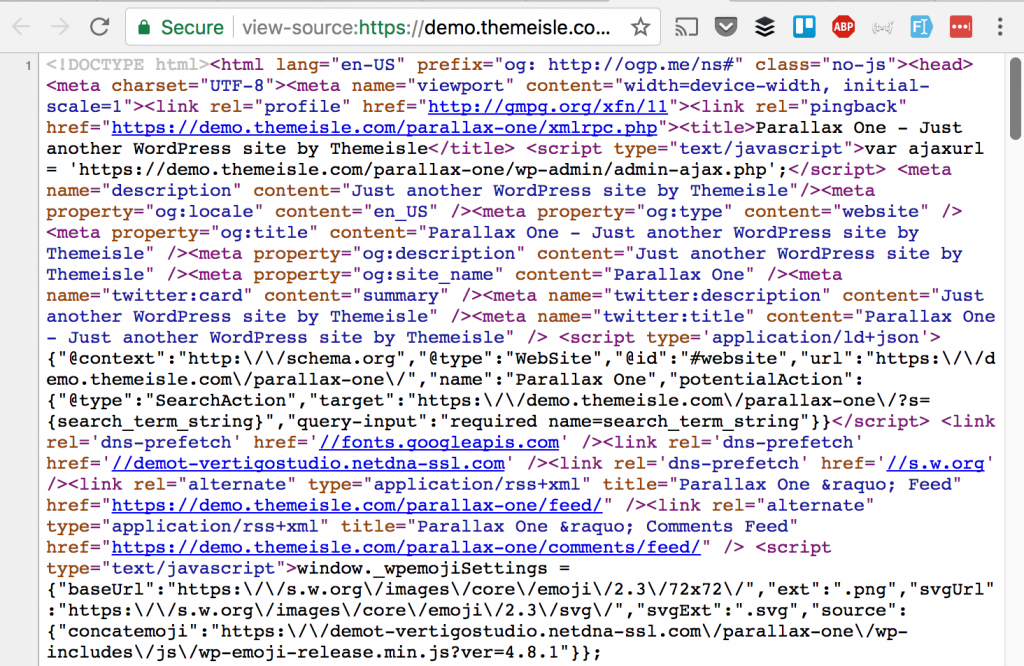
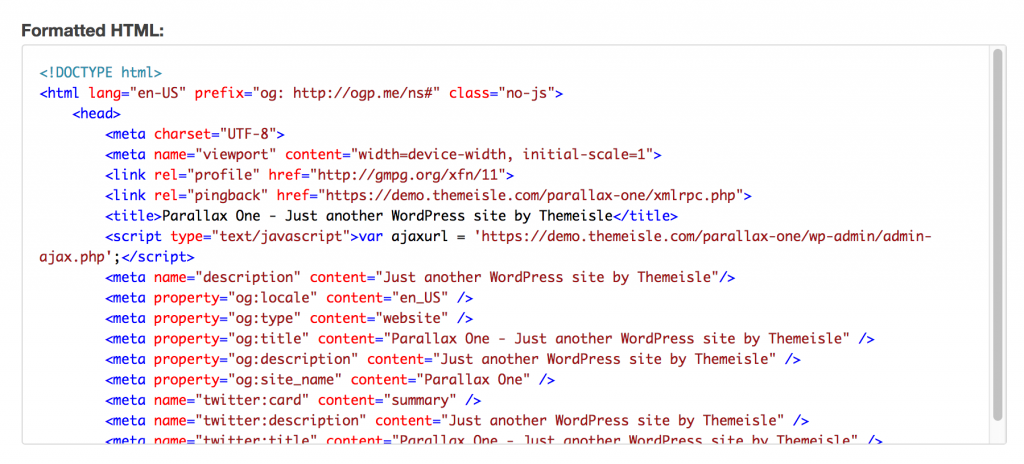
What a mess, right? But actually, if we copy-paste it and parse via some formatter like this one, it gets prettier:
Now, let's move closer to Laravel.
Step 2. Fresh Laravel and routes
Next step - install fresh Laravel, like this:
composer create-project laravel/laravel --prefer-dist .
Also, I've prepare a domain via local Homestead, so for me it's http://laravel.dev.
You should then see a default Laravel homepage:
Now, let's create a new route for our Parallax One homepage:
Route::get('/', 'LandingController@landing');
And app/Http/Controllers/LandingController.php will look like this:
class LandingController extends Controller
{

    public function landing()
    {
        return view('landing');
    }

}
Next step - create resources/views/landing.blade.php. What we do here is just copy-paste all the formatted HTML into this file:
Notice: For the purpose of this demo, I will use all the assets from the original CDN of the theme, but in real case scenario you should download/purchase them and refer local files.
So, let's refresh our homepage and we see this:
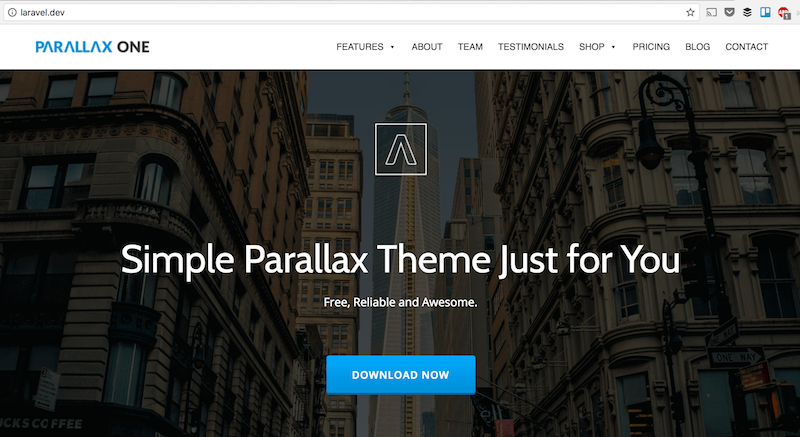
Great, so we have a Laravel homepage! Now, next step - separate the landing page into sections.
Step 3. Laravel Blade structure with master template
Laravel Blade comes with quite good template structure functionality - you can define master template and extend chosen sections in particular pages.
For our homepage we will have three sections:
- Header (always static)
- Main part (changing from page to page)
- Footer (always static)
So, we need to have one "master" template with hard-coded header and footer, and one main section as a variable.
Here's our new resources/views/app.blade.php:
    [...]
    <header>
        [...]
    </header>
    <div itemprop="" id="content" class="content-warp" role="main">
        @yield('content')
    </div>
    <footer>
        [...]
    </footer>
I've skipped the "unimportant" parts - actually there's huge amount of HTML there, but I want you to understand the main structure of this file.
While hardcoding header and footer, we're opening a @yield('content') possibility to inject the content into the middle.
So our resources/views/landing.blade.php turns into this:
@extends('app')

@section('content')
    <div class="clients white-bg" id="clients" role="region" aria-label=" Affiliates Logos">
        <div class="container">
            [...]
        </div>
    </div>
@endsection
Again, main "container" has tons of HTML code inside, but don't want to overwhelm you.
The overall point here is that after dividing our code into app.blade.php and landing.blade.php, we should see absolutely same result after reloading the browser.
Step 4. Mode "child" pages
Basically, now we have all the structure, it's just a matter of creating more pages now. I will show you one example - let's add another route to our routes/web.php:
Route::get('/blog', 'LandingController@blog');
Then we add a new method to the controller:
    public function blog()
    {
        return view('blog');
    }
And, finally, we create resources/views/blog.blade.php which is similar to landing.blade.php but with a different content section:
@extends('app')
@section('content')
<section class="brief timeline" id="latestnews" role="region" aria-label="Latest blog posts">
<div class="section-overlay-layer">
<div class="container">
<div class="row">
<div class="text-left col-md-12 timeline-text">
<h2 class="text-left dark-text">Your Latest Blog Posts</h2>
<div class="colored-line-left"></div>
</div>
<div class="parallax-slider-whole-wrap">
[...]
</div>
</div>
</div>
</div>
</section>
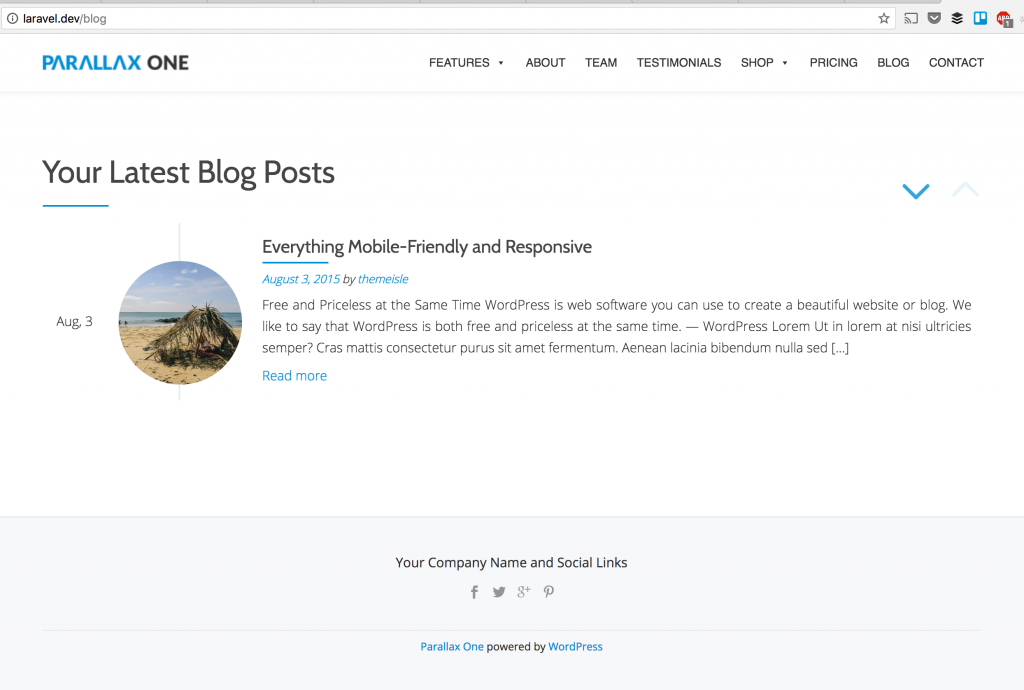
@endsectionAnd we should see only blog posts at the /blog URL.
Step X. Homework for you.
In this article I touched on the basic structure how to turn a WordPress theme into Laravel blade, but there's plenty more to do if you want to have a finished product. Here's the list:
- Separate more sections - menus, sidebars, sub-footers
- Make menu working with real links to real pages
- Pass some variables from Controllers to Views - starting with meta titles
- Get rid of all unnecessary JavaScript provided by original theme
- Make sure to load the assets from local file and not theme demo page
- Build more Laravel functionality - log in, data from database etc.
I've prepared an archive of current project for you with those simple pages, download it here.
Have fun turning WordPress into Laravel!
;-$table-integer('price');-(1)-front_grid.jpg)
;-(2)-front_grid.jpg)
;-(5)-front_grid.jpg)
No comments or questions yet...