
So you want to create your own package? Surprisingly, this topic has little information online and not properly described in the official docs. Let's fill in the gaps and create a new Laravel 5 package from scratch.
To avoid a general Hello world example, let's take a more practical idea: say... a package which shows current time in various timezones. Still very simple, but somewhat useful. Ok, here we go.
1. Fresh Laravel 5.6 installation
At the time of writing, the newest Laravel version is 5.6, so let's download latest build to start fresh - whichever installation way you prefer, I will use this one:
composer create-project laravel/laravel --prefer-dist .
2. Package folder and name
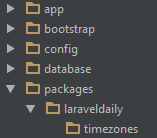
Let's create a folder /packages in our root, and we will put our package there.
Now, every package has to have a name, which actually consists of two parts: [VENDOR or CREATOR] / [PACKAGE NAME]. For example, Laravel itself has a full name of laravel/laravel (same vendor), and one of the most popular packages Jeffrey Way's Generators has a name of way/generators. So logic is simple: package has a creator name and its own name.
So let's call our package laraveldaily/timezones - then we need to create a folder inside our /packages:
Then inside of it we need to create another folder called /src:
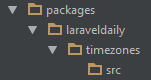
Ok, folder structure ready, now let's give our package an "official description" with Composer:
3. Composer.json file for the package
Every package needs to have composer.json file, which contains not only potential dependancies, but also information about the package itself. So we go to our timezones folder and run this command:
composer init
You will get a guide of questions to fill-in your future composer.json file. If you answer then one by one (don't worry if you make any mistake or skip something, you can add it later), you will end up with something like this generated:
{
    "name": "laraveldaily/timezones",
    "description": "Demo-package to show time",
    "authors": [
        {
            "name": "Laravel Daily",
            "email": "[email protected]"
        }
    ],
    "minimum-stability": "dev",
    "require": {}
}
That's it - in our case, no external requirements, nothing fancy. But that's enough.
4. Loading package via main composer.json
Now, let's make our package "visible" to main Laravel structure, and assign alias to it, we do that by adding this line to main composer.json:
    "repositories": [
        {
            "type": "path",
            "url": "packages/laraveldaily/timezones",
            "options": {
                "symlink": true
            }
        }
    ],
    "require": {
        // ...
        "laraveldaily/timezones": "dev-master"
    },
And then we run this command from main folder:
composer update
Go to QuickAdminPanel.com
5. Creating a Service Provider
This might sound a little complicated at first, if you want to dig deeper into what a Service Provider actually is, here's official documentation (not easily readable for less experienced developers, imho) or another blog post about it.
Essentially, Service Provider is a Class which would contain main information about package - what Controllers does it use, what Routes file or Views to load etc. You can look at it as a set of rules for the package.
So, how do we create it? There's an Artisan command to create a service provider:
php artisan make:provider TimezonesServiceProvider
It will generate a file called TimezonesServiceProvider.php in folder app/Providers - then we should move that file to our folder /packages/laraveldaily/timezones/src. After that don't forget to change the namespace of the Provider class - it should be the same as we specified in main composer.json file - in our case, Laraveldaily\Timezones:
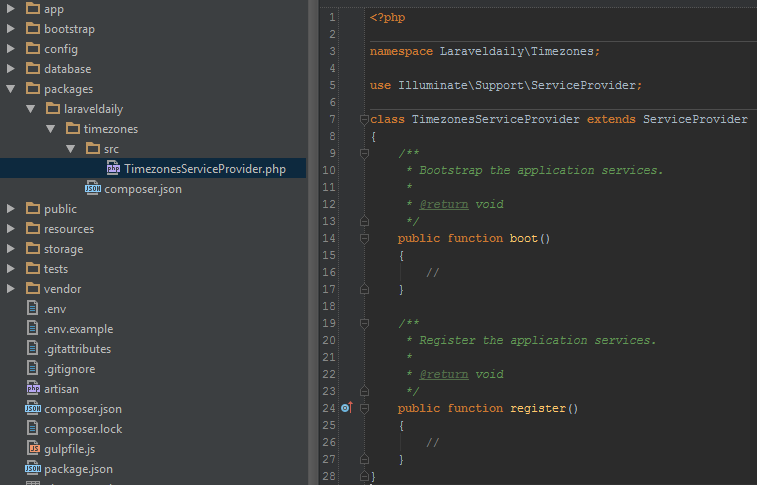
As you can see, we have a generated class with two methods: boot() and register(). A little later we will fill them in with actions, but now - let's register our Service Provider.
From Laravel 5.5 there's a great function called auto-discovery, so here's what we need to add into our package's composer.json:
    "extra": {
        "laravel": {
            "providers": [
                "Laraveldaily\Timezones\TimezonesServiceProvider"
            ]
        }
    }
Cool, we're done for now with Service Provider, let's move on to Controllers.
6. Create a Controller
Our example package will have only one Controller, let's call it TimezonesController - and we create it in the same src folder of our package.
Controller will have only one method index($timezone) which will just show time in specified timezone - we use Carbon library for that (you don't need to install it, it's already within Laravel).
So, here's our packages\laraveldaily\timezones\src\TimezonesController.php:
namespace Laraveldaily\Timezones;

use App\Http\Controllers\Controller;
use Carbon\Carbon;

class TimezonesController extends Controller
{

    public function index($timezone)
    {
        echo Carbon::now($timezone)->toDateTimeString();
    }

}
Again, don't forget correct namespace and adding use App\Http\Controllers\Controller on top.
7. Create our Routes file
You are probably familiar with usual routes/web.php file, so we have to create our own similar file in our package folder. Again, it will be a simple one-liner:
packages\laraveldaily\timezones\src\routes\web.php:
Route::get('timezones/{timezone}',
  'laraveldaily\timezones\TimezonesController@index');
Now, how does Laravel know about this routes/web.php file and our Controller? This is where our Service Provider comes in: we add these lines to its method register():
class TimezonesServiceProvider extends ServiceProvider
{
    public function register()
    {
        include __DIR__.'/routes/web.php';
        $this->app->make('Laraveldaily\Timezones\TimezonesController');
    }
}
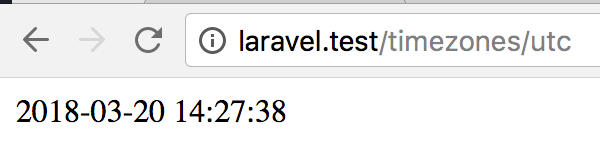
8. That's it - load URL in the browser!
Now, here I immediately think of two potential problems:
- What if user specifies a timezone with slash symbol (/) - it would count as URL
- Maybe we should have a default timezone, if none specified?
For that, let's make an assumption that user would add timezones with dash - instead of slash / and we str_replace it. Also, we make that parameter optional and default to whatever timezone is in our config/app.php file.
packages\laraveldaily\timezones\routes\web.php - added question mark:
Route::get('timezones/{timezone?}',
  'laraveldaily\timezones\TimezonesController@index');
packages\laraveldaily\timezones\TimezonesController.php:
    public function index($timezone = NULL)
    {
        $time = ($timezone)
            ? Carbon::now(str_replace('-', '/', $timezone))
            : Carbon::now();
        echo $time->toDateTimeString();
    }
Now, we can load URLs like /timezones or /timezones/Europe-London.
Ok, so we have the basics of our package, and it works! Yay! But there are some additional things you might want to add.
9. What about the Views?
Of course, you wouldn't just echo into the browser like that in real world - there should be at least some basic HTML template, which should be stored in a View file. Let's do exactly that - we need to create a folder /src/views and then put a View file in it. Let's copy a default Laravel 5 welcome.blade.php with adding just one variable $current_time.
src/views/time.blade.php:
<title>Laravel Timezones</title>

<link href="https://fonts.googleapis.com/css?family=Lato:100" rel="stylesheet" type="text/css">

<style>
    html, body {
        height: 100%;
    }

    body {
        margin: 0;
        padding: 0;
        width: 100%;
        display: table;
        font-weight: 100;
        font-family: 'Lato';
    }

    .container {
        text-align: center;
        display: table-cell;
        vertical-align: middle;
    }

    .content {
        text-align: center;
        display: inline-block;
    }

    .title {
        font-size: 96px;
    }
</style>


<div class="container">
    <div class="content">
        <div class="title">{{ $current_time }}</div>
    </div>
</div>
Now, let's return to our Service Provider and this time we will use boot() method by adding a command, where to load our views from. The second parameter is our Namespace which we will use in the next step.
class TimezonesServiceProvider extends ServiceProvider
{
    public function boot()
    {
        $this->loadViewsFrom(__DIR__.'/views', 'timezones');
    }
Next thing - we need to change our Controller to load this view with a parameter. Now, notice that we are loading the view with the specific namespace of our package that we just specified in Service Provider.
class TimezonesController extends Controller
{

    public function index($timezone = NULL)
    {
        $current_time = ($timezone)
            ? Carbon::now(str_replace('-', '/', $timezone))
            : Carbon::now();
        return view('timezones::time', compact('current_time'));
    }

}
And, here we go - reload the browser:
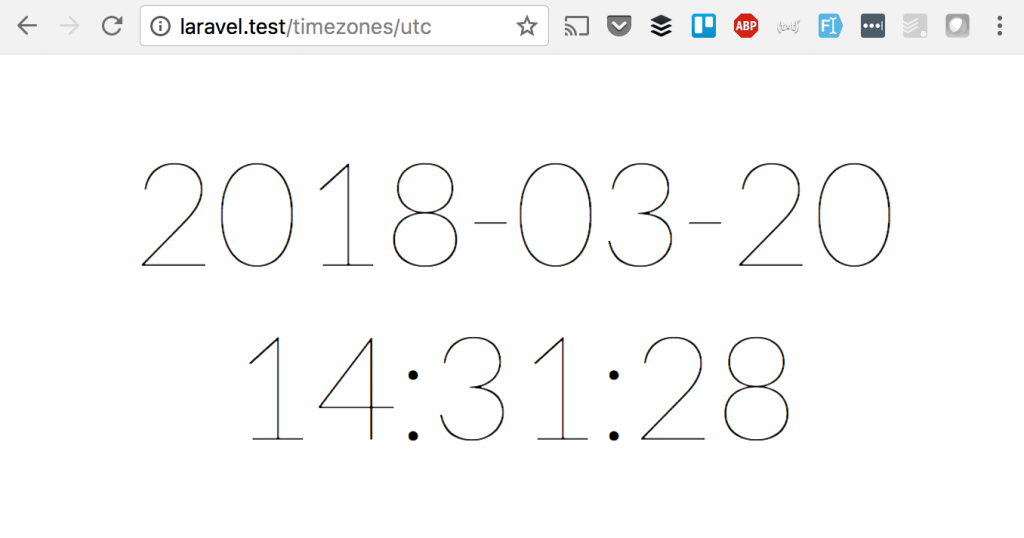
So, this is how we use and load the views in the package.
10. Publishing the Views
And the last step - what if we want user of our package to customize that view himself? That's a pretty common scenario - we provide a basic template, but then user wants it to look as his app, not ours.
But they wouldn't go to our package folder and edit views directly - that would ruin all future updates process. That means we should copy our views into Laravel folder resources/views. To do that, we add this line to Service Provider's boot() method:
    $this->publishes([
        __DIR__.'/views' => base_path('resources/views/laraveldaily/timezones'),
    ]);
As you can see, we are copying not to views, but deeper - to stay with our structure.
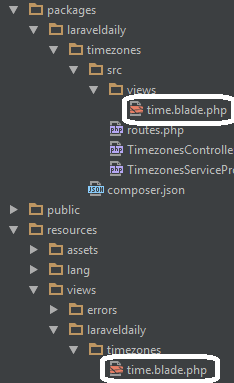
And then, to perform actual copying, user should publish our views, with Artisan command:
php artisan vendor:publish
This is the result - we now have views in both our package folder and Laravel folder:
Bonus: publishing your package to Packagist
The last last thing is if you want to show your package to the world, so that other people would add it to their composer.json file. I won't provide detailed instructions on this, cause it kinda goes outside Laravel topic, but here are basic steps:
- You form your package as a repository and upload it to GitHub;
- You register on Packagist.org;
- You make sure that your composer.json contains all necessary information;
- You submit a link to your GitHub repository to Packagist - and then - BOOM! - magic happens!
- For all detailed information about composer.json fields, package versioning and other topics - see Packagist documentation.
So, now we're (finally?) finished with the tutorial. Here is the basic way to create a package. Of course, you can grow it much bigger with Models, Assets and your own sub-folder structure, but I will leave it for you to play with.
And if you create your own package with the help of this tutorial, don't forget to give the link in the comments - tell the world about your achievement!
No comments yet…