
Filament is installed in the existing Laravel project. Ideally, before Filament, you should have the database migrations/models/seeders, and then Filament would build the admin panels and forms for that data, but you can build an entire application only in Filament.
So, first, let's prepare a simple Laravel project.
New Laravel Project with One Model
So, I've created a new Laravel 12 project:
laravel new filament4-courseThe wizard will ask for a starter kit. Choose None.
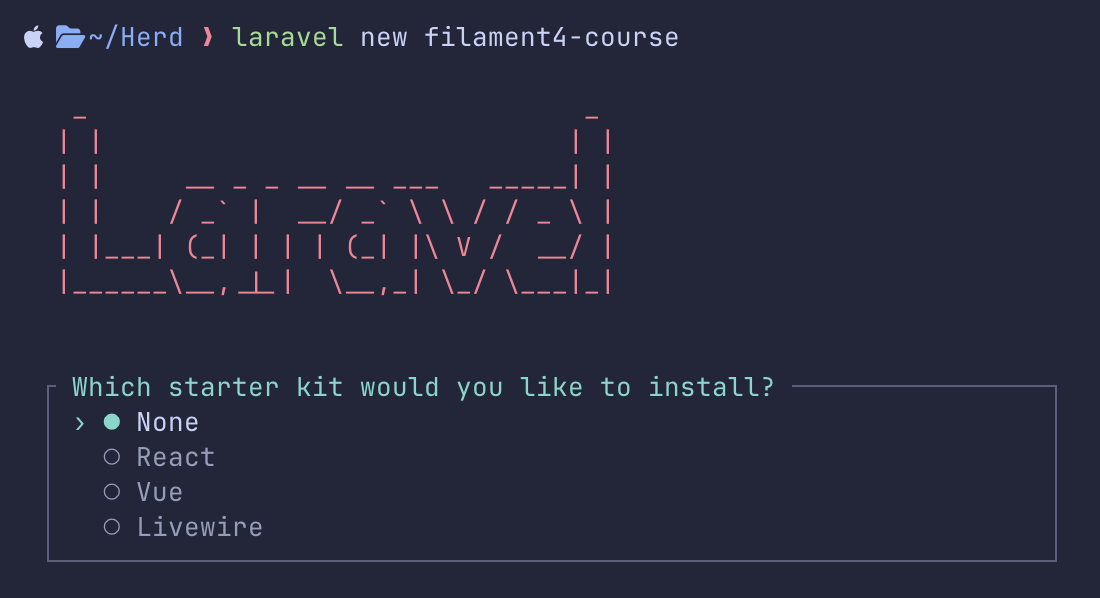
All other choices are your personal preferences.
Next, we create a Model + Migration for one simple DB table "products", for now:
php artisan make:model Product -mMigration
Schema::create('products', function (Blueprint $table) { $table->id(); $table->string('name'); $table->integer('price'); $table->text('description')->nullable(); $table->timestamps();});In the Model, we add those columns as fillables:
class Product extends Model{ protected $fillable = [ 'name', 'description', 'price', ];}Next, we run those migrations:
php artisan migrateAnd that's it. Laravel project is ready. Now, let's install Filament to manage those products.
Filament Installation
According to the official docs, there are two Terminal commands you need to run:
composer require filament/filament:"^4.0"php artisan filament:install --panelsYou can run them one by one or together in one go.
The wizard will ask one question: what should be the ID of your panel:

In simple language, it actually means what the URL of your admin login should be: you may leave it as the default /admin or change it to whatever you want.
And that's it for the simple installation!
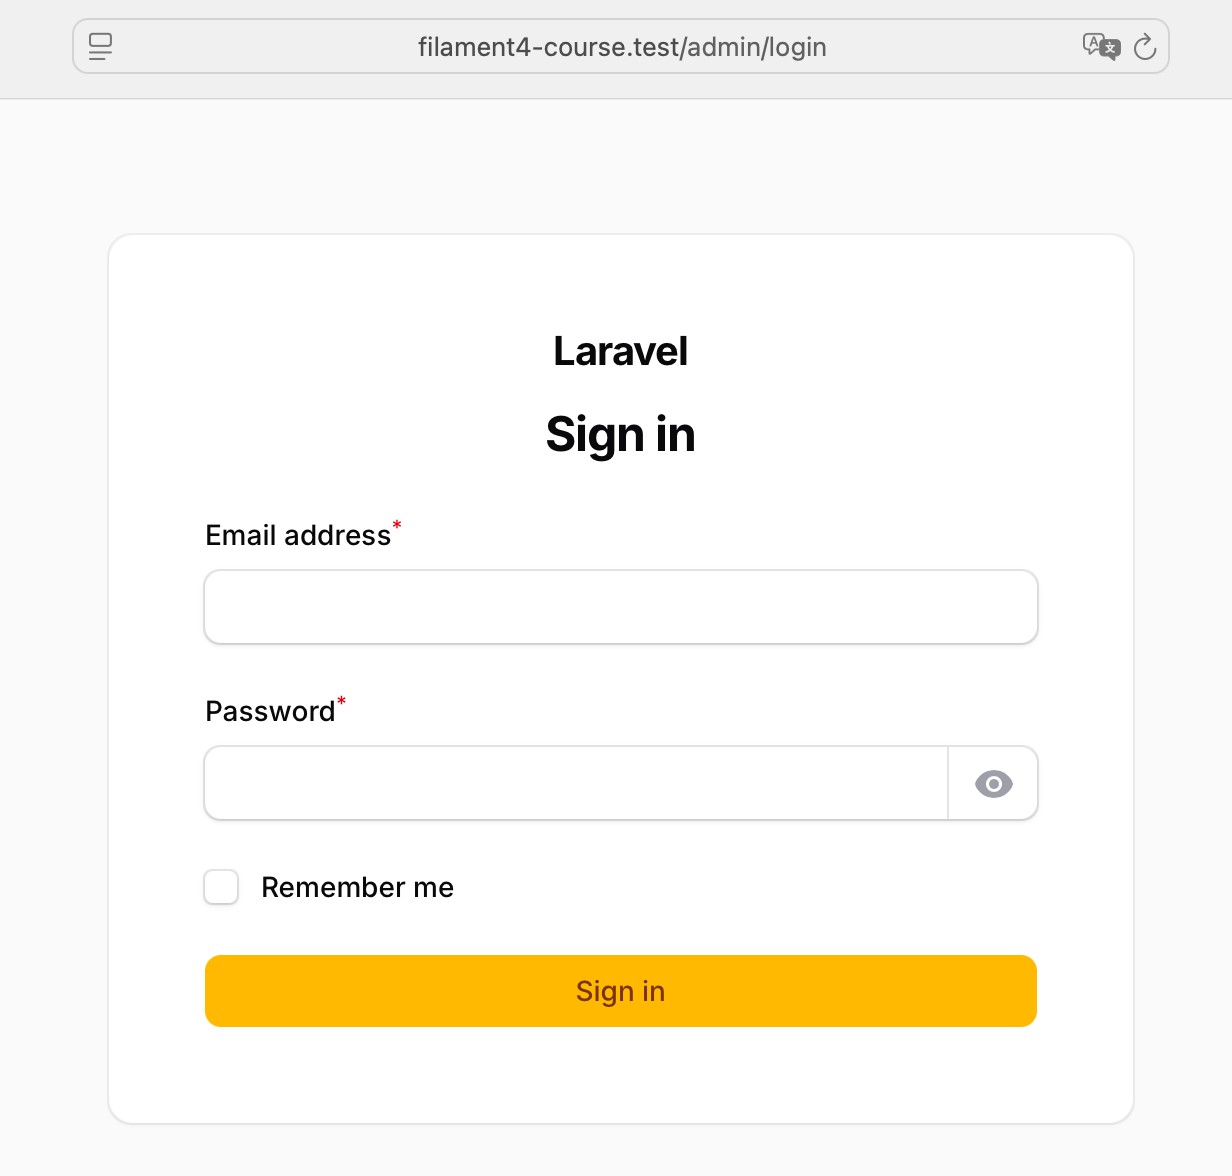
Now, you can load your project's /admin URL, which would auto-redirect you to /admin/login, and you should see the login form.
But wait, how do we log in now? What are the credentials?
Generate/Allow Users to Log In
Of course, it depends on your logic of who you want to give access to. Do you have existing users? Do they have roles? Or are you starting the project entirely from scratch?
First, let's cover the case of you not having any users in the default "users" table of Laravel.
We can create one quickly. Filament comes with Artisan command for this:
php artisan make:filament-user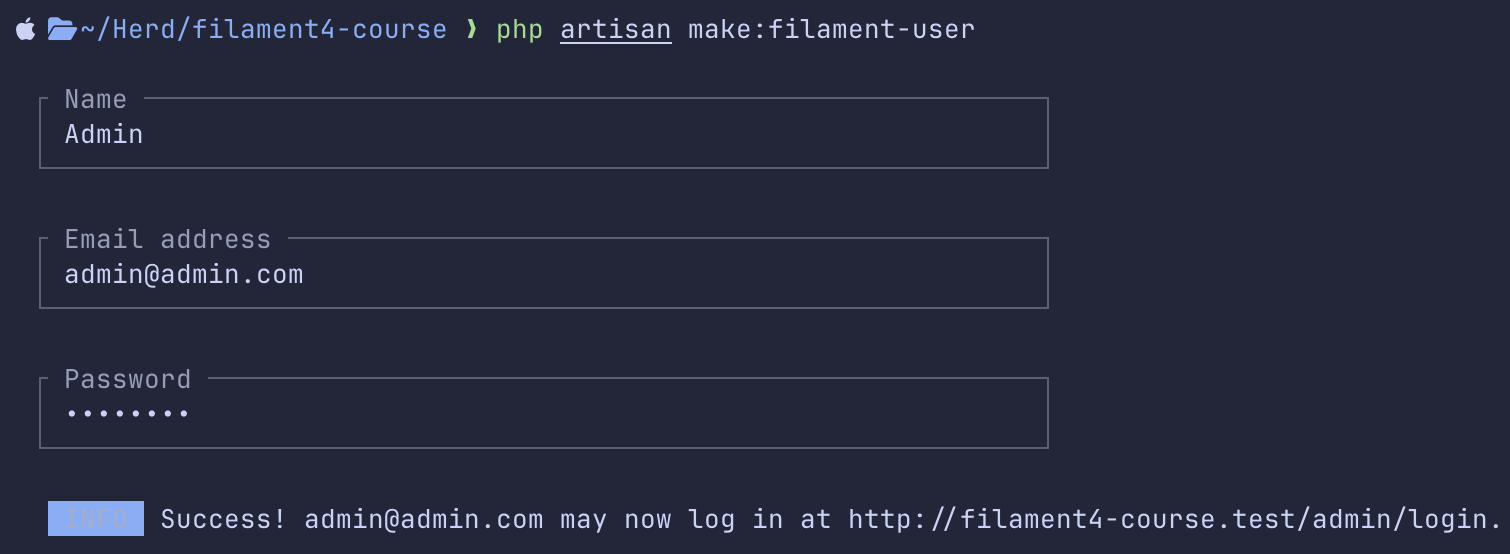
Under the hood, it just calls User::create() of Eloquent, but it gives us a simple wizard to conveniently specify our name/email/password.
You could also create a new user with any other preferred way, like php artisan tinker and running User::factory()->create() there.
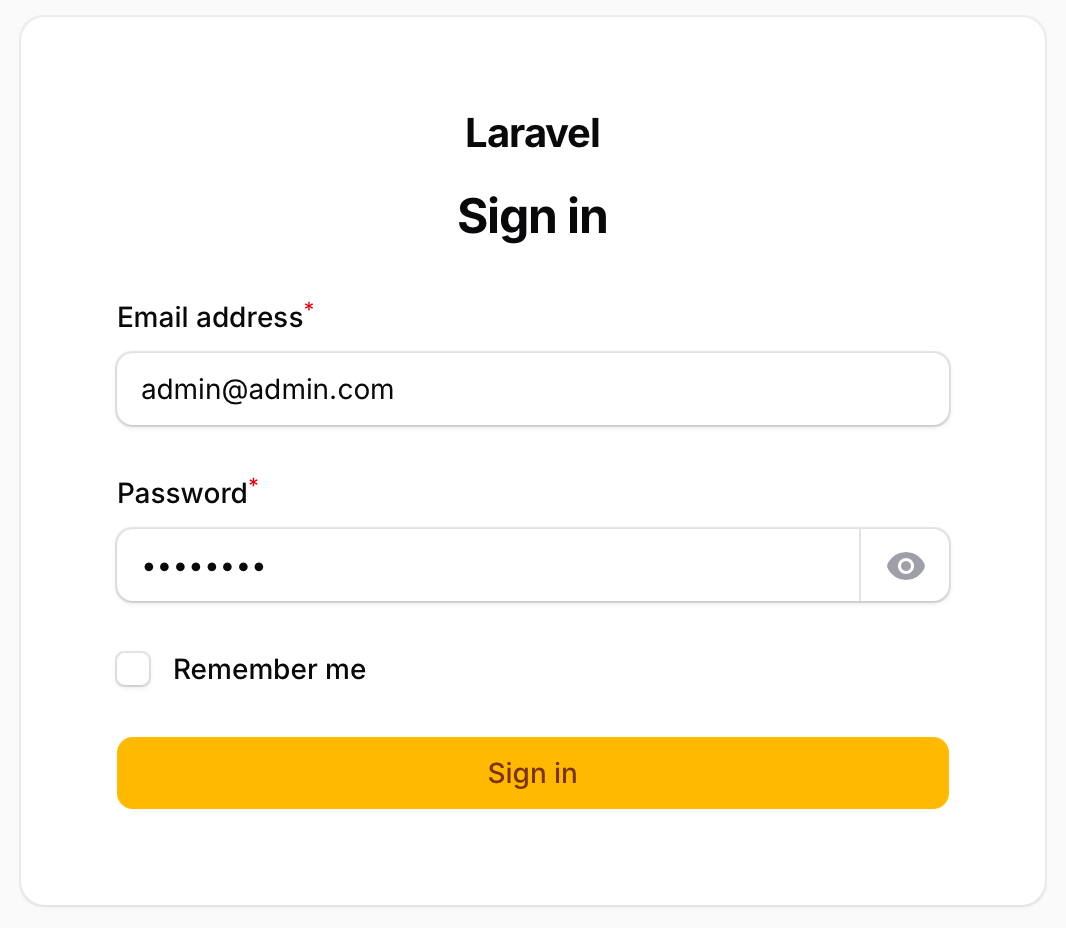
Now, you can immediately log in with that new user.
After you're in, you already see the dashboard:
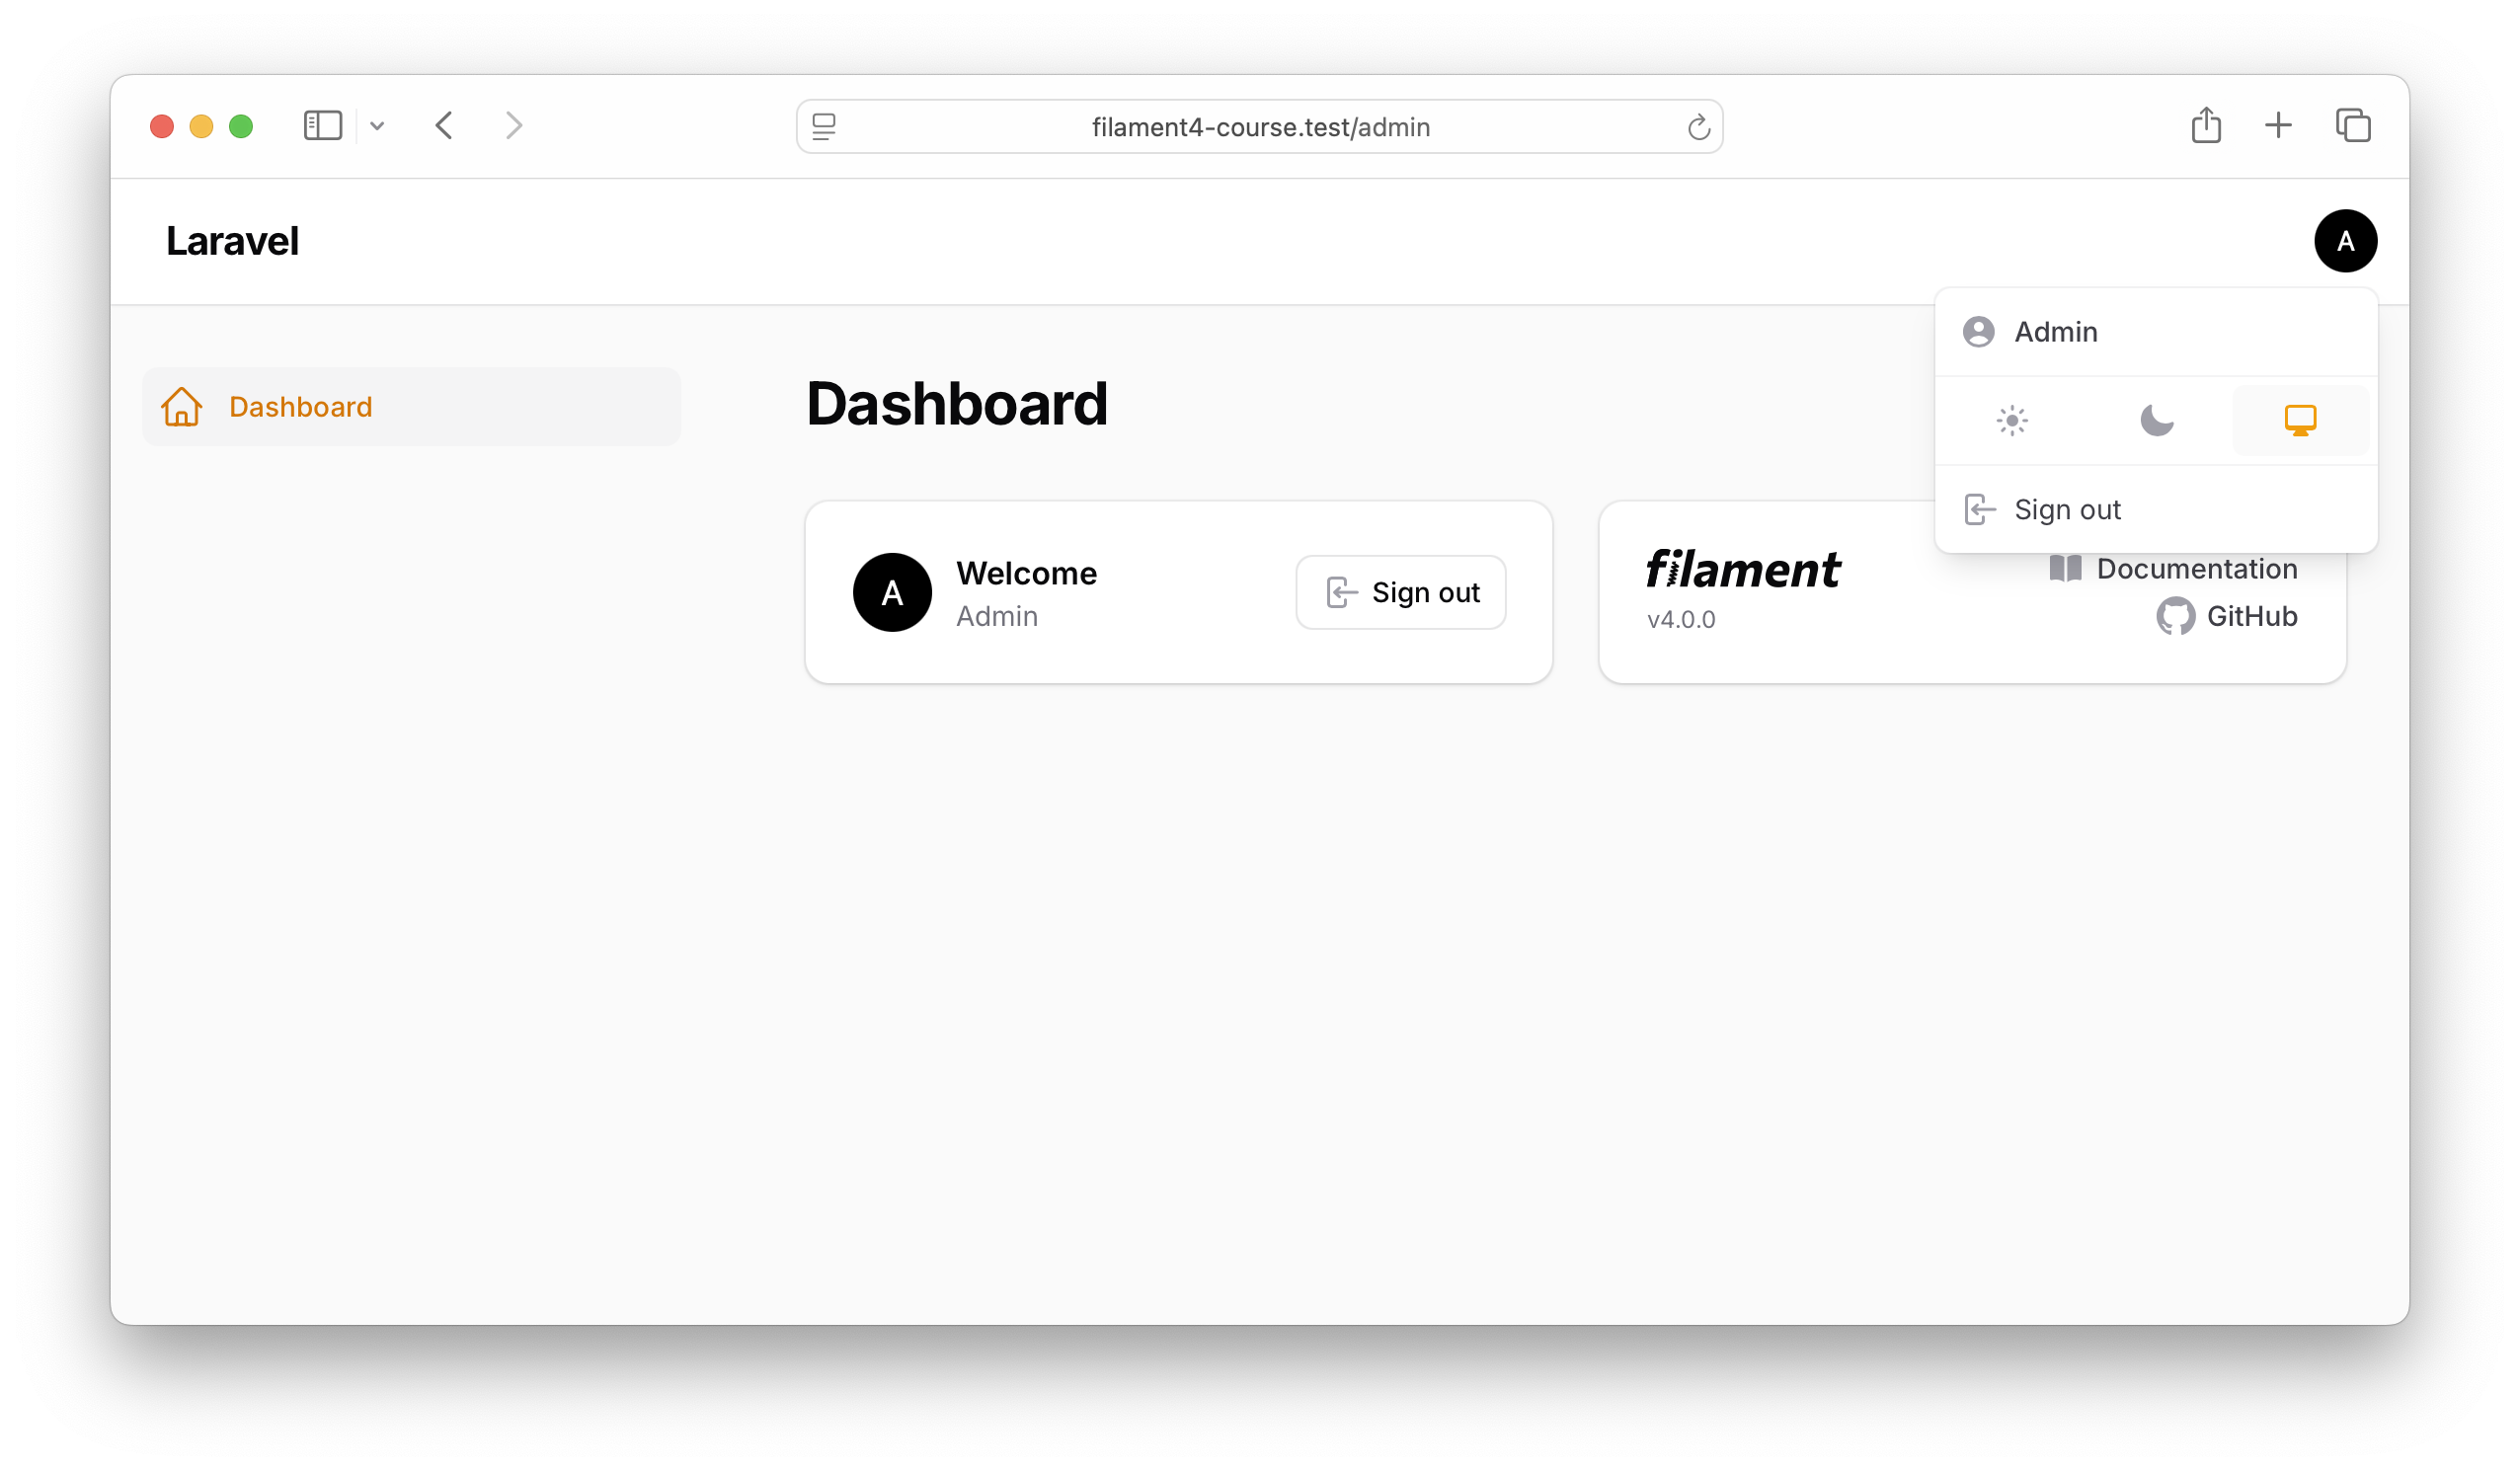
It's empty, and there are no menu items or more information, but the authentication works!
But now we have a security issue: any user can access the adminpanel! If you had any users already pre-existing in your database, they also have access by default. How to prevent that?
Restrict Access to Panel
Interestingly, Filament will only allow access to any user in your local environment.
Try to simulate the production deployment and make this change in your .env file - from "local" to "production".
.env:
APP_ENV=local APP_ENV=production And refresh the page. You will see a 403 error.
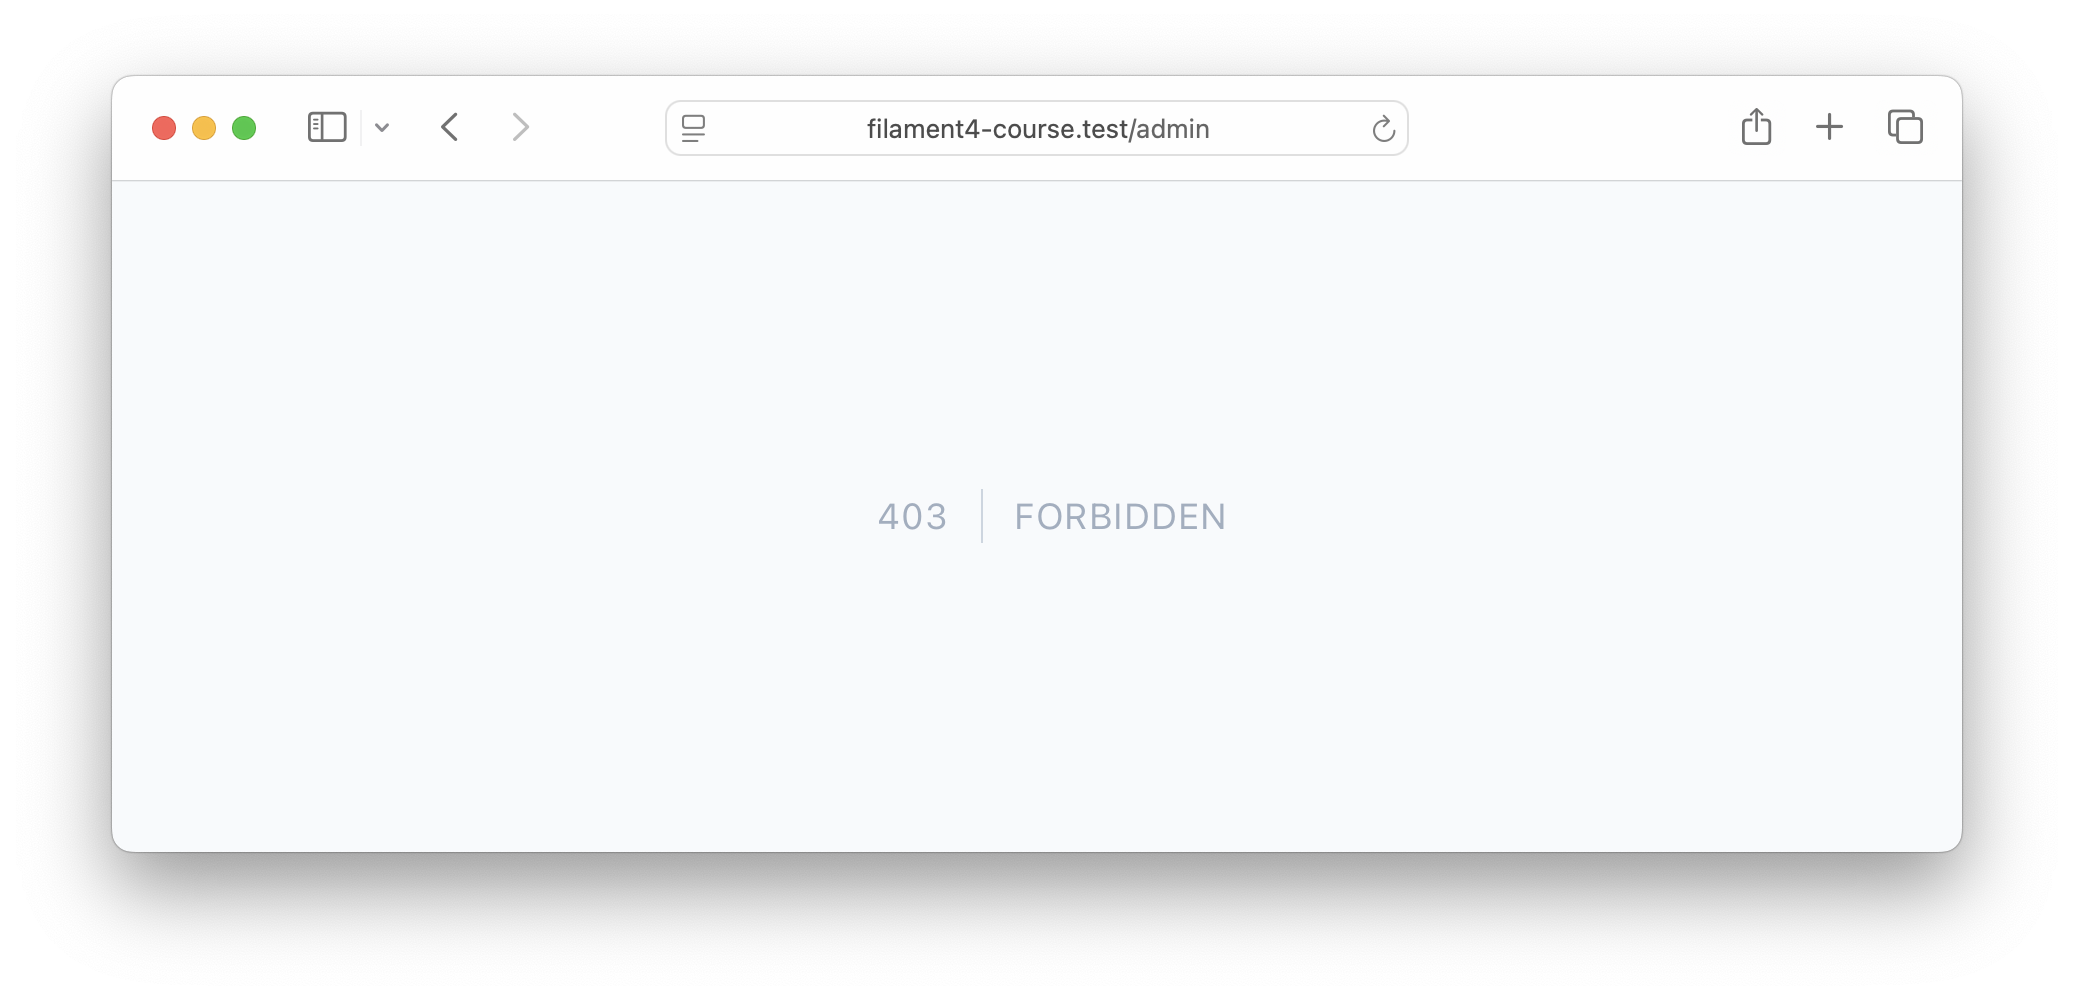
I think this is a brilliant decision by the Filament team. So, locally, you can do whatever you want, but if you want the project to be public, please add the security logic.
So, let's do exactly that. In your User model of Laravel, you need to add the implements FilamentUser and implement the method canAccessPanel(Panel $panel), which returns true/false based on the condition of who you want to be able to log in.
Here's an example code to let in only users with users.is_admin == 1.
app/Models/User.php:
use Filament\Models\Contracts\FilamentUser;use Filament\Panel;use Illuminate\Foundation\Auth\User as Authenticatable; class User extends Authenticatable implements FilamentUser{ // ... public function canAccessPanel(Panel $panel): bool { return $this->is_admin == 1; }}Of course, your logic may be much more complicated with roles/permissions, and there's also a good Filament package for this called Shield that uses spatie/laravel-permission under the hood.
What Can We Customize in Panel?
By default, Filament comes with one Admin panel. We can create more separate panels for different user types, but we will discuss that in future lessons.
For now, let's focus on the default /admin, which has its settings in this file:
app/Providers/Filament/AdminPanelProvider.php:
class AdminPanelProvider extends PanelProvider{ public function panel(Panel $panel): Panel { return $panel ->default() ->id('admin') ->path('admin') ->login() ->colors([ 'primary' => Color::Amber, ]) // ... more settings ->authMiddleware([ Authenticate::class, ]); }}Here, you can easily change a few things.
1. Change URL
What if you want to have your panel under /panel and not the default /admin?
Easy:
return $panel ->path('admin') ->path('panel') 2. Add More Auth Pages
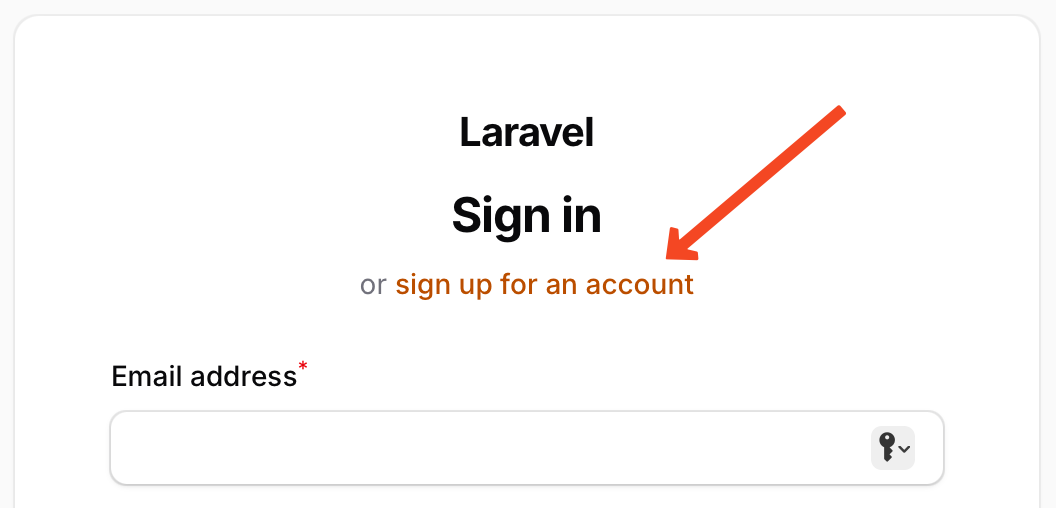
By default, there's a ->login() function, but you can add many more:
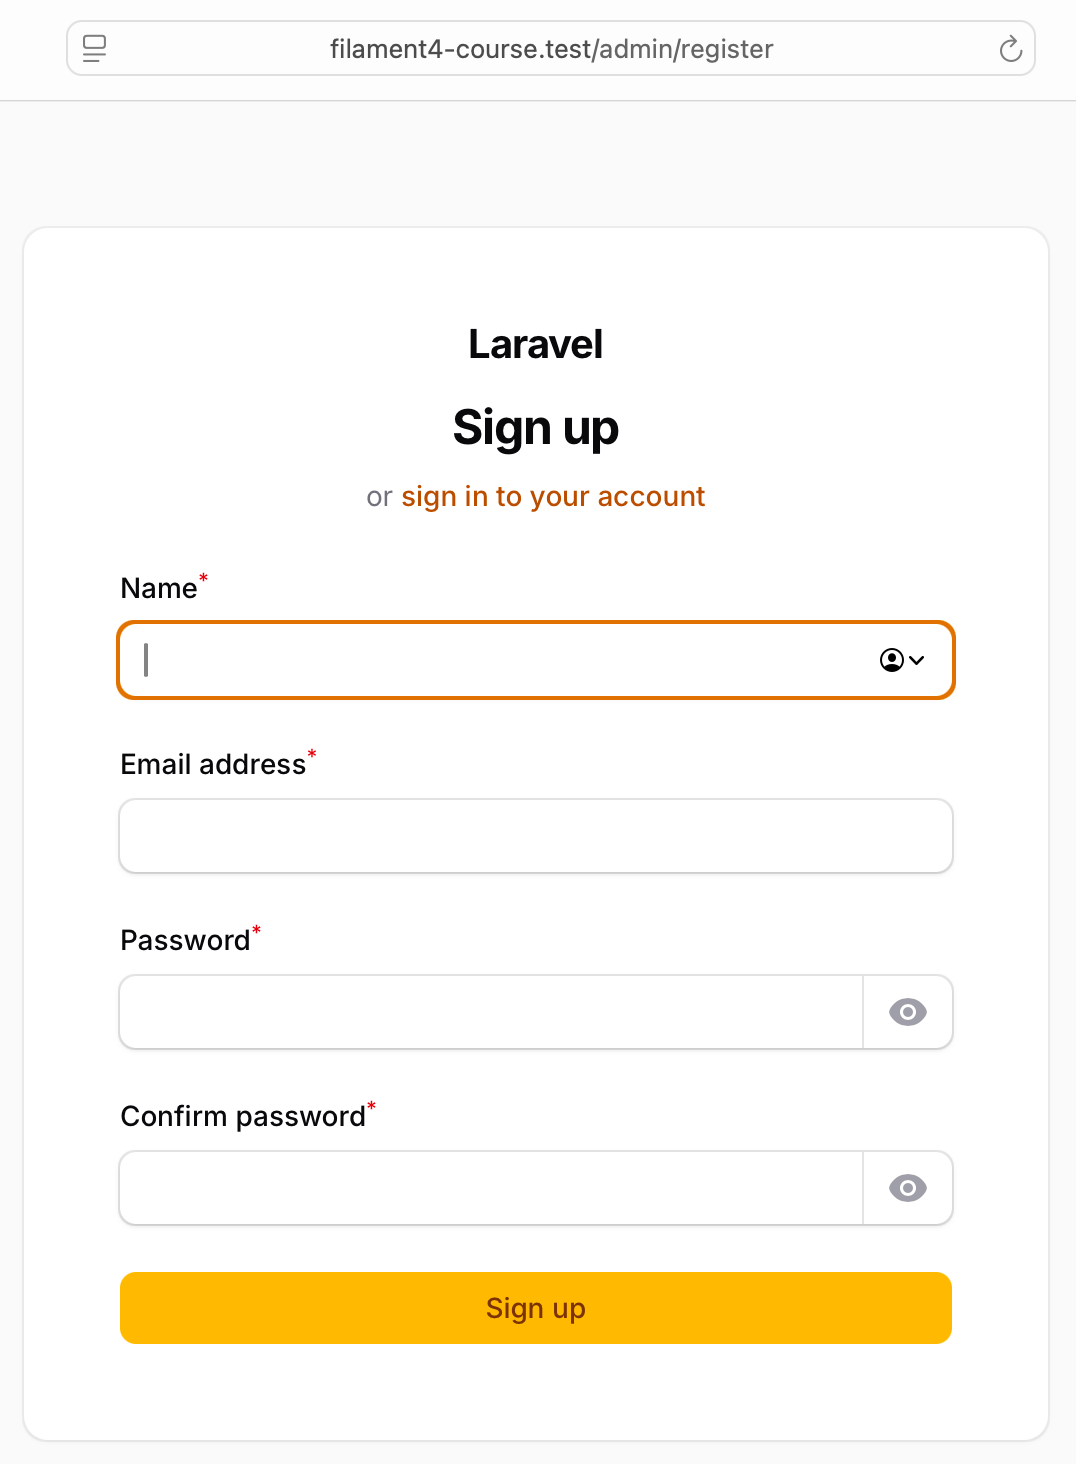
return $panel ->login() ->registration() ->passwordReset() ->emailVerification() ->profile() // ... more settings ->authMiddleware([ Authenticate::class, ]);After this change, your Login form will have a link to the Registration form.
3. Change Theme Colors
One of the most popular questions about Filament is how to change its visual look. We will discuss this in depth later, but for now, you can change the primary colors in the same Provider class.
These are the default color values.
return $panel ->colors([ 'primary' => Color::Amber, 'danger' => Color::Red, 'gray' => Color::Zinc, 'info' => Color::Blue, 'success' => Color::Green, 'warning' => Color::Amber, ]) // ... more settings ->authMiddleware([ Authenticate::class, ]);Those Color:xxxxx names are the same as in Tailwind palette.
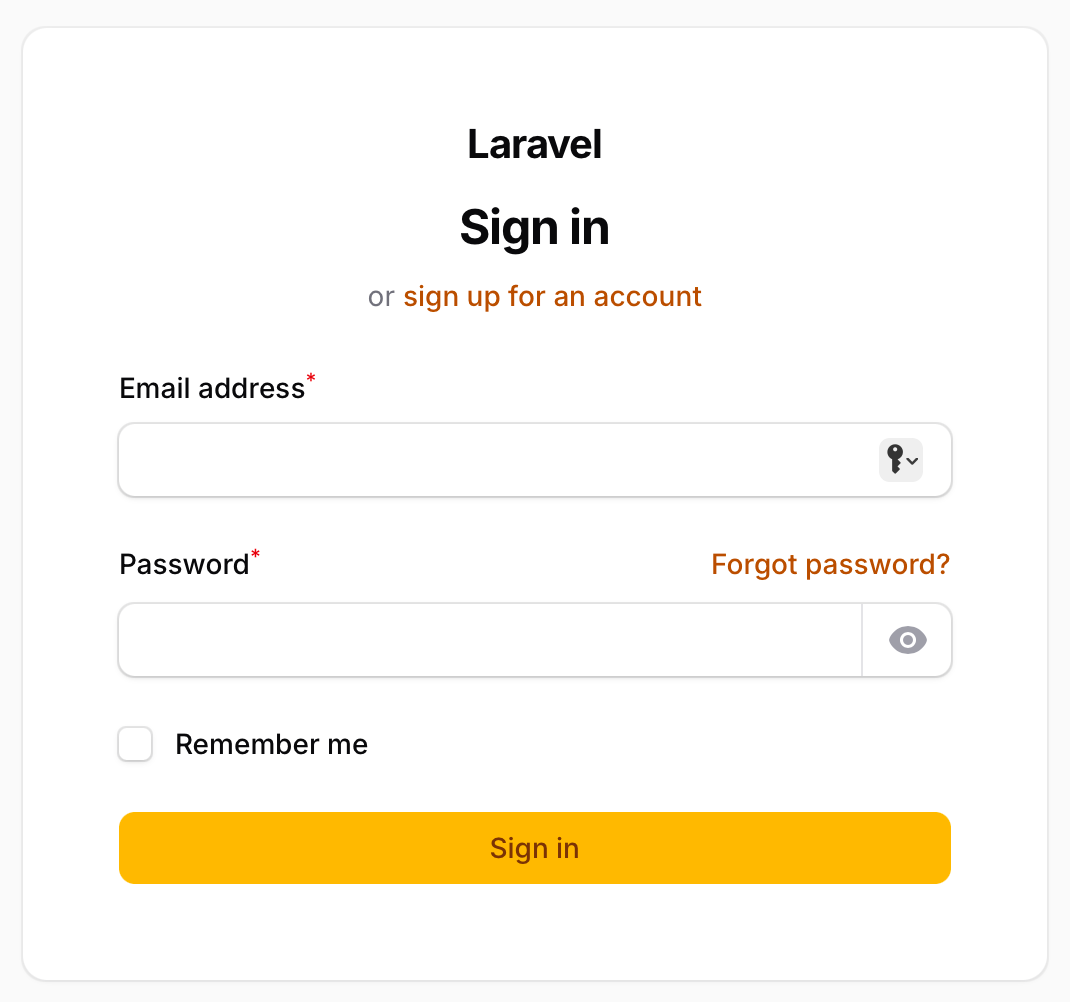
For example, here are the colors of the login form.
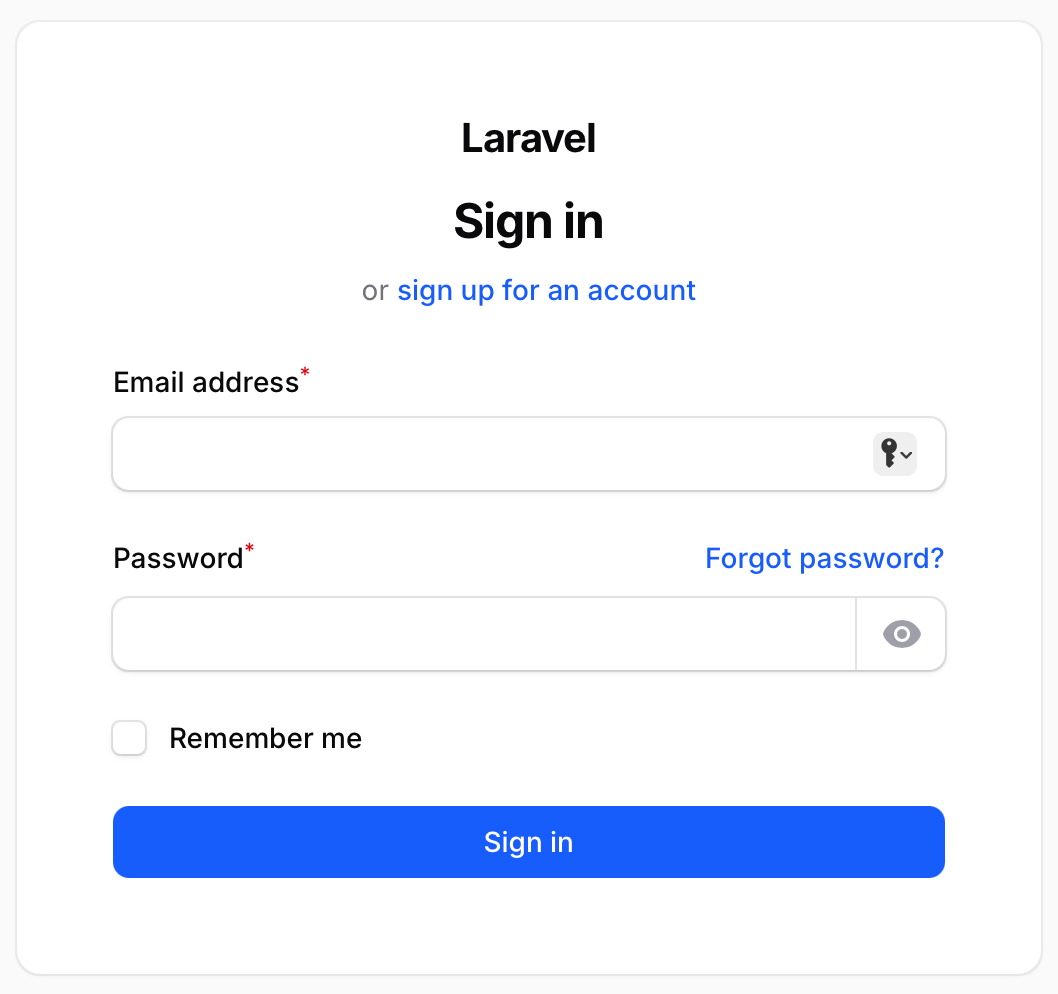
Let's change the value to this one:
->colors([ 'primary' => Color::Blue,])Here's how the login form looks now:
There are more things you can customize. I've just listed the most common ones.
So these are the essential things you need to know about the initial installation and configuration of the Filament panel.
In the next lesson, we will create our first CRUD with Filament Resource.
Assalaam o Alaikum, I was trying to go through this tutorial, but after installing filament panel by console command, it is not opening /admin page, the route is listed in the php artisan route list command
you have run it on domain.test but I am running it on localhost:5173, after going to localhost:5173/admin, it just shows me the same page again, and I have no idea what to do now
You have problems on your local
kindly help in resolving, thank you
Sorry, its impossible to help as it's problem on your
Okie, I am skipping this tutorial for now then.
Try
php artisan route:clear && php artisan route:cache. I had to run that to get the routes to update and take me to the admin panelIs it possible to save the subtitles with the video lesson?
Everything works great. thanks for the great tutorial.
Fun fact if, you change localization in .env forms will be display on your language :). Nice
That's how laravel works ;)