
Laravel community has built a lot of Blade UI Kits and Component Libraries. In this article, we will review the most popular ones: how they work, and what is the visual result.
This is a fresh 2025 version of the older 2023 article Laravel Blade: 5 UI Component Libraries which used Tailwind v3 and Laravel Breeze starter kit.
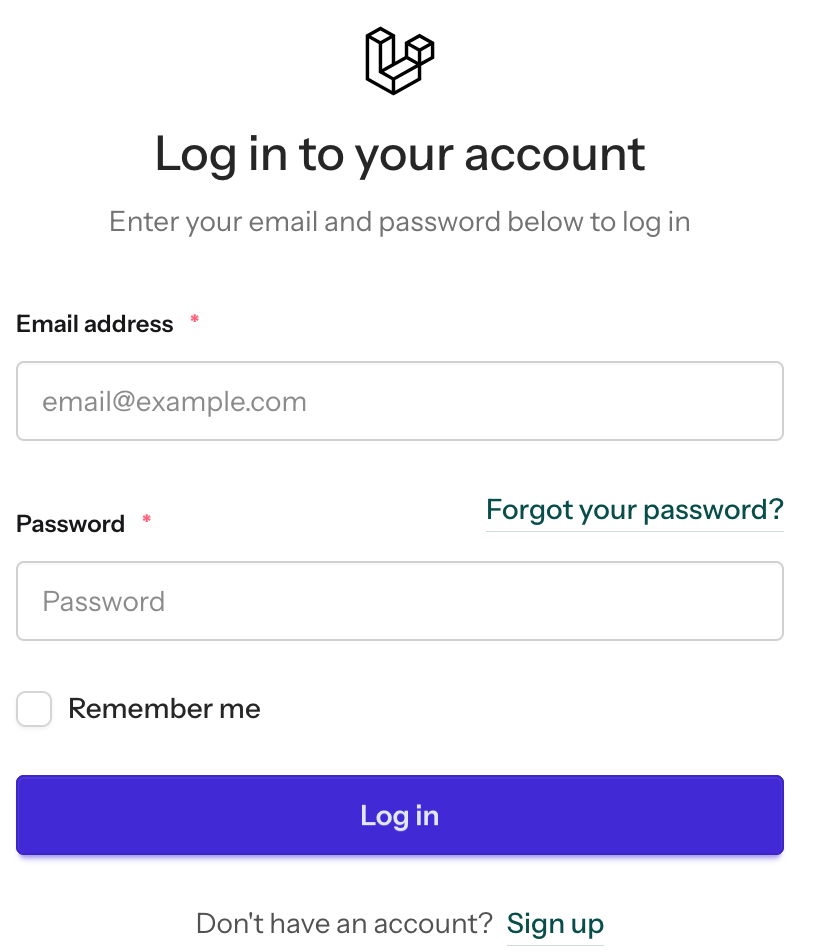
In this new post, we will use Tailwind v4 and Livewire starter kit. Here's the Login form we'll be working with.
Initially, it's built with Livewire and Flux:
<form method="POST" wire:submit="login" class="flex flex-col gap-6"> <!-- Email Address --> <flux:input wire:model="email" :label="__('Email address')" type="email" required autofocus autocomplete="email" placeholder="[email protected]" />Now, we will try to change some buttons and inputs, with these UI component libraries:
- Flowbite
- daisyUI
- Preline
- maryUI
- Sheaf UI
- TallStackUI
Let's dive in!
1. Flowbite
To use styles from Flowbite, you can create your own Blade component and copy the classes from the Flowbite docs.
Install Flowbite as a dependency using NPM:
npm install flowbite --saveIn the app.css file, import default theme variables, the Flowbite plugin, and add the source files of Flowbite.
resources/css/app.css:
@import 'tailwindcss';@import '../../vendor/livewire/flux/dist/flux.css';@import 'flowbite/src/themes/default'; @plugin 'flowbite/plugin'; @source '../../node_modules/flowbite';@source '../views';@source '../../vendor/laravel/framework/src/Illuminate/Pagination/resources/views/*.blade.php';@source '../../vendor/livewire/flux-pro/stubs/**/*.blade.php';@source '../../vendor/livewire/flux/stubs/**/*.blade.php'; Import Flowbite JavaScript.
resources/js/app.js:
import 'flowbite';Now we can create new Blade components.
php artisan make:component button --viewphp artisan make:component input --viewphp artisan make:component label --viewresources/views/components/button.blade.php:
<button {!! $attributes->merge(['class' => 'text-white bg-blue-700 hover:bg-blue-800 focus:ring-4 focus:ring-blue-300 font-medium rounded-lg text-sm px-5 py-2.5 me-2 mb-2 dark:bg-blue-600 dark:hover:bg-blue-700 focus:outline-none dark:focus:ring-blue-800']) !!}> {{ $slot }}</button>resources/views/components/input.blade.php:
@props(['disabled' => false]) <input @disabled($disabled) {!! $attributes->merge(['class' => 'bg-gray-50 border border-gray-300 text-gray-900 text-sm rounded-lg focus:ring-blue-500 focus:border-blue-500 block w-full p-2.5 dark:bg-gray-700 dark:border-gray-600 dark:placeholder-gray-400 dark:text-white dark:focus:ring-blue-500 dark:focus:border-blue-500']) !!}>resources/views/components/label.blade.php:
@props(['value']) <label {!! $attributes->merge(['class' => 'block mb-2 text-sm font-medium text-gray-900 dark:text-white']) !!}> {{ $value ?? $slot }}</label>And use them in the pages.
resources/views/livewire/auth/login.blade.php:
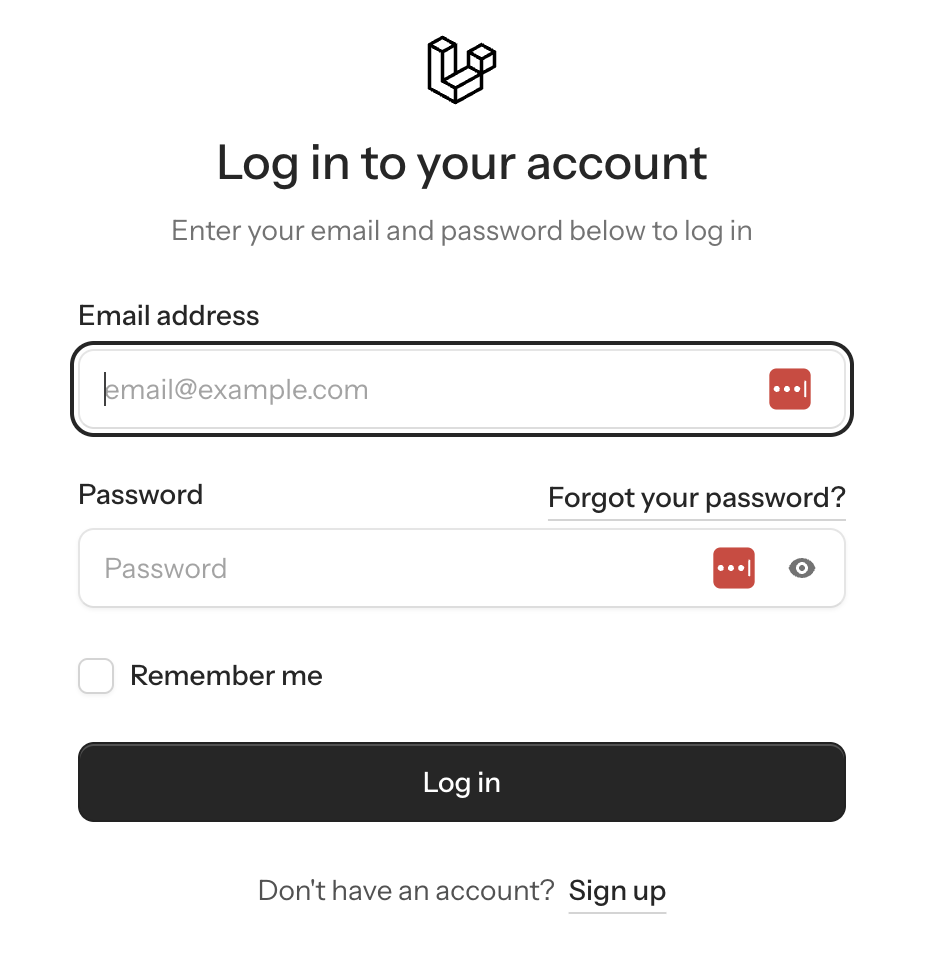
// ... <div class="flex flex-col gap-6"> <x-auth-header :title="__('Log in to your account')" :description="__('Enter your email and password below to log in')" /> <!-- Session Status --> <x-auth-session-status class="text-center" :status="session('status')" /> <form method="POST" wire:submit="login" class="flex flex-col gap-6"> <!-- Email Address --> <flux:input wire:model="email" :label="__('Email address')" type="email" required autofocus autocomplete="email" /> <div> <x-label for="email" :value="__('Email address')" /> <x-input type="email" wire:model="email" required autofocus autocomplete="email" /> </div> <!-- Password --> <div class="relative"> <flux:input wire:model="password" :label="__('Password')" type="password" required autocomplete="current-password" :placeholder="__('Password')" viewable /> <x-label for="email" :value="__('Password')" /> <x-input type="password" wire:model="password" required autocomplete="current-password" :placeholder="__('Password')" /> @if (Route::has('password.request')) <flux:link class="absolute end-0 top-0 text-sm" :href="route('password.request')" wire:navigate> {{ __('Forgot your password?') }} </flux:link> @endif </div> <!-- Remember Me --> <flux:checkbox wire:model="remember" :label="__('Remember me')" /> <div class="flex items-center justify-end"> <flux:button variant="primary" type="submit" class="w-full" data-test="login-button"> {{ __('Log in') }} </flux:button> <x-button type="submit" class="w-full" data-test="login-button"> {{ __('Log in') }} </x-button> </div> </form> @if (Route::has('register')) <div class="space-x-1 rtl:space-x-reverse text-center text-sm text-zinc-600 dark:text-zinc-400"> <span>{{ __('Don\'t have an account?') }}</span> <flux:link :href="route('register')" wire:navigate>{{ __('Sign up') }}</flux:link> </div> @endif</div>We have a form styled similarly to the image below:
You can find components in their official documentation.
2. daisyUI
daisyUI adds class names similar to Bootstrap. For example, btn btn-outline btn-primary will give styles for buttons.
To use daisyUI, you must install it via npm and add it as a plugin to the app.css.
npm i -D daisyui@latestresources/css/app.css:
@import 'tailwindcss';@import '../../vendor/livewire/flux/dist/flux.css'; @plugin 'daisyui';Now we can create new Blade components.
php artisan make:component button --viewphp artisan make:component input --viewphp artisan make:component label --viewresources/views/components/button.blade.php:
<button {!! $attributes->merge(['class' => 'btn btn-outline btn-primary']) !!}> {{ $slot }}</button>resources/views/components/input.blade.php:
@props(['disabled' => false]) <input @disabled($disabled) {!! $attributes->merge(['class' => 'input input-bordered w-full']) !!}>resources/views/components/label.blade.php:
@props(['value']) <label {!! $attributes->merge(['class' => 'block mb-2 text-sm font-medium text-gray-900 dark:text-white']) !!}> {{ $value ?? $slot }}</label>And use them in the pages.
resources/views/livewire/auth/login.blade.php:
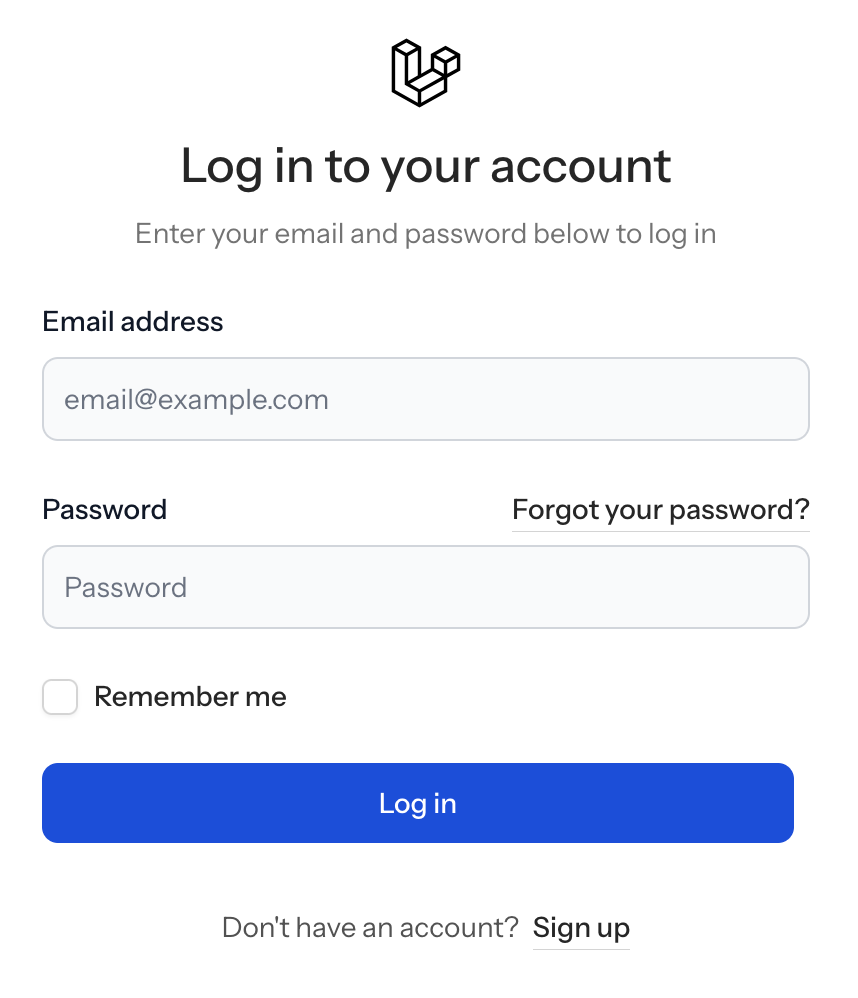
// ... <div class="flex flex-col gap-6"> <x-auth-header :title="__('Log in to your account')" :description="__('Enter your email and password below to log in')" /> <!-- Session Status --> <x-auth-session-status class="text-center" :status="session('status')" /> <form method="POST" wire:submit="login" class="flex flex-col gap-6"> <!-- Email Address --> <flux:input wire:model="email" :label="__('Email address')" type="email" required autofocus autocomplete="email" /> <div> <x-label for="email" :value="__('Email address')" /> <x-input type="email" wire:model="email" required autofocus autocomplete="email" /> </div> <!-- Password --> <div class="relative"> <flux:input wire:model="password" :label="__('Password')" type="password" required autocomplete="current-password" :placeholder="__('Password')" viewable /> <x-label for="email" :value="__('Password')" /> <x-input type="password" wire:model="password" required autocomplete="current-password" :placeholder="__('Password')" /> @if (Route::has('password.request')) <flux:link class="absolute end-0 top-0 text-sm" :href="route('password.request')" wire:navigate> {{ __('Forgot your password?') }} </flux:link> @endif </div> <!-- Remember Me --> <flux:checkbox wire:model="remember" :label="__('Remember me')" /> <div class="flex items-center justify-end"> <flux:button variant="primary" type="submit" class="w-full" data-test="login-button"> {{ __('Log in') }} </flux:button> <x-button type="submit" class="w-full" data-test="login-button"> {{ __('Log in') }} </x-button> </div> </form> @if (Route::has('register')) <div class="space-x-1 rtl:space-x-reverse text-center text-sm text-zinc-600 dark:text-zinc-400"> <span>{{ __('Don\'t have an account?') }}</span> <flux:link :href="route('register')" wire:navigate>{{ __('Sign up') }}</flux:link> </div> @endif</div>After changing the components, we have results similar to the image below:
You can find components in their official documentation.
3. Preline
Preline gives style classes for your components. To use it first, we need to install it via npm:
npm install prelineIf you don't have it yet, you must install @tailwindcss/forms.
npm install -D @tailwindcss/formsImport Preline in the app.css and add its source.
resources/css/app.css:
@import 'tailwindcss';@import '../../vendor/livewire/flux/dist/flux.css';@import "../../node_modules/preline/variants.css"; @plugin '@tailwindcss/forms'; @source "../../node_modules/preline/dist/*.js";@source '../views';Import Preline JavaScript
resources/js/app.js:
import 'preline';Now we can create new Blade components.
php artisan make:component button --viewphp artisan make:component input --viewphp artisan make:component label --viewresources/views/components/button.blade.php:
<button {!! $attributes->merge(['class' => 'py-3 px-4 inline-flex items-center gap-x-2 text-sm font-medium rounded-lg border border-transparent bg-blue-100 text-blue-800 hover:bg-blue-200 focus:outline-hidden focus:bg-blue-200 disabled:opacity-50 disabled:pointer-events-none dark:text-blue-400 dark:hover:bg-blue-900 dark:focus:bg-blue-900']) !!}> {{ $slot }}</button>resources/views/components/input.blade.php:
@props(['disabled' => false]) <input @disabled($disabled) {!! $attributes->merge(['class' => 'input input-bordered w-full']) !!}>resources/views/components/label.blade.php:
@props(['value']) <label {!! $attributes->merge(['class' => 'block mb-2 text-sm font-medium text-gray-900 dark:text-white']) !!}> {{ $value ?? $slot }}</label>And use them in the pages.
resources/views/livewire/auth/login.blade.php:
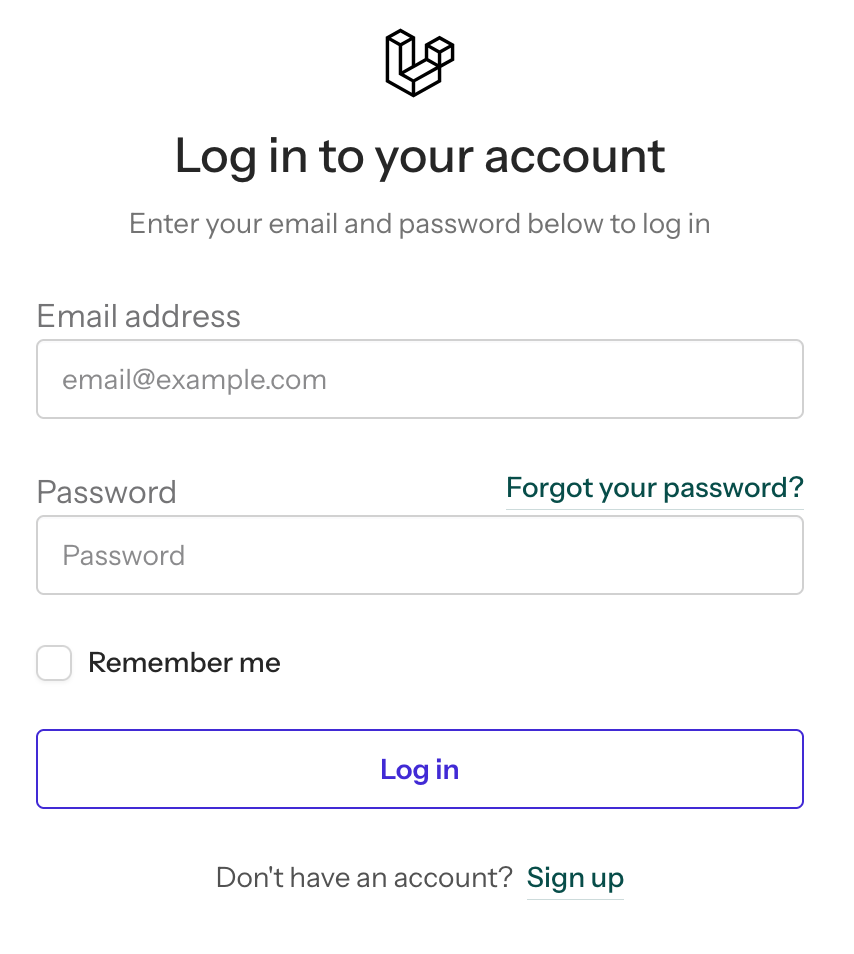
// ... <div class="flex flex-col gap-6"> <x-auth-header :title="__('Log in to your account')" :description="__('Enter your email and password below to log in')" /> <!-- Session Status --> <x-auth-session-status class="text-center" :status="session('status')" /> <form method="POST" wire:submit="login" class="flex flex-col gap-6"> <!-- Email Address --> <flux:input wire:model="email" :label="__('Email address')" type="email" required autofocus autocomplete="email" /> <div> <x-label for="email" :value="__('Email address')" /> <x-input type="email" wire:model="email" required autofocus autocomplete="email" /> </div> <!-- Password --> <div class="relative"> <flux:input wire:model="password" :label="__('Password')" type="password" required autocomplete="current-password" :placeholder="__('Password')" viewable /> <x-label for="email" :value="__('Password')" /> <x-input type="password" wire:model="password" required autocomplete="current-password" :placeholder="__('Password')" /> @if (Route::has('password.request')) <flux:link class="absolute end-0 top-0 text-sm" :href="route('password.request')" wire:navigate> {{ __('Forgot your password?') }} </flux:link> @endif </div> <!-- Remember Me --> <flux:checkbox wire:model="remember" :label="__('Remember me')" /> <div class="flex items-center justify-end"> <flux:button variant="primary" type="submit" class="w-full" data-test="login-button"> {{ __('Log in') }} </flux:button> <x-button type="submit" class="w-full" data-test="login-button"> {{ __('Log in') }} </x-button> </div> </form> @if (Route::has('register')) <div class="space-x-1 rtl:space-x-reverse text-center text-sm text-zinc-600 dark:text-zinc-400"> <span>{{ __('Don\'t have an account?') }}</span> <flux:link :href="route('register')" wire:navigate>{{ __('Sign up') }}</flux:link> </div> @endif</div>After changing the components, we have results similar to the image below:
Preline also has page examples and plugins.
You can find components in their official documentation.
4. maryUI
maryUI is made for Livewire and uses daisyUI to style Blade components.
On a fresh Laravel project, you can install Mary via composer and run the install command.
composer require robsontenorio/maryphp artisan mary:installTo install it in an existing project, refer to the manual section in the documentation.
We can replace FluxUI components with those from Mary.
resources/views/livewire/auth/login.blade.php:
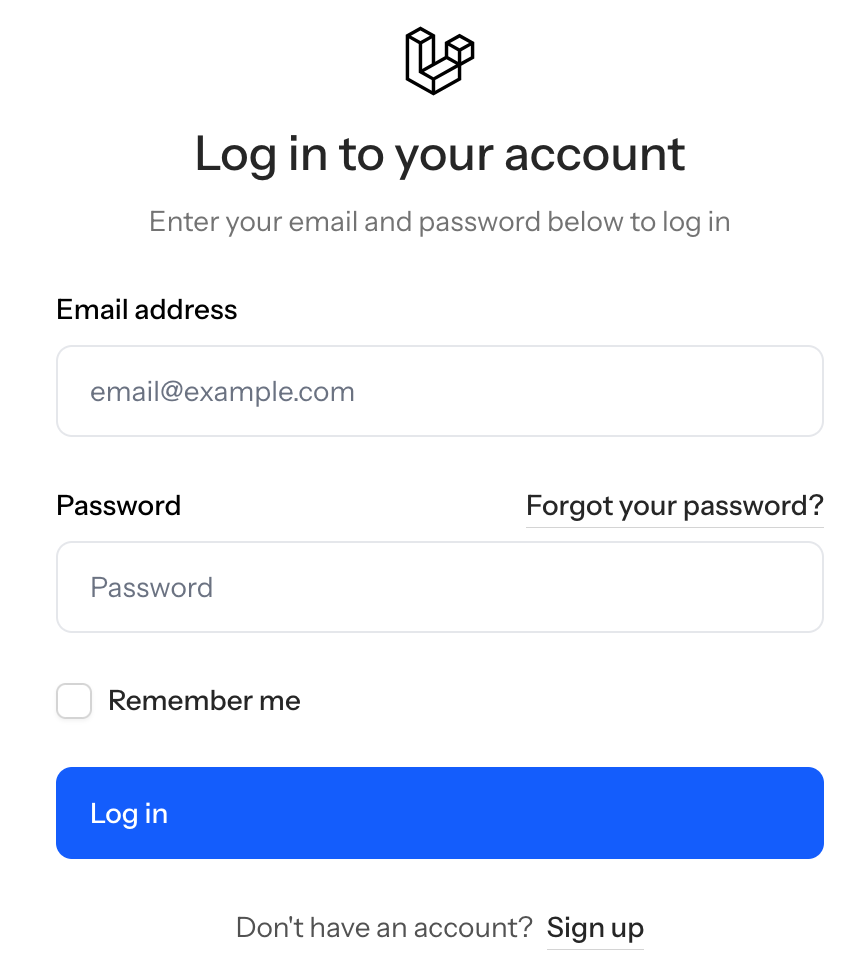
// ... <div class="flex flex-col gap-6"> <x-auth-header :title="__('Log in to your account')" :description="__('Enter your email and password below to log in')" /> <!-- Session Status --> <x-auth-session-status class="text-center" :status="session('status')" /> <form method="POST" wire:submit="login" class="flex flex-col gap-6"> <!-- Email Address --> <flux:input wire:model="email" :label="__('Email address')" type="email" required autofocus autocomplete="email" /> <x-mary-input wire:model="email" :label="__('Email address')" type="email" required autofocus autocomplete="email" /> <!-- Password --> <div class="relative"> <flux:input wire:model="password" :label="__('Password')" type="password" required autocomplete="current-password" :placeholder="__('Password')" viewable /> <x-mary-input wire:model="password" :label="__('Password')" type="password" required autocomplete="current-password" :placeholder="__('Password')" /> @if (Route::has('password.request')) <flux:link class="absolute end-0 top-0 text-sm" :href="route('password.request')" wire:navigate> {{ __('Forgot your password?') }} </flux:link> @endif </div> <!-- Remember Me --> <flux:checkbox wire:model="remember" :label="__('Remember me')" /> <div class="flex items-center justify-end"> <flux:button variant="primary" type="submit" class="w-full" data-test="login-button"> {{ __('Log in') }} </flux:button> <x-mary-button type="submit" class="w-full btn-primary" data-test="login-button"> {{ __('Log in') }} </x-mary-button> </div> </form> @if (Route::has('register')) <div class="space-x-1 rtl:space-x-reverse text-center text-sm text-zinc-600 dark:text-zinc-400"> <span>{{ __('Don\'t have an account?') }}</span> <flux:link :href="route('register')" wire:navigate>{{ __('Sign up') }}</flux:link> </div> @endif</div>After making changes, we have a form using Blade components from the maryUI:
You can find components in their official documentation.
5. Sheaf UI
Sheaf UI components are powered by Livewire, Alpine.js, and Tailwind CSS. You install it via composer:
composer require sheaf/cliAfter installing, you need to initialize:
php artisan sheaf:initEvery component can be published via an Artisan command:
php artisan sheaf:install buttonphp artisan sheaf:install labelphp artisan sheaf:install linkphp artisan sheaf:install inputphp artisan sheaf:install fieldphp artisan sheaf:install errorWe can replace FluxUI components with those from Sheaf.
resources/views/livewire/auth/login.blade.php:
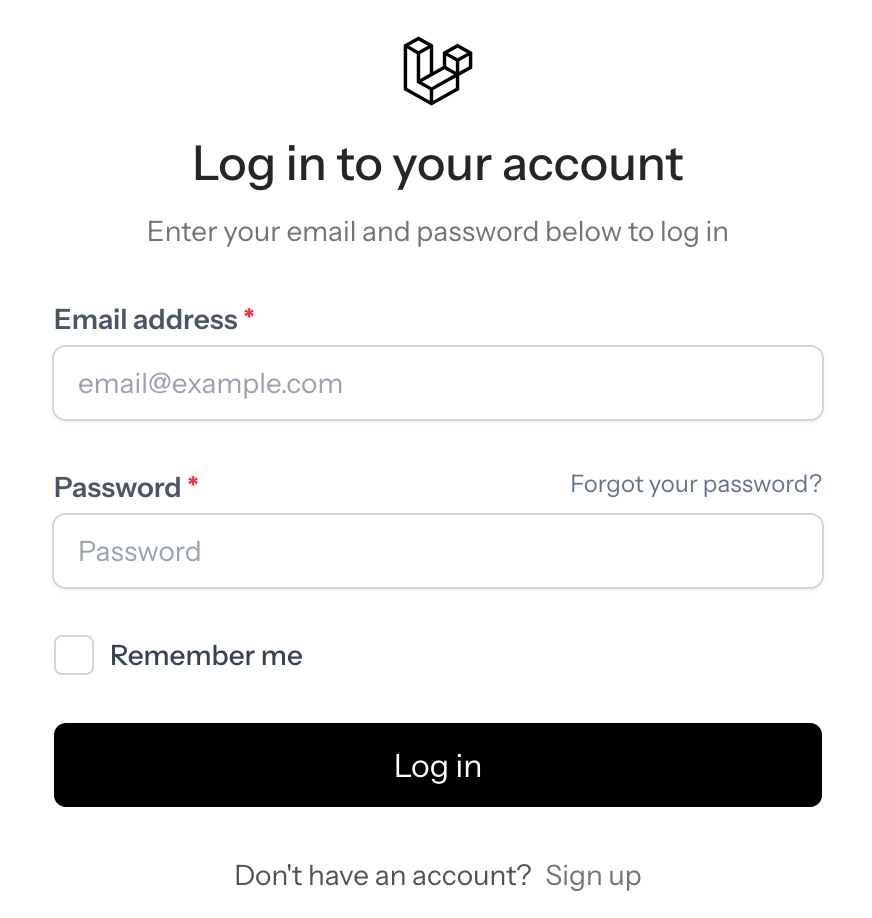
// ... <div class="flex flex-col gap-6"> <x-auth-header :title="__('Log in to your account')" :description="__('Enter your email and password below to log in')" /> <!-- Session Status --> <x-auth-session-status class="text-center" :status="session('status')" /> <form method="POST" wire:submit="login" class="flex flex-col gap-6"> <!-- Email Address --> <flux:input wire:model="email" :label="__('Email address')" type="email" required autofocus autocomplete="email" /> <x-ui.field required> <x-ui.label :text="__('Email address')" /> <x-ui.input wire:model="email" type="email" required autofocus autocomplete="email" /> <x-ui.error name="email" /> </x-ui.field> <!-- Password --> <div class="relative"> <flux:input wire:model="password" :label="__('Password')" type="password" required autocomplete="current-password" :placeholder="__('Password')" viewable /> <x-ui.field required> <x-ui.label :text="__('Password')" /> <x-ui.input wire:model="password" type="password" required autocomplete="current-password" :placeholder="__('Password')" revealable /> <x-ui.error name="password" /> </x-ui.field> @if (Route::has('password.request')) <flux:link class="absolute end-0 top-0 text-sm" :href="route('password.request')" wire:navigate> {{ __('Forgot your password?') }} </flux:link> <div class="absolute end-0 top-0 text-sm"> <x-ui.link variant="soft" :href="route('password.request')" wire:navigate> {{ __('Forgot your password?') }} </x-ui.link> </div> @endif </div> <!-- Remember Me --> <flux:checkbox wire:model="remember" :label="__('Remember me')" /> <div class="flex items-center justify-end"> <flux:button variant="primary" type="submit" class="w-full" data-test="login-button"> {{ __('Log in') }} </flux:button> <x-ui.button type="submit" class="w-full" data-test="login-button"> {{ __('Log in') }} </x-ui.button> </div> </form> @if (Route::has('register')) <div class="space-x-1 rtl:space-x-reverse text-center text-sm text-zinc-600 dark:text-zinc-400"> <span>{{ __('Don\'t have an account?') }}</span> <x-ui.link :href="route('register')" wire:navigate>{{ __('Sign up') }}</x-ui.link> </div> @endif</div>After making changes, we have a form using Blade components from the Sheaf UI:
You can find components in their official documentation.
6. TallStackUI
TallStackUI has Blade components made to use with the TALL stack. You install it via composer:
composer require tallstackui/tallstackui:^2.0.0Then you add scripts to your base layout.
resources/views/partials/head.blade.php:
<meta charset="utf-8" /><meta name="viewport" content="width=device-width, initial-scale=1.0" /> <title>{{ $title ?? config('app.name') }}</title> <link rel="icon" href="/favicon.ico" sizes="any"><link rel="icon" href="/favicon.svg" type="image/svg+xml"><link rel="apple-touch-icon" href="/apple-touch-icon.png"> <link rel="preconnect" href="https://fonts.bunny.net"><link href="https://fonts.bunny.net/css?family=instrument-sans:400,500,600" rel="stylesheet" /> <tallstackui:script /> @vite(['resources/css/app.css', 'resources/js/app.js'])@fluxAppearanceAnd add styles and source to the app.css
resources/css/app.css:
@import 'tailwindcss';@import '../../vendor/livewire/flux/dist/flux.css';@import '../../vendor/tallstackui/tallstackui/css/v4.css'; @plugin '@tailwindcss/forms'; @source '../../vendor/tallstackui/tallstackui/**/*.php'; @source '../views';The
@tailwindcss/formsplugin must also be installed.
We can replace FluxUI components with those from TallStackUI.
resources/views/livewire/auth/login.blade.php:
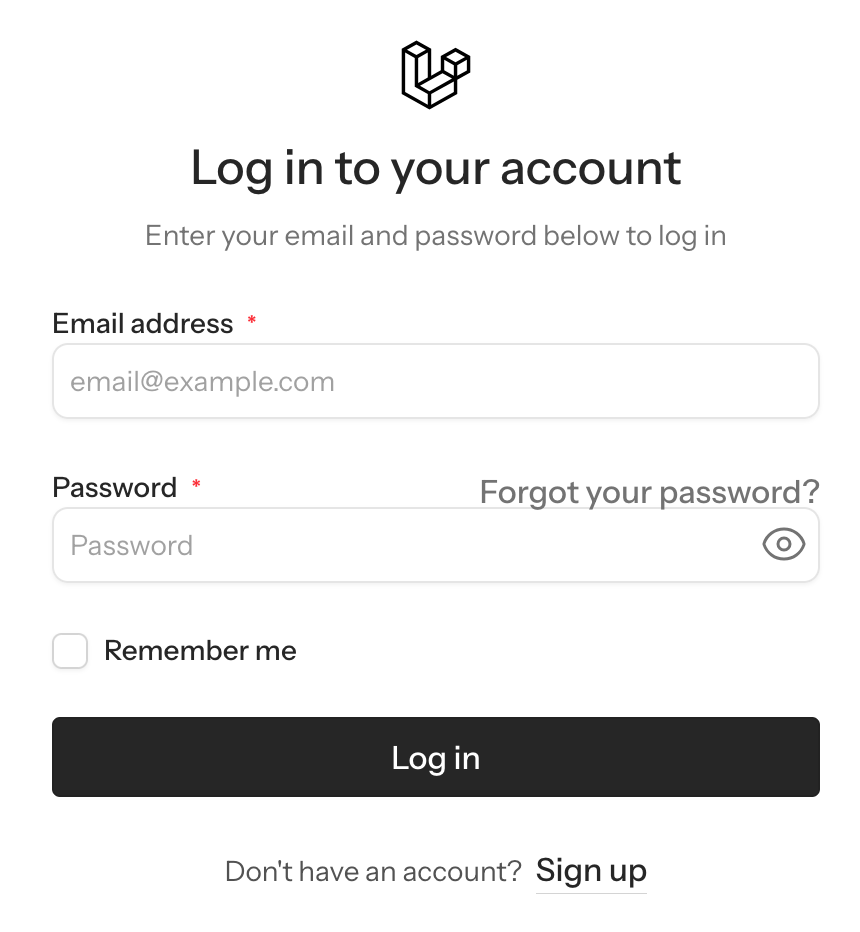
// ... <div class="flex flex-col gap-6"> <x-auth-header :title="__('Log in to your account')" :description="__('Enter your email and password below to log in')" /> <!-- Session Status --> <x-auth-session-status class="text-center" :status="session('status')" /> <form method="POST" wire:submit="login" class="flex flex-col gap-6"> <!-- Email Address --> <flux:input wire:model="email" :label="__('Email address')" type="email" required autofocus autocomplete="email" /> <x-input wire:model="email" type="email" required autofocus autocomplete="email" label="{{ __('Email address') }} *" /> <!-- Password --> <div class="relative"> <flux:input wire:model="password" :label="__('Password')" type="password" required autocomplete="current-password" :placeholder="__('Password')" viewable /> <x-input wire:model="email" type="password" required autofocus autocomplete="email" :placeholder="__('Password')" autocomplete="current-password" label="{{ __('Password') }} *" /> @if (Route::has('password.request')) <flux:link class="absolute end-0 top-0 text-sm" :href="route('password.request')" wire:navigate> {{ __('Forgot your password?') }} </flux:link> <x-link class="absolute end-0 top-0" color="slate" :href="route('password.request')" navigate :text="__('Forgot your password?')" xs /> @endif </div> <!-- Remember Me --> <flux:checkbox wire:model="remember" :label="__('Remember me')" /> <x-checkbox wire:model="remember" :label="__('Remember me')" /> <div class="flex items-center justify-end"> <flux:button variant="primary" type="submit" class="w-full" data-test="login-button"> {{ __('Log in') }} </flux:button> <x-button submit color="black" class="w-full" data-test="login-button"> {{ __('Log in') }} </x-button> </div> </form> @if (Route::has('register')) <div class="space-x-1 rtl:space-x-reverse text-center text-sm text-zinc-600 dark:text-zinc-400"> <span>{{ __('Don\'t have an account?') }}</span> <flux:link :href="route('register')" wire:navigate>{{ __('Sign up') }}</flux:link> <x-link color="stone" :href="route('register')" navigate :text="__('Sign up')" sm /> </div> @endif</div>After making changes, we have a form using Blade components from the TallStackUI:
You can find components in their official documentation.
Know More Libraries?
That's a wrap for now. If you know other good UI libraries for Laravel, add them in the comments.
I personally use these components: https://tabler.io/admin-template , and this is their implementation for Laravel: https://tablar.ebuz.xyz/docs
For bootstrap that's a solid choice
Not about the article, but I'm glad to see a new, text-based post. I was starting to miss them. But I understand you guys have likely covered everything there is to know about Laravel and more :)
Oh no we have a lot of ideas, but it's hard to keep up with all channels / courses / videos and also text-based posts. But still trying!
Ah, totally understandable. Keep up the good work, then. I enjoy them all.
I welcome Sheaf UI on the list 😂😂😂😂🤣🤣🤣