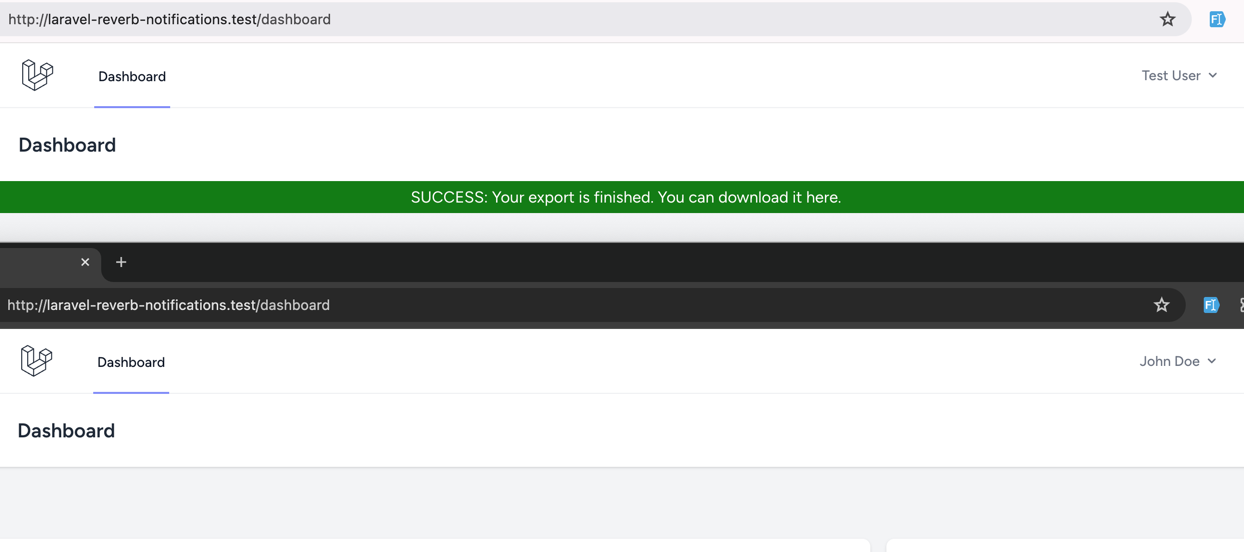
Laravel Reverb is one of the newest first-party packages from the Laravel team. With Reverb, we can show page changes in real-time, like this message to users:

That message appears on the screen without refreshing the page or making API calls.
But how does it work? Let's dive into it, with first two practical examples:
- Sending a global message "The system will go down for maintenance"
- Sending a private message for a specific user "Your export is finished"
What is Reverb?
Reverb was created to solve the gap between back-end and front-end communications. It's a real-time messaging system that allows us to listen to back-end events and react to them on the front-end.
Here are a few examples of what we can do with Reverb:
- Build real-time notifications about new messages, comments, reports, or system events.
- Build real-time chat applications.
- Build real-time dashboards with live data.
- Inform users about changes in the system, such as new products, reports, etc.
- Create presence systems to show who is online and who is not.
- And many more...
It's a powerful tool that can be used in many different ways. The only limit is our imagination and creativity.
Why Reverb Instead of Periodical Refresh?
But why use Reverb instead of a simple API endpoint? We can call an API endpoint to get the latest data, right? And if we need to wait for something to finish, we can always use Polling, calling the server every minute or so, right?
Well, yes, we can. But we can also use a sword to cut our bread, right? But we don't. We use a knife. Why? Because it's more efficient and easier to use. It's the same with Reverb. Here's why:
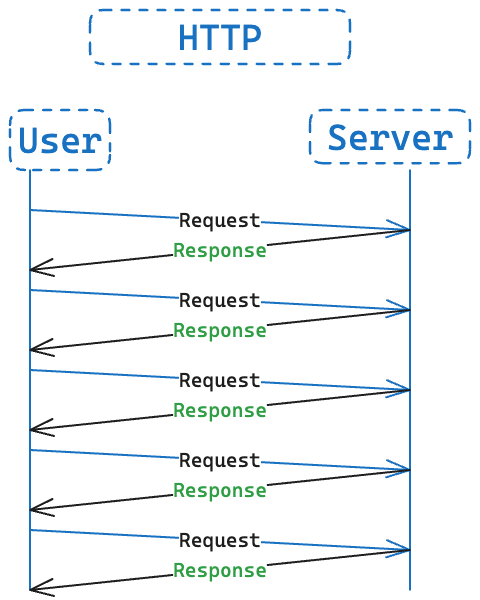
With Polling, we send requests to the server every X seconds/minutes to check for new data.

Sounds good. We solved the problem.
But what if we have 1000 users? And then 100 000 users? We will send N (number of users) requests every X seconds. That's a lot of requests!!!
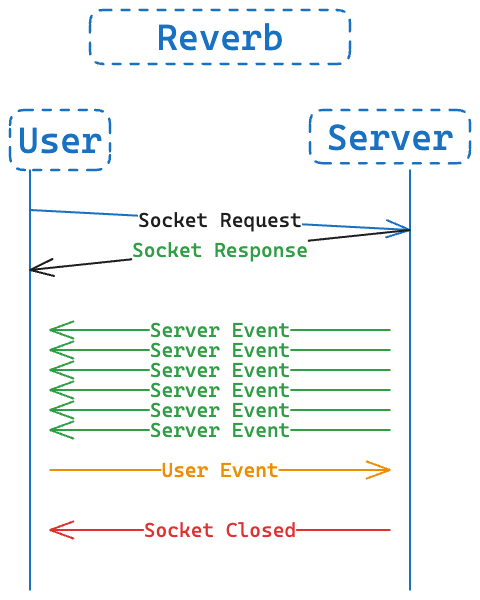
Instead, with Reverb, we can send a single request to the server, and that's it!

It's based on WebSockets. As shown in the image above, it will create a WebSocket connection between the server and the client.
This connection allows our server and client to communicate in real time without sending multiple requests. As long as the connection is open, we can freely send messages/data and avoid creating unnecessary requests that will slow down our server.
Reverb Alternatives?
Before Reverb, we had a few popular alternatives to build real-time applications in Laravel:
- Pusher - third-party service (paid) that allows us to build real-time applications.
- Laravel WebSockets - a package from BeyondCode (Now Archived)
- Soketi - alternative to Pusher, but free (self-hosted)
Reverb was created to simplify the process of configuration and owning that problem as a first-party package.
Now, let's see how we can use Reverb in our Laravel application.
Project Setup
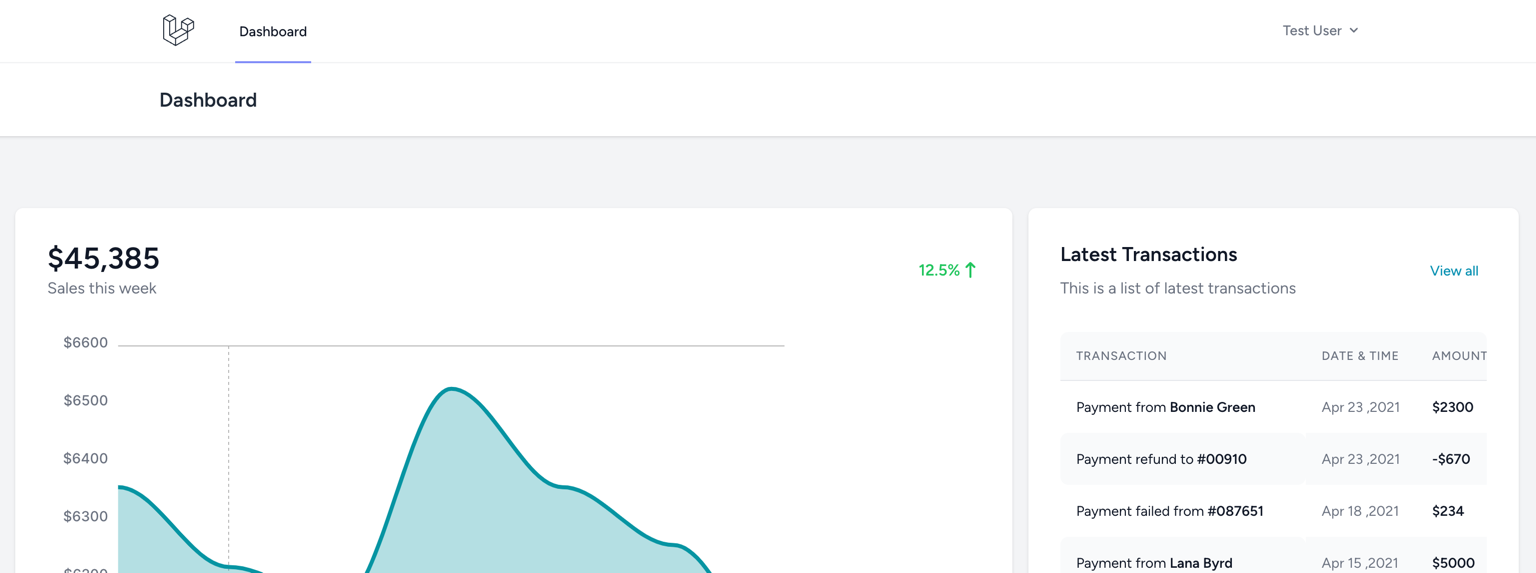
We will use Laravel 11 for this tutorial with Breeze as our authentication system. From there, we have a simple "Dashboard" page:

From here, we will install Reverb and create a few simple real-time events to show how it works.
Installing Reverb
To install Reverb, we have to call this command:
php artisan install:broadcastingThis will ask us if we want to install Reverb, enter yes and press Enter.
Once the package installs, it will ask...

Povilas, once again, congratulations on the content!