
Working with a calendar can be quite common, so in this tutorial, we will use the popular FullCalendar library in a Laravel project and create a simple demo.
The demo is simple - to show a calendar of the appointments for the upcoming week. It can be used for any kind of appointment: doctors, hair salons, etc.
Prepare Laravel Application
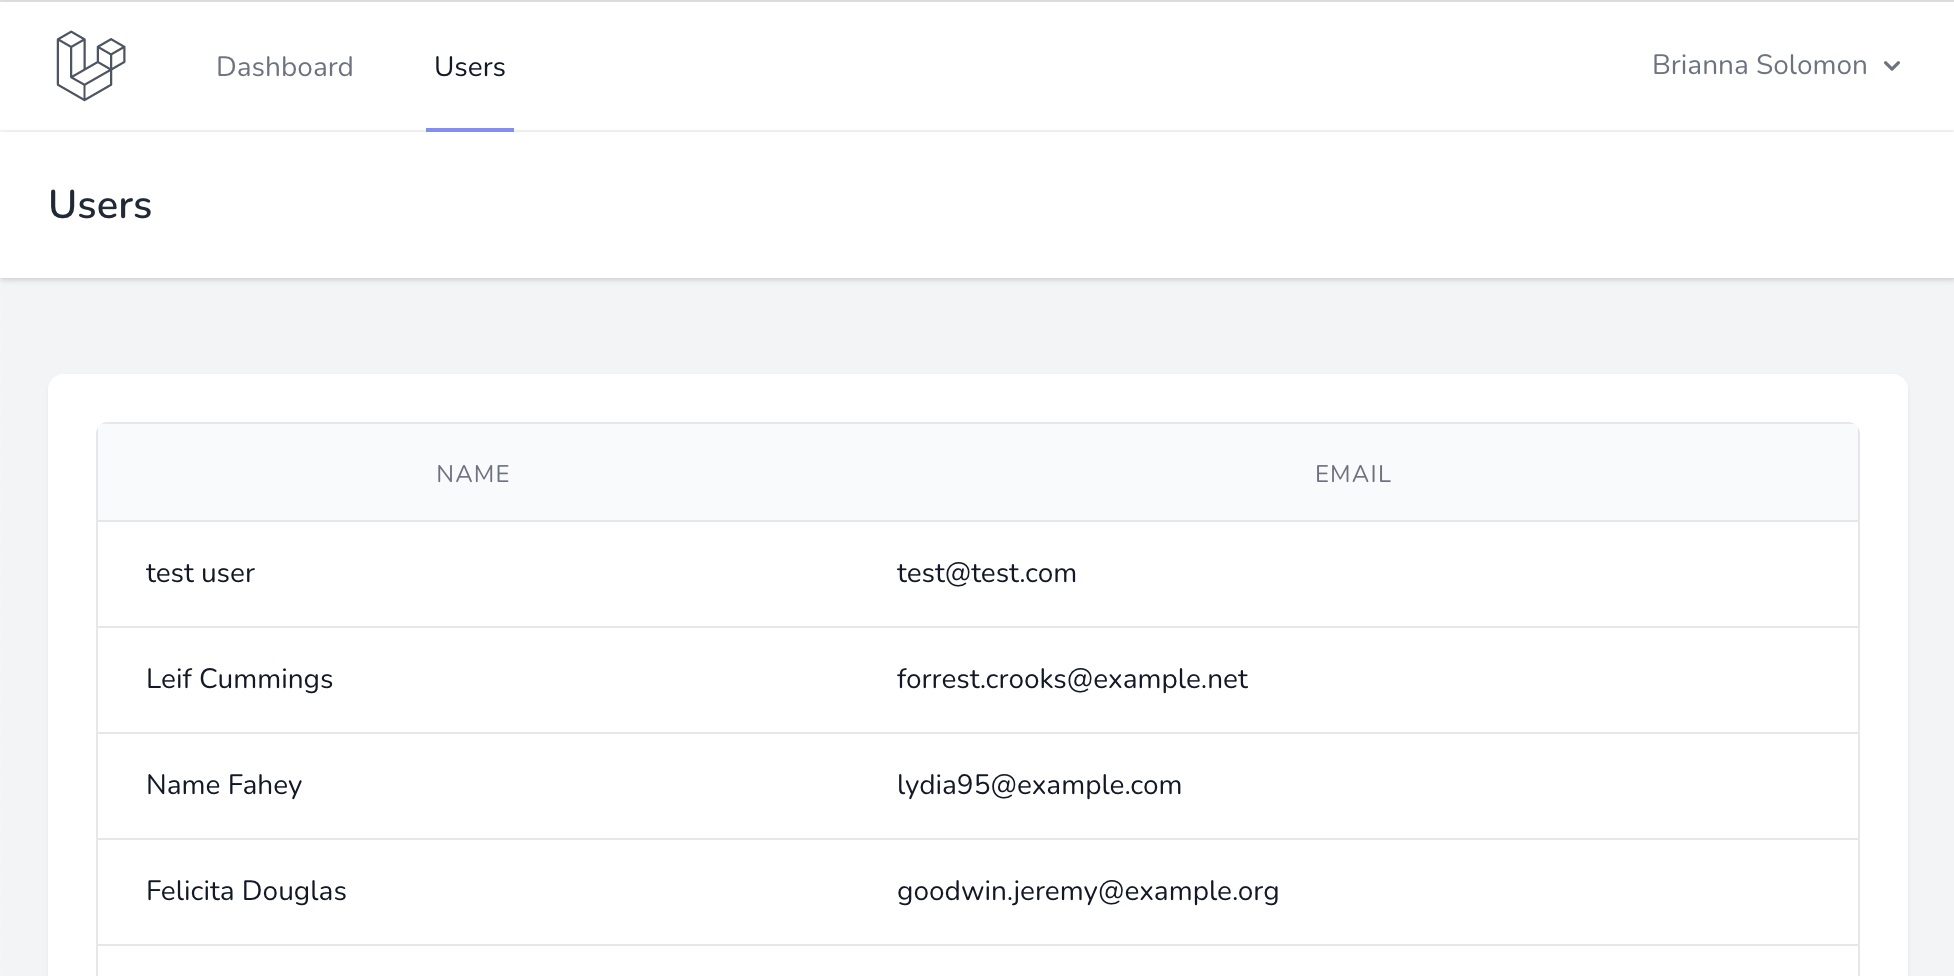
For this tutorial, we will use our own Laravel Breeze Skeleton that gives us a simple design.
Next, we will quickly create three Models with their Migrations: Appointment, Client, and Employee:
php artisan make:model Client -mphp artisan make:model Employee -mphp artisan make:model Appointment -mcreate_clients_table.php:
return new class extends Migration { public function up() { Schema::create('clients', function (Blueprint $table) { $table->id(); $table->string('name'); $table->timestamps(); }); }};app/Models/Client.php:
class Client extends Model{ protected $fillable = ['name'];}create_employees_table.php:
return new class extends Migration { public function up() { Schema::create('employees', function (Blueprint $table) { $table->id(); $table->string('name'); $table->timestamps(); }); }};app/Models/Employee.php:
class Employee extends Model{ protected $fillable = ['name'];}create_appointments_table.php:
return new class extends Migration { public function up() { Schema::create('appointments', function (Blueprint $table) { $table->id(); $table->datetime('start_time'); $table->datetime('finish_time'); $table->longText('comments')->nullable(); $table->foreignId('client_id')->constrained(); $table->foreignId('employee_id')->constrained(); $table->timestamps(); }); }};app/Models/Appointment.php:
class Appointment extends Model{ protected $fillable = [ 'start_time', 'finish_time', 'comments', 'client_id', 'employee_id', ]; public function client(): BelongsTo { return $this->belongsTo(Client::class); } public function employee(): BelongsTo { return $this->belongsTo(Employee::class); }}Ok, so we have the data structure. Now, let's show it on the calendar.
Prepare FullCalendar
Before showing the calendar, we need to add the Fullcalendar library to our app. For this demo, we will use the link from CDN. In layouts/app.blade.php of Laravel Breeze, add a @stack('scripts') blade directive before the </body> tag.
@stack('scripts') </body></html>Next, we will show the calendar on the home page. For that, we will create an invokable HomeController and modify routes\web.php to use that controller for the home page.
php artisan make:controller HomeController --invokableroutes/web.php:
Route::get('/', function () { return view('home'); })->name('home'); Route::get('/', \App\Http\Controllers\HomeController::class)->name('home'); Now, the calendar will be shown in resources/views/home.blade.php. In that View, let's add a div with the ID of calendar:
<div id="calendar"></div>This ID will be used to tell FullCalendar, where exactly to show the calendar.
Next, in the same home.blade.php View file, before </x-app-layout>, add a Blade tag @push('scripts') and a FullCalendar CDN link inside it.
@push('scripts') @endpush</x-app-layout>Showing Events in the Calendar
To show all events, the back-end logic will go into HomeController.
app/Http/Controllers/HomeController.php:
class HomeController extends Controller{ public function __invoke() { $events = []; $appointments = Appointment::with(['client', 'employee'])->get(); foreach ($appointments as $appointment) { $events[] = [ 'title' => $appointment->client->name . ' ('.$appointment->employee->name.')', 'start' => $appointment->start_time, 'end' => $appointment->finish_time, ]; } return view('home', compact('events')); }}Here we take all Appointments and put them into an array that gets passed to the view. Array keys title, start, and end are taken from the official documentation. You can pass more parameters like text color or background color. For more options, read the official documentation.
Next, in the resources/views/home.blade.php, after FullCalendar CDN we will add JS code to show the calendar.
@push('scripts') <script> document.addEventListener('DOMContentLoaded', function () { var calendarEl = document.getElementById('calendar'); var calendar = new FullCalendar.Calendar(calendarEl, { initialView: 'timeGridWeek', slotMinTime: '8:00:00', slotMaxTime: '19:00:00', events: @json($events), }); calendar.render(); }); </script> @endpush</x-app-layout>Here we added code identical to the one from Fullcalendar official documentation, but with extra configuration.
We change the initialView to timeGridWeek to show events by week, again - check official documentation for other options.
Then we add slotMinTime and slotMaxTime, which will show times in the calendar only for a specified time: in our case, from 8 am to 7 pm.
And, of course, we add the events themselves, with @json.
Now, if you add some appointments to the database and visit your projects home page, you would see events in the calendar. For example, data like below:

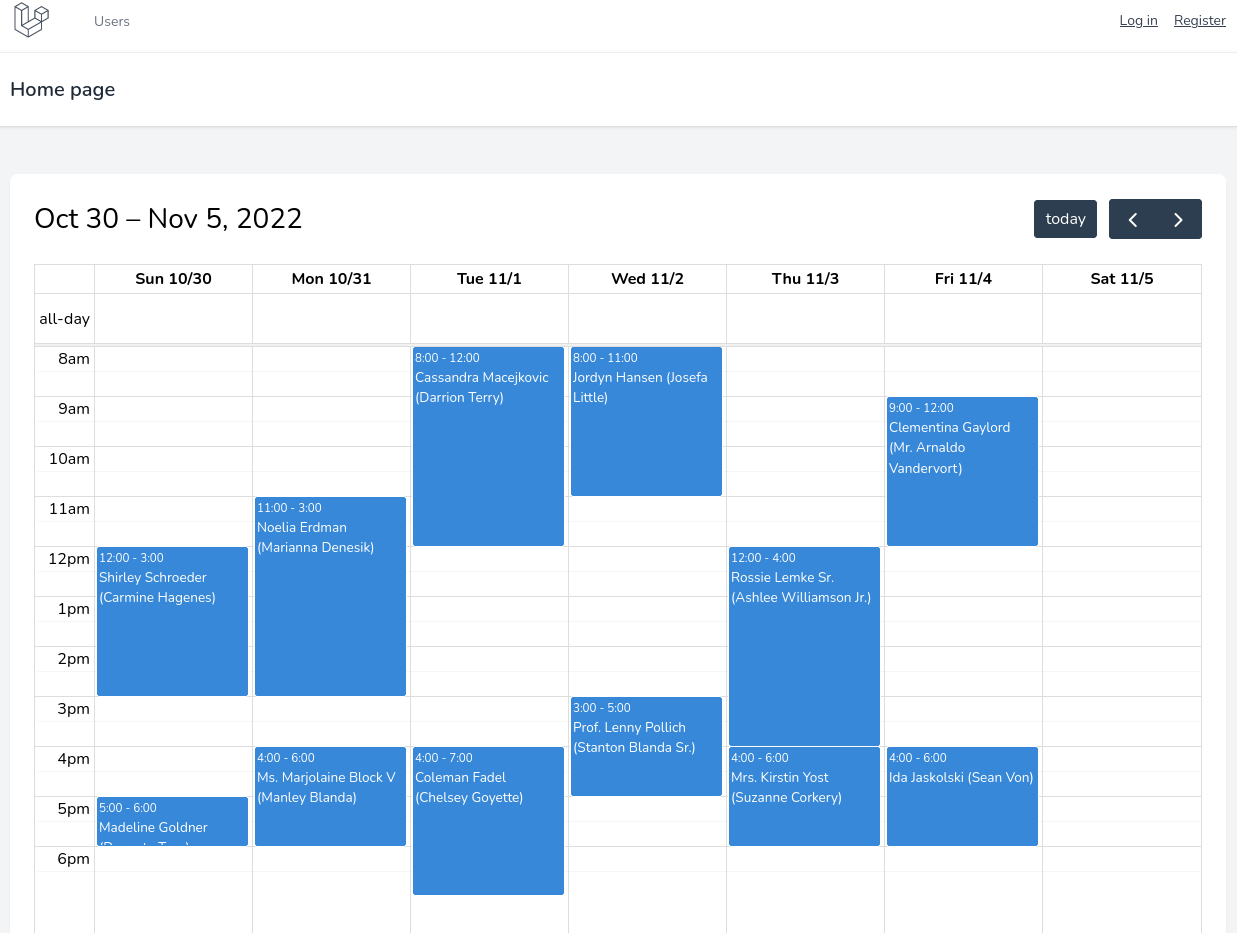
It would transform into a calendar like this:
As you can see, it isn't hard to show events or whatever you need in the calendar using FullCalendar. If you need more customizations, read the official documentation.
Do you want to add FullCalendar to the Filament panel? We have a tutorial for that: Filament: Show Calendar of Tasks with FullCalendar.
thanks
Povilas, you forgot to include Fullcalendar's CSS files inside the @push('scripts') line.
Thanks! I actually intentionally didn't add any CSS, as it's individual for every website, but I guess you're right that I should have included those default values.
I think i already follow the instruction, i use as booking, the booking data not inserted into calender, when i dd($events) it show the data of that booking, why?
Sorry for late reply, but without proper debug it's impossible to guess your problem.
Is their any way you would consider redoing this tutorial using Laravel 13.12.0, Filament 5.6.6, Full Calendar 7.0.0?