Today let's make a step-by-step tutorial on how to use a Laravel Breeze starter kit and prepare the fundamentals to separate the role-based areas: so students, teachers, and admins could have separate design layouts, menus, and routes.
Notice: if you prefer video format, I've packaged this article also as a mini-course with 43 minutes of video, watch here.
The overall goal is to separate both the code and the visual parts, so different roles wouldn't even know that the other "portals" exist.
This is our rough plan of action:
- Install Laravel & Breeze
- First role: Creating a simple Timetable page for a student
- Second role: adding teachers, with separate routes/controllers/layouts/menus
- Register/Login: redirect to the correct route by role
- Permissions: restricting by role with Middleware
- Third role: repeating the same for Admins
At the end of this tutorial, you will also have a link to the GitHub repository.
Keep in mind that this is only one of the ways to structure such projects, during each step you may come up with a different solution and that's fine - that's the flexible beauty of Laravel.
So, are you ready?
Install Laravel and Breeze
This part is easy and standard.
laravel new project
cd project
composer require laravel/breeze
php artisan breeze:install
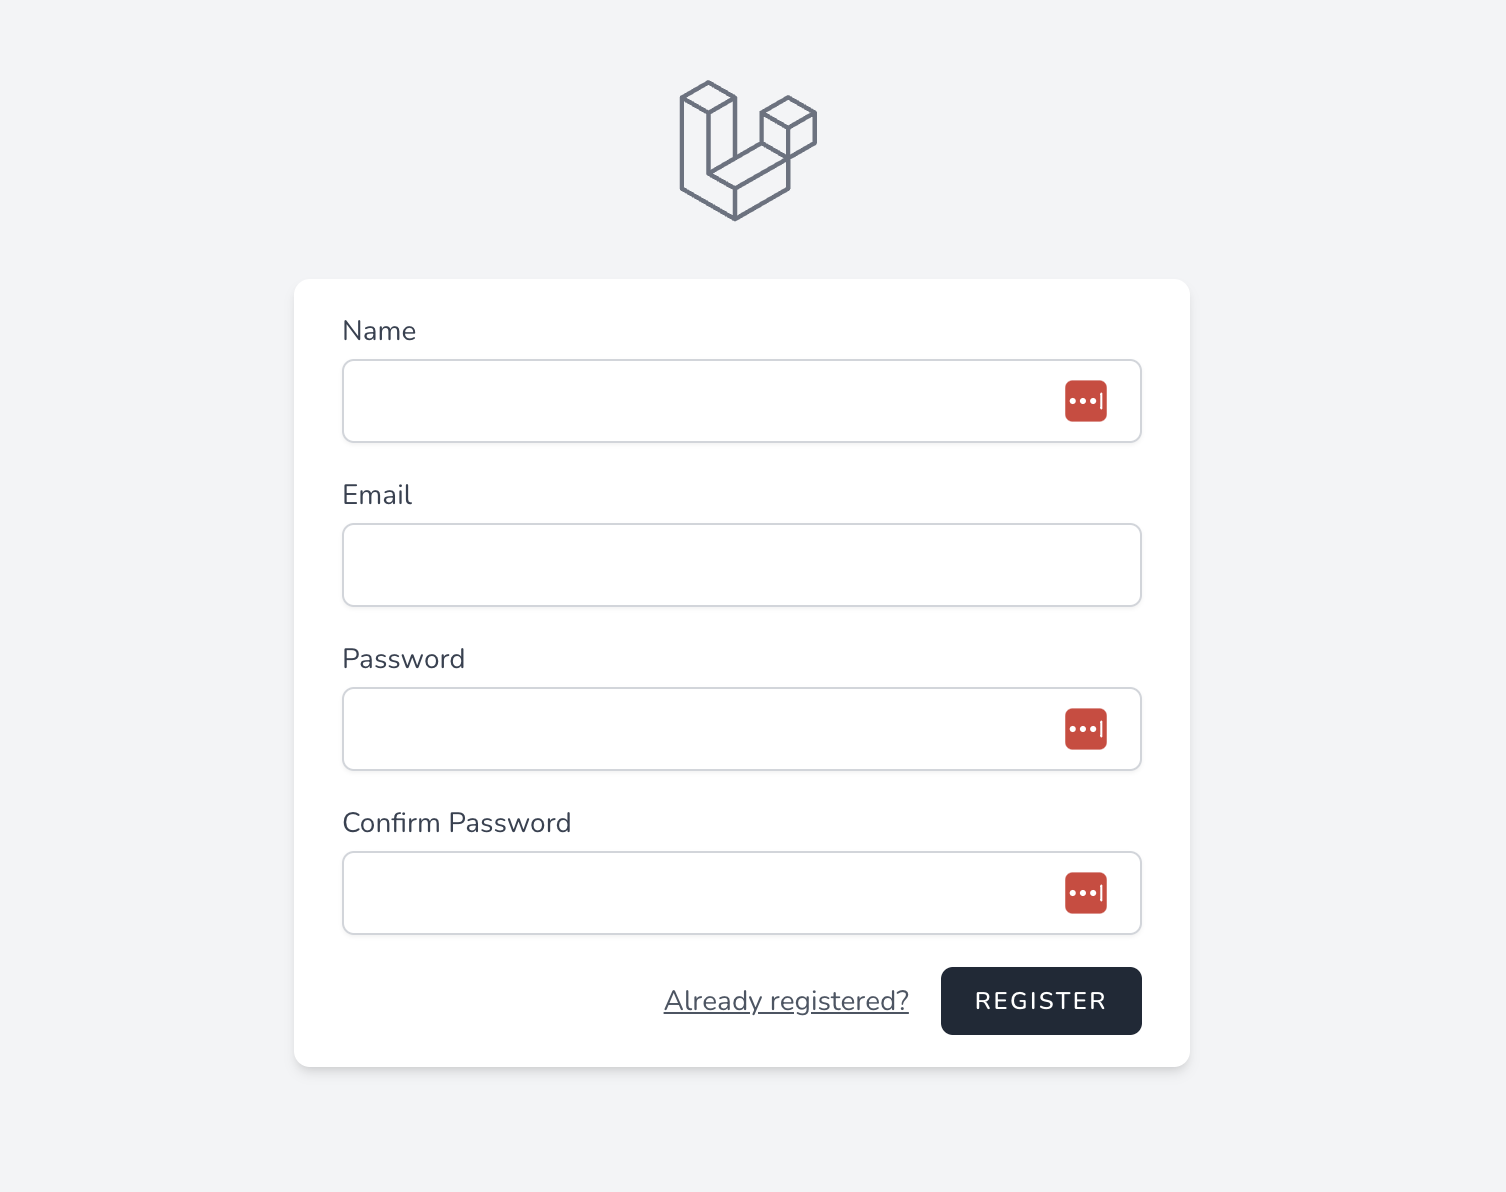
And that's it, we have a default Laravel Breeze with a registration page like this:

Next, in this tutorial, I will create one simple static page for every role:
- Timetable for students
- Separate Timetable for teachers
- Student list for Admins
I deliberately won't build the functionality of those pages, because that is not the point: for your cases, you will fill it in with your different logic anyway. Here, we're focusing on separating the areas, no matter what functionality is inside, so my goal is for you to understand the principles.
First Role: Timetable for Student
In the beginning, let's assume that we have only one role, so every new user is a Student.
But, at the same time, we plan that there will be roles soon, so we need to separate the student area up front.
So, for our first page of the Student's Timetable we need these parts:
- TimetableController
- Blade view (where to put it?)
- Route line
And since we already know that there will be other roles, let's immediately separate everything into subfolders and groups.
So, we generate the controller with the Student namespace right away:
php artisan make:controller Student/TimetableController
The idea here is that all Controllers for students would be placed in that subfolder, and respectively other roles will have their subfolders.
Inside that Controller, let's fill in some fake data and load the Blade view from a subfolder, as well.
app/Http/Controllers/Student/TimetableController.php:
namespace App\Http\Controllers\Student;

use App\Http\Controllers\Controller;

class TimetableController extends Controller
{
    public function index()
    {
        $timetable = [
            'Monday' => [
                '09:00' => 'Lesson 1',
                '10:00' => 'Lesson 2',
                '11:00' => 'Lesson 3',
                '12:00' => 'Lesson 4',
            ],
            'Tuesday' => [
                '09:00' => 'Lesson 1',
                '10:00' => 'Lesson 2',
                '11:00' => 'Lesson 3',
                '12:00' => 'Lesson 4',
            ],
            'Wednesday' => [
                '09:00' => 'Lesson 1',
                '10:00' => 'Lesson 2',
                '11:00' => 'Lesson 3',
                '12:00' => 'Lesson 4',
            ]
        ];

        return view('student.timetable', compact('timetable'));
    }
}
Next, let's create a Blade view...
Premium Members Only
This advanced tutorial is available exclusively to Laravel Daily Premium members.
Already a member? Login here
Premium membership includes:
Comments & Discussion
Hi I have ran into an issue reusing this in a different project, within my project there are 4 roles and I'm trying to seperate the endpoints within them 4 roles but I want it so there's some sort of hierachy in place meaning that role 4 being administrator can access all endpoints but say the user had roleId 3 they wouldn't be able to access the administrator endpoints, hope that makes sense also great job on this course it was pretty cool would be nice to maybe see an extension to it!
Thanks for the comment, Mark. Well, the access to the endpoints may be based on PERMISSIONS with @can in Blade and $this->authorize('permission_name'); in the Controllers. Then, under the hood, you assign that permission to admin or roleId 3 or whoever. That's probably the most flexible way I know.
If you provide me with the repository of full code (my GitHub username PovilasKorop) then I would be able to make some suggestion based on specific code.
It all went well until the step "php artisan migrate:fresh --seed". This caused the error "Class "Database\Seeders\Role" not found at database/seeders/DatabaseSeeder.php:15" public function run() // at this point I had to remove ": void" { Role::create(['name' => 'Student']); Role::create(['name' => 'Teacher']); } Now I cannot login anymore as a testuser, I also cannot register. How to solve this problem?
Thank you very much! BR Marko Kuzman

How to rewrite redirect()->intended() functioanlity? If redirect to specific route, I lost the intended features.
thanks
What exactly "intended features" did you lose, can you provide more details?