
Notice: we have a newer version of the same tutorial with Laravel 11 and Reverb: Laravel Reverb Demo: Real-Time Notification on Completed Task
Some Laravel tasks are running in the background and you need to check whether they are finished. But what if you didn't need to constantly check, but rather "listen" for those events to finish? Let's implement exactly this real-time feedback, with Soketi server.
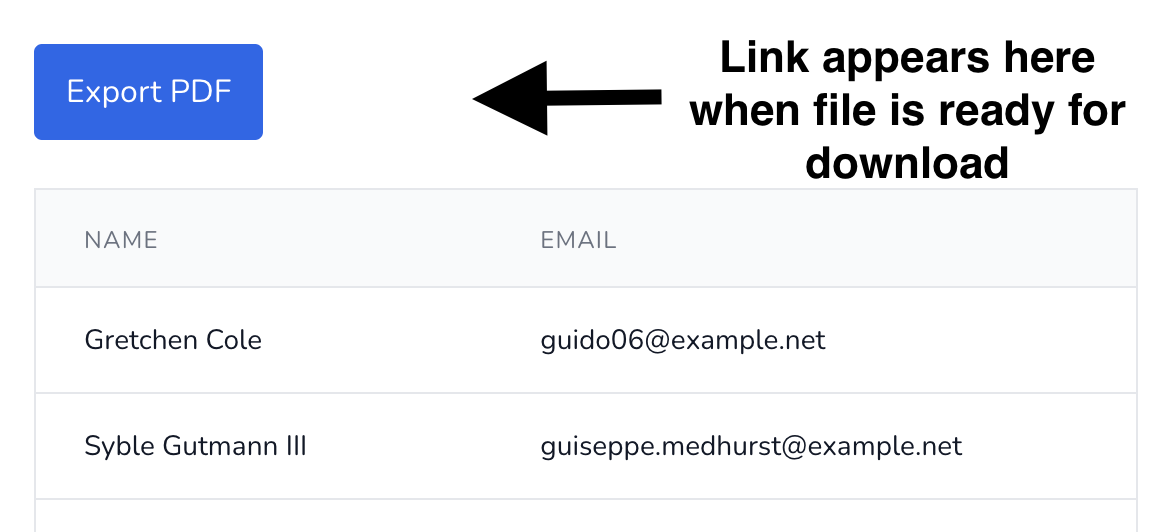
This is our task: allow the user to export some file, and tell the user when the file is actually prepared for download.
In this tutorial, I will show you how to implement it, step-by-step, with one of the options for WebSockets, called Soketi. There are other alternatives, but Soketi server solution has lately become the most recommended in Laravel community, as the most reliable.
What we'll cover in this tutorial:
- Preparing Laravel project
- Install and Run the Soketi Server
- Configure Laravel Broadcasting
- Configure Front-end Client
- Export Back-End: Job, Event, Controller
- Export Front-end JS: Button and Status Updates
So, are you ready? Let's dive in!
Preparing Laravel Project
For this tutorial, we are going to use Laravel Daily pre-made project for such demonstration purposes https://github.com/LaravelDaily/Laravel-Breeze-Pages-Skeleton, which gives us Laravel Breeze Auth with a simple page of the list of users.
You can also use the default Laravel installation, but it might need a bit more setup in the beginning.
Project Setup
Clone the repo:
1git clone https://github.com/LaravelDaily/Laravel-Breeze-Pages-Skeleton tutorial-soketi-export-pdfRun composer to install project dependencies:
1composer installCopy .env.example to .env:
1cp .env.example .envGenerate your app key:
1php artisan key:generateTo be able to download exported files, we also going to need symlink to the public folder:
1php artisan storage:linkAfter that, update the .env file with your database credentials:
1APP_URL=<your website url>2DB_DATABASE=<your db name>3DB_USERNAME=<your db username>4DB_PASSWORD=<your db password>And migrate your database:
1php artisan migrate:fresh --seedSeed Users Demo Data
By default there will be 10 users seeded, let's add some more by modifying database/seeders/UserSeeder.php and changing it to 100 users. The file should look like this:
database/seeders/UserSeeder.php:
1class UserSeeder extends Seeder2{3 public function run()4 {5 User::factory(100)->create();6 }7}And re-seed our database again:
1php artisan migrate:fresh --seedSetup Front-end
Install npm dependencies and compile the assets for our project:
1npm install2npm run devNow, if you navigate to <APP_URL>/users, you should see the default table of users with our seeded data:

Ok, preparation is done, now let's build a button to export users, with Soketi.
Install and Run the Soketi Server
For the WebSockets server we're going to use Soketi, it is a simple and fast WebSockets server.
Node.js LTS (14.x, 16.x, 18.x) is required due to uWebSockets.js build limitations.
Soketi may be easily installed via the NPM CLI:
When using -g flag you need to be root (or use sudo) to be able to install the Soketi server globally.
1npm install -g @soketi/soketiIf installation fails with error code 128 as shown, delete the /root/.npm folder and try again.
1npm ERR! code 1282npm ERR! An unknown git error occurred3npm ERR! command git --no-replace-objects clone -b v20.10.0 ssh://[email protected]/uNetworking/uWebSockets.js.git /root/.npm/_cacache/tmp/git-cloneOvhFm4 --recurse-submodules --depth=14npm ERR! fatal: could not create leading directories of '/root/.npm/_cacache/tmp/git-cloneOvhFm4': Permission deniedAfter installation, a Soketi server using the default configuration may be started using...
Premium Members Only
This advanced tutorial is available exclusively to Laravel Daily Premium members.
Already a member? Login here
Premium membership includes:
soketi start gives me the error "zsh: command not found: soketi" how do I set it up globally?
sudo npm install -g @soketi/soketiTried that too but still not working. Seems I stille have to add a PATH in my .zshrc file
@Povilas you really add value to the devs community! Great tutorial at the right time for me! This premium subscription is the best money I've spent in years, thank you very much!
i'm not confident when have this display when deploy on production ...
I don't understand the point of this, as it remains stuck during PDF generation and it brings in a huge dependency. It's just as good to put up an hourglass during the generation time or use a worker. Then display when it's ready. I've been waiting for it to finish for over 5 minutes now without being able to do anything else.
it's seems overkill for me
It seems like you're going to need to update
npmandnodein the future on your server.which version ? already have the latest
probably then you can ignore it, it is just a notice anyway
I don't understand the point of this project, since Laravel Echo Server is free. It actually reminds me of projects that use Firebase but are vendor locking. Ultimately, I think the goal of this project is to learn how Laravel can avoid getting blocked while performing long processing tasks. However, in this project, when you switch pages or do other things, you lose your work.
This is another great tutorial, but i've got myself confused as i'm doing this in a small app i worked on some time ago but without soketi just pusher and echo and all works fine on a production server - interesting that i didn't need it.. i'm using the inertia/vue stack but shouldn't make a difference as far as i know hmm i must of over engineered (or just plain hacked) something somewhere :)
I see, it's basically because soketi is far cheaper than Pusher once you get out of Pushers sandbox environment..
What difference with laravel echo server ?
Not sure what you mean, echo is always there but then you need to serve from somewhere - if you look here https://pusher.com/channels/pricing then on soketi site you will see the price difference thats why i think people are moving to it - i'm only on sandbox messing around but anything with real traffic the lowest you can pay is $48 where as soketi is $5 for most needs..
I mean echo server is free
This is my first day in the premium community and my first comment.Hi :) I have no doubt about broadcasting and web sockets at all and if I want to have such behaviour from my noobish kind of view, I'd create a JS fetch request in an interval from client to server and on server I'd add a model "Event" where I'd check if something is ready on. A no-brainer to setup. What would be the downside, because I'd say, this is a ton less code, no external library, faster to set up?
BTW: Wouldn't it be a better UX to have the comment input above?
Welcome to the community! Well, an interval request is what it is: if you make a request every second and the result comes after 10 seconds then you just made 10 requests to the server. Multiply that by the amount of users on the website, and server performance downside may become significant. If you increase the interval to every 5 seconds, and result comes in 0.5 seconds, then you force your user to wait 4.5 seconds. Bad UX :)
Comment input above, what do you mean exactly? Above all the comments? Not sure, this is how default comments work in the tool I use - laravel-comments.com - no one else complained :)
Oh yes, that makes sense. I did not consider that. Thank you for your reply. With "Comment in put above" I mean above the commnts like it it e.g. on Reddit. If I am the only one complaining, I'm quit :)
I have followed all the steps but for some reason the export-pdf endpoint is always returning Unauthenticated, but I have registered a User and Logged in, anyone got any ideas what I've done wrong?
My route is matching the example exactly.
Hm... it is hard to tell without sample. Do you have an example repository?
Yes, thanks for quick reply, here is my repo: https://github.com/nige-n15/Laravel-Breeze-Pages-Skeleton
It is strange, because i just did check your repository personally and everything works!
Could you provide more details by describing steps how do you get this error?
I have screenshot the errors showing in my Developer console here. The errors occur after clicking on the export-pdf button.https://n1g3.com/soketi_errors.png
Could you please make a tutorial soketi with ssl using nginx?