There are a lot of textarea so-called WYSIWYG editors on the market. In this article, I took 4 popular ones - CKEditor, TinyMCE, Trix and Quill - and explained how to add them to a Laravel project, also adding a file/image upload feature in each case. Let's look at those examples.
Prepare Tasks CRUD
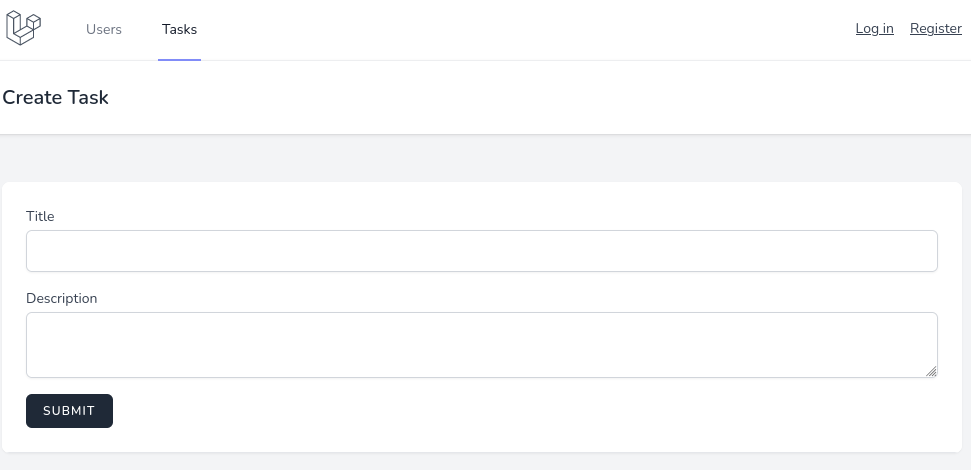
For demonstration of those text editors, we will prepare a demo project with a form: it will be a basic Tasks CRUD with only title (text) and description (textarea for the upcoming editor) fields.

Also, we're preparing two things for the upcoming file upload with the editors:
- For the file upload, every editor will POST to the route named
uploadwhich will useTaskControllermethodupload(). For now, it's empty - we will fill it in for every editor separately. - For managing images, we will use Spatie Media Library package. To install and prepare model to work with that package, read their documentation.
Ok, now as we prepared our form, let's add the editors, one by one. Each of those editors will have a separate branch in the Github repository, the links will provided below.
CKEditor
First, of course, we need to initialize the CKEditor. According to the docs, we need two steps for that:
- Load editor
- Create editor
In both create and edit forms, at the end of the file, before </x-app-layout>, add JS code.
resources/views/tasks/create.blade.php && resources/views/tasks/edit.blade.php:
    // ...
    @push('scripts')
        <script src="https://cdn.ckeditor.com/ckeditor5/35.1.0/classic/ckeditor.js"></script>
        <script>
            ClassicEditor
                .create(document.querySelector('#description'))
                .catch(error => {
                    console.error(error);
                });
        </script>
    @endpush
</x-app-layout>
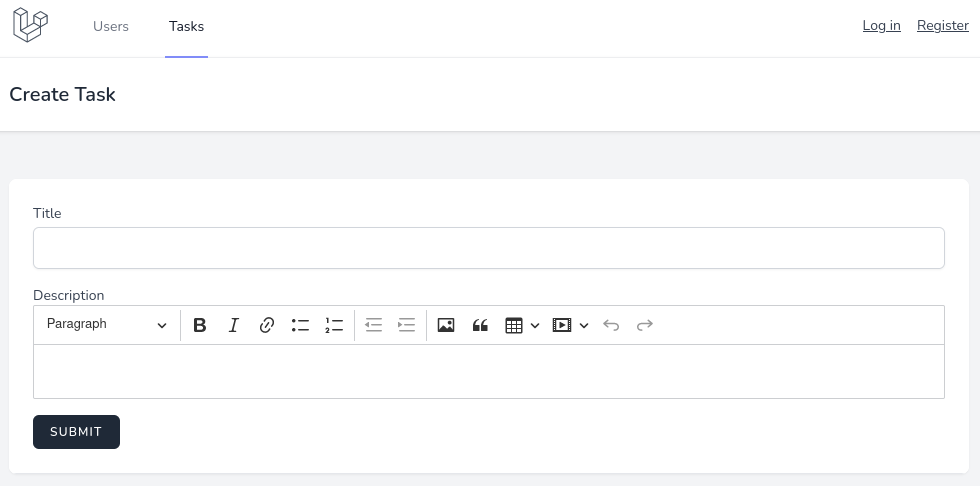
Now you should see CKEditor in your form.

Now, for file uploading, we will use...
Premium Members Only
This advanced tutorial is available exclusively to Laravel Daily Premium members.
Already a member? Login here
Premium membership includes:
Comments & Discussion
How can i delete a media if i deleted a task ?
im my network tab of chrome it gives a staut 500 xhr I can't get more info. In my laravel log there is no error. name: MyUrl/admin/upload?_token=fHX29rO6WUtnnl2yPwkdcyQ2U8pGmQRl23m6ptzR Status: 500 Type: XHR
And in uploadadapter an error: this.xhr.send( data );
i'm sorry it tooks so long. but this is my repository. https://github.com/lukeboy2002/TBV-TripleB/tree/Blog
I am getting below error for ckeditor used (via Quick admin)
Forbidden You don't have permission to access this resource.
Additionally, a 403 Forbidden error was encountered while trying to use an ErrorDocument to handle the request.
only for few forms and some forms its fine.
basically its because of
this is para 1
this is para 2

If I may ask which one did you use on the course comment section?
I love it, I want to use it on my next project
I've paid for laravel-comments.com from Spatie.
is there a course how to install it correctly? i'm facing a problems to run it correctly Thanks
I don't have a course, I've installed it from the documentation, ask the creators for more questions.