It's standard for companies to mark some clients as priority or VIP via specific tags. This can be achieved by a single column on the Customers table. Still, we will try implementing a more flexible solution - Tags table.
In this lesson, we will:
- Create
tagsDB structure: Model/Migration and abelongsToManyrelationship withcustomers - Create Seeds with semi-real data without factories
- Create a Filament Resource for Tags
- Add a
ColorPickerfield to the form and aColorColumncolumn to the table - Add a
DeleteActionto the table with validation if that record is used - Add tags to the Customer form with
Select::make()->multiple() - Add tags to the Customer table in the same column of
nameusingformatStateUsing()and rendering a separate Blade View
Adding a specific color label will help us mark clients and make them stand out in the list. For that, we will need:
-
id -
name -
color
Let's get started!
Creating Tags Database
Let's start with our migration:
Migration
Schema::create('tags', function (Blueprint $table) { $table->id(); $table->string('name'); $table->string('color')->nullable(); $table->timestamps();});Since we know that our Customers can have more than one Tag, we will create a pivot table:
Migration
use App\Models\Customer;use App\Models\Tag; // ... Schema::create('customer_tag', function (Blueprint $table) { $table->foreignIdFor(Customer::class)->constrained(); $table->foreignIdFor(Tag::class)->constrained();});Then, fill out the model:
app/Models/Tag.php
use Illuminate\Database\Eloquent\Model;use Illuminate\Database\Eloquent\Relations\BelongsToMany; class Tag extends Model{ protected $fillable = ['name', 'color']; public function customers(): BelongsToMany { return $this->belongsToMany(Customer::class); }}Now that we have our database ready, we can create a few Tag seeds:
database/seeders/DatabaseSeeder.php
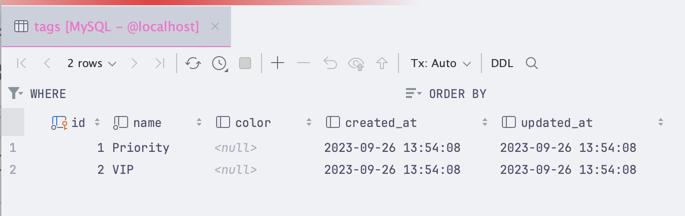
use App\Models\Tag; // ... public function run(): void{ // ... $tags = [ 'Priority', 'VIP' ]; foreach ($tags as $tag) { Tag::create(['name' => $tag]); }}Running migrations and seeds:
php artisan migrate:fresh --seedShould now give us a few tags in the database:
Finally, we can add a relationship to our Customer model:
app/Models/Customer.php
use Illuminate\Database\Eloquent\Relations\BelongsToMany; // ... public function tags(): BelongsToMany{ return $this->belongsToMany(Tag::class);} // ...Creating Tags Resource
Let's create a new resource for our Tags:
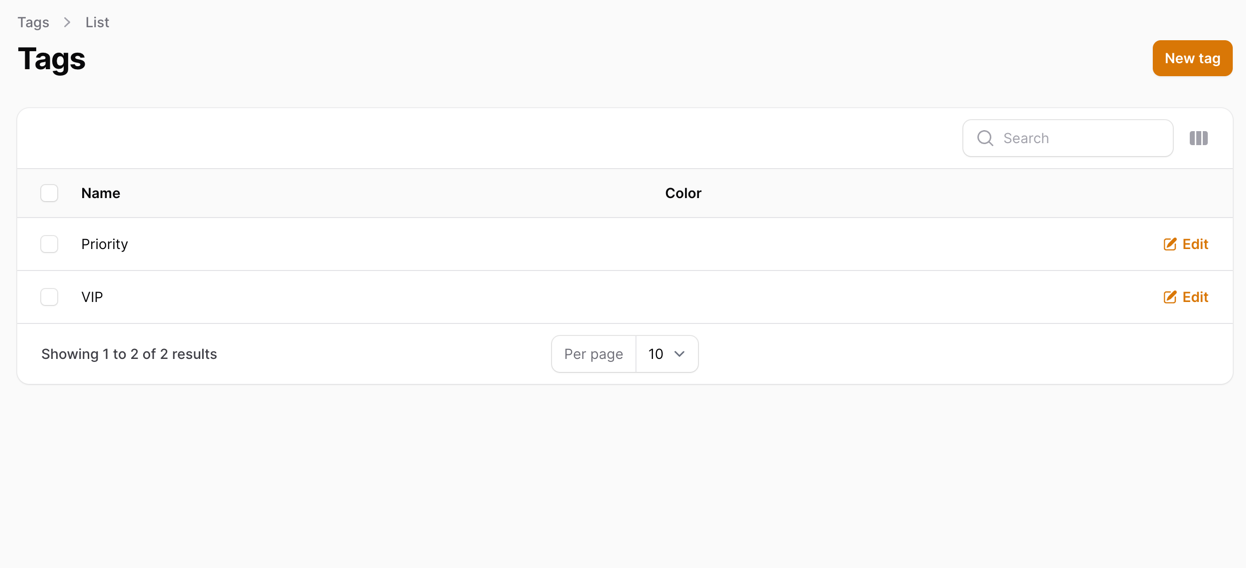
php artisan make:filament-resource Tag --generateOnce all the files are created, we can visit this page in our browser:
And we should check our Create form:
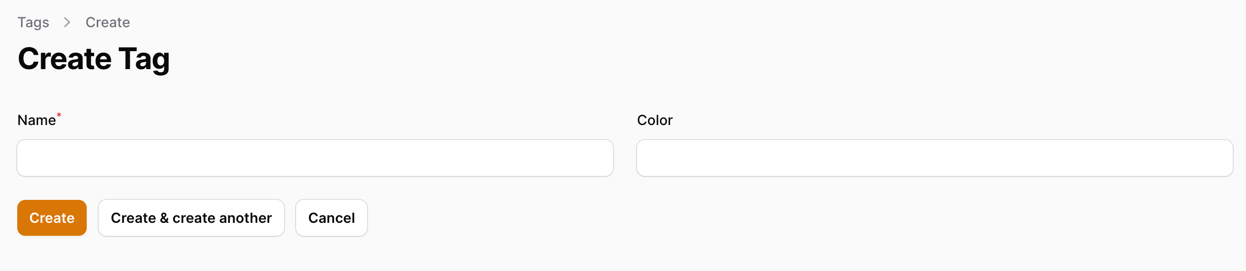
And while it works, we can instantly see an issue - no color picker. Let's fix that:
app/Filament/Resources/TagResource.php
// ... public static function form(Form $form): Form{ return $form ->schema([ Forms\Components\TextInput::make('name') ->required() ->maxLength(255), Forms\Components\TextInput::make('color') ->maxLength(255), Forms\Components\ColorPicker::make('color') ]);}// ...Now, if we visit our Create form, we should see a color picker:
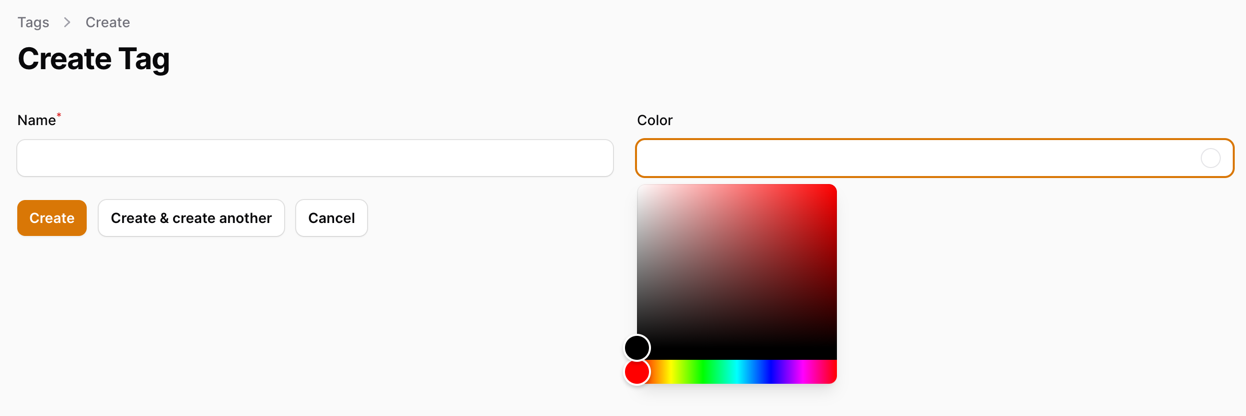
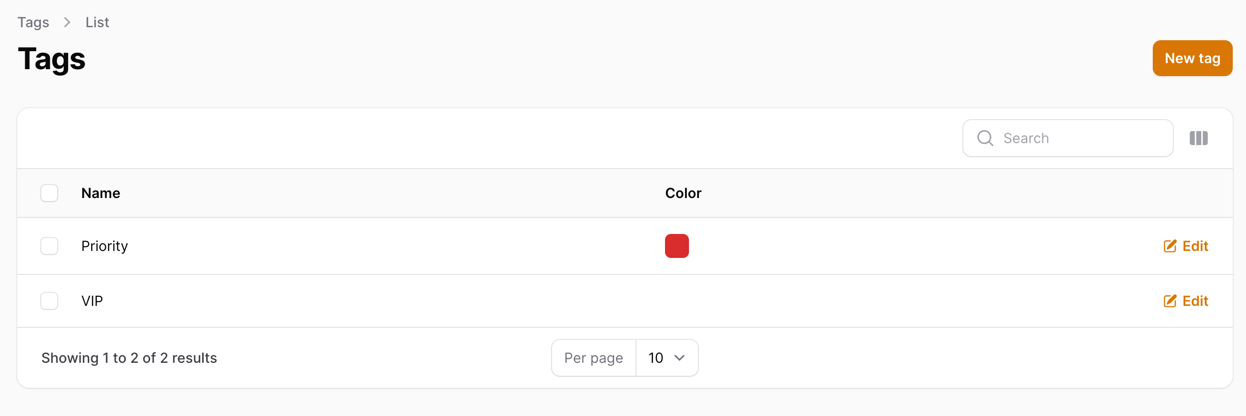
And, of course, we should view that color in our list:
app/Filament/Resources/TagResource.php
// ... public static function table(Table $table): Table{ return $table ->columns([ Tables\Columns\TextColumn::make('name') ->searchable(), Tables\Columns\TextColumn::make('color') Tables\Columns\ColorColumn::make('color') ->searchable(), Tables\Columns\TextColumn::make('created_at') ->dateTime() ->sortable() ->toggleable(isToggledHiddenByDefault: true), Tables\Columns\TextColumn::make('updated_at') ->dateTime() ->sortable() ->toggleable(isToggledHiddenByDefault: true), ]) ->filters([ // ]) ->actions([ Tables\Actions\EditAction::make(), ]) ->bulkActions([ Tables\Actions\BulkActionGroup::make([ Tables\Actions\DeleteBulkAction::make(), ]), ]);} // ...Which should give us:
Then, of course, we should secure our Tag deletion so that we don't delete a Tag that's in use:
app/Filament/Resources/TagResource.php
public static function table(Table $table): Table{ return $table ->columns([ // ... ]) ->filters([ // ]) ->actions([ Tables\Actions\EditAction::make(), Tables\Actions\DeleteAction::make() ->action(function ($data, $record) { if ($record->customers()->count() > 0) { Notification::make() ->danger() ->title('Tag is in use') ->body('Tag is in use by customers.') ->send(); return; } Notification::make() ->success() ->title('Tag deleted') ->body('Tag has been deleted.') ->send(); $record->delete(); }) ]) ->bulkActions([ // ]);}// ...Last, we should move it to the settings dropdown:
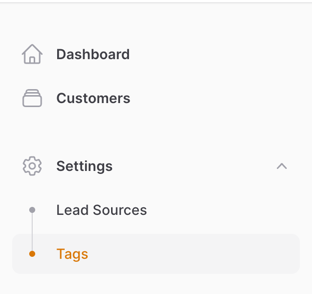
app/Filament/Resources/TagResource.php
class TagResource extends Resource{ protected static ?string $model = Tag::class; protected static ?string $navigationGroup = 'Settings'; protected static ?string $navigationIcon = 'heroicon-o-rectangle-stack'; // ...}Loading the page, we should see it in the dropdown:
Modifying Customers Resource
Now that we have our Tags resource in Filament, we can modify our Customer to use Tags:
Here's what we will need to do:
- Add a multi-select field to the Customer form
- Add labels after the Customer name in the list
Let's start with the form:
app/Filament/Resources/CustomerResource.php
// ... public static function form(Form $form): Form{ return $form ->schema([ Forms\Components\TextInput::make('first_name') ->maxLength(255), Forms\Components\TextInput::make('last_name') ->maxLength(255), Forms\Components\TextInput::make('email') ->email() ->maxLength(255), Forms\Components\TextInput::make('phone_number') ->maxLength(255), Forms\Components\Textarea::make('description') ->maxLength(65535) ->columnSpanFull(), Forms\Components\Select::make('lead_source_id') ->relationship('leadSource', 'name'), Forms\Components\Select::make('tags') ->relationship('tags', 'name') ->multiple(), ]);} // ...This should have added a multi-select field to our form that allows us to select multiple tags like this:

Next, we need to display it. But this is tricky since we need to render HTML next to our Customer name. For that, we will create a custom view:
resources/views/customer/tagsList.blade.php
@foreach($tags as $tag) <div class="fi-badge flex items-center justify-center gap-x-1 rounded-md text-xs font-medium ring-1 ring-inset px-1.5 min-w-[theme(spacing.5)] py-0.5 tracking-tight" style="background: {{ $tag->color }}; display: inline-block;"> <span class="grid"> <span class="truncate">{{ $tag->name }}</span> </span> </div>@endforeachThis view accepts a $tags list and simply displays a nice button colored with tag color via inline styles. To use this view, we need to modify our CustomerResource:
app/Filament/Resources/CustomerResource.php
// ... public static function table(Table $table): Table{ return $table ->modifyQueryUsing(function ($query) { // Here we are eager loading our tags to prevent N+1 issue return $query->with('tags'); }) ->columns([ Tables\Columns\TextColumn::make('first_name') ->label('Name') ->formatStateUsing(function ($record) { return $record->first_name . ' ' . $record->last_name; }) ->formatStateUsing(function ($record) { $tagsList = view('customer.tagsList', ['tags' => $record->tags])->render(); return $record->first_name . ' ' . $record->last_name . ' ' . $tagsList; }) ->html() ->searchable(['first_name', 'last_name']), // ... ]) // ... ->bulkActions([ Tables\Actions\BulkActionGroup::make([ Tables\Actions\DeleteBulkAction::make(), ]), ]);} // ...Take a good look at this line of code:
$tagsList = view('customer.tagsList', ['tags' => $record->tags])->render();Here, we are loading a view with tags and calling ->render() at the end of the line. This renders the Blade file into an HTML string that we can use in our column. By doing this and adding ->html() to our column, we get the following result:
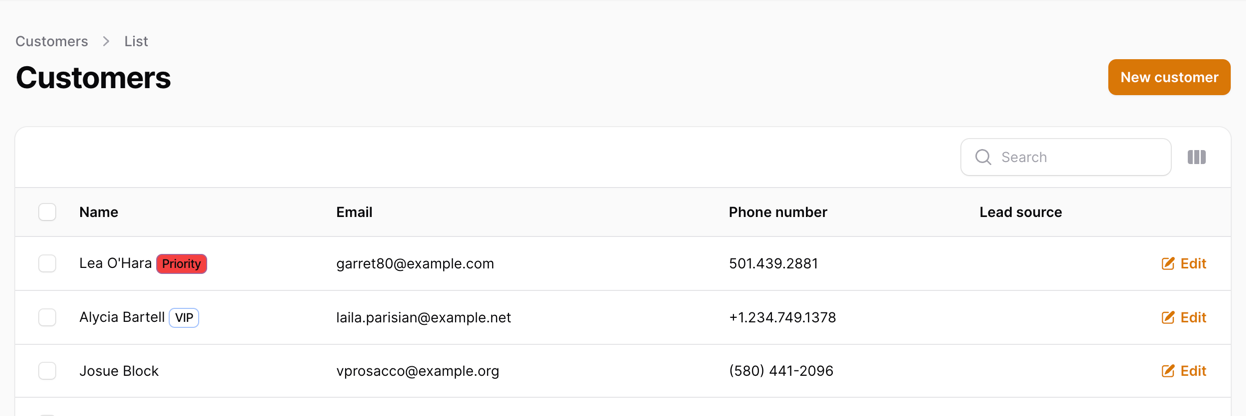
Our tags now have colors - red for Priority and no color for VIP (since we didn't specify one).
That's it for this lesson. Next time, we will add Pipeline Stages to take our Customers through the sales process.
add this comand php artisan make:migration create_customer_tag_table and you suld explain also the order of the tables
This course mainly focuses on Filament side and not on Laravel side of things. So adding the migration and explaning the order - seems to be out of scope for this course.
The course doesn't have videos ?
No, sorry. We are focusing on text based courses nowadays
Getting 1+n problem with this. It does not eagerload the tags, so if I want to see 100 results on each page, I get 100 queries like this
You are right, this was indeed an issue! Updating the article, but to fix it - you need to add:
To your table. This will eager load the relationships!
Where are you getting:
I don't see this in the coud abouve!
Whit I see is:
It's an extra field I have added in my code, since my CRM mainly is B2B.
I have added "->options(Tag::pluck('name', 'id')->toArray())" in "Forms\Components\Select::make('tags')" in order to have listed the tags. If not, you have to remember them.
Well... using "->preload()" is the same result and shorter.
I hope it can help someone.