Now, let's quickly review the other useful customization options in the configuration.
1. Custom Colors
If you want to introduce a new color to the default palette, include it in your resources/css/app.css CSS file as a theme variable.
resources/css/app.css:
// ... @theme { --color-primary: #5164f7; --color-saffron-50: #fefce8; --color-saffron-100: #fdf7c4; --color-saffron-200: #fced8c; --color-saffron-300: #fadb4a; --color-saffron-400: #f6c619; --color-saffron-500: #e6ad0c; --color-saffron-600: #c78507; --color-saffron-700: #9e5f0a; --color-saffron-800: #834b10; --color-saffron-900: #6f3d14; --color-saffron-950: #411f07;}That allows you to:
- define arbitrary
primarycolor, andtext-primary,bg-primarybecomes available to use - define color object with shades to use:
text-saffron-300,bg-saffron-900etc.
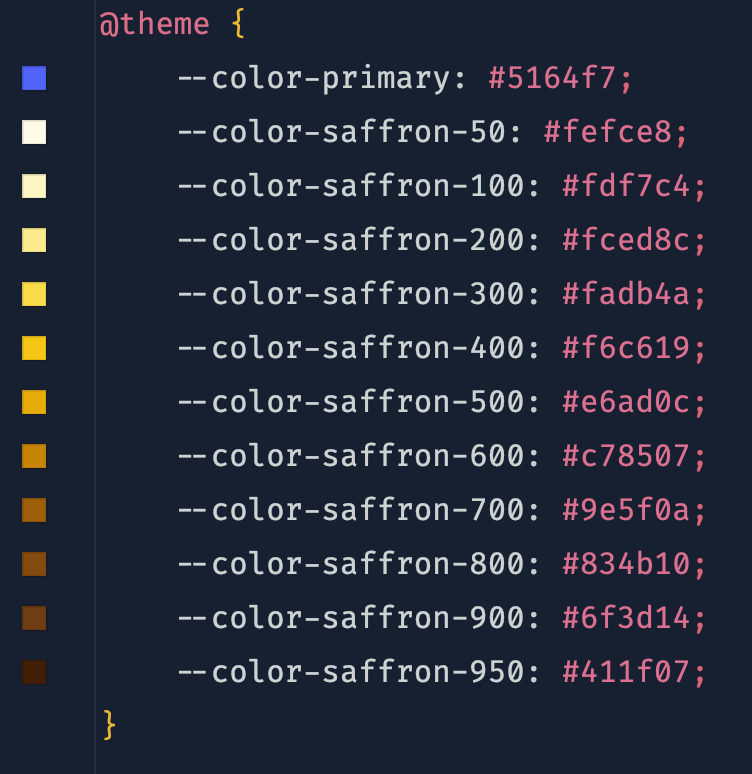
In the editor, it may look like this:

You can also include all available Tailwind colors at once by copying all the values from the docs.
The Tailwind CSS Color Generator helps generate color objects and is a valuable tool.
2. Custom Fonts
Let's add some custom Roboto fonts from Google Fonts library. Include provided font <link> tags into <head> section of your HTML:
<head> <!-- ... --> <link rel="preconnect" href="https://fonts.googleapis.com"> <link rel="preconnect" href="https://fonts.gstatic.com" crossorigin> <link href="https://fonts.googleapis.com/css2?family=Roboto:wght@400;500;700&display=swap" rel="stylesheet"></head>Then add the --font-sans to the resources/css/app.css as a theme.
resources/css/app.css:
// ... @theme { --font-sans: 'Roboto';}3. Plugins
You can add plugins to extend your TailwindCSS installation further.
3.1 Forms plugin
For instance, the official @tailwindcss/forms plugin adds a form reset layer, simplifying the styling of form elements using utility classes. It is included by default with the Laravel Breeze starter kit.
resources/css/app.css:
// ... @plugin "@tailwindcss/forms";3.2 Typography plugin
Another example is the @tailwindcss/typography plugin, which introduces a set of prose classes for applying typographic styles to content blocks sourced from formats like markdown or a CMS database.
Let's see that in action, first install the plugin via npm:
npm install @tailwindcss/typography --save-devAnd add this plugin to the config.
resources/css/app.css:
// ... @plugin "@tailwindcss/typography";Now, we can apply a single prose class to the whole HTML section to style it.
<article class="prose"> <h1>Exploring the Vast Unknown: A Journey into the Cosmos</h1> <p> Space, the seemingly infinite expanse surrounding our planet, has long captivated the human imagination. </p> <p> From the mesmerizing dance of celestial bodies to the mysteries of dark matter, the cosmos holds secrets that intrigue scientists and astronomers alike. Embarking on a cosmic journey allows us to contemplate the awe-inspiring scale and beauty of the universe, fostering a profound appreciation for the wonders that lie beyond our earthly confines. </p> <h2>Three Random facts about cosmos</h2> <ul> <li>The universe is continuously expanding</li> <li>Despite our advancements in astrophysics, the majority of the universe's mass is composed of dark matter, a mysterious and invisible substance that neither emits, absorbs, nor reflects light</li> <li>The afterglow of the Big Bang, known as the cosmic microwave background radiation, permeates the entire universe</li> </ul></article>Result:


In the file tailwind.config.js
It must be?
By default, Tailwind makes the entire default color palette available as text decoration colors. You can customize your color palette by editing
theme.colorsortheme.extend.colorsin your tailwind.config.js file.https://tailwindcss.com/docs/text-decoration-color#customizing-your-theme
It shouldn't matter much in this case.
I know, I can use.
And
But, can you use? (It's in the tutorial)
For me, I cannot use it. I use Tailwind 3.1.0 and Laravel 10.35.0. So, does it work on other version?
yes, you can
Thank you, that is it.