Laravel Debugbar is one of the most popular Laravel packages. It's mostly used for checking the SQL queries, but there are more features inside. Let's look at some of them.

In this tutorial, we will look at these features:
- Measuring how long it takes for a small piece of code to run
- What emails were sent in a request
- Debug your code without using
dd()ordump() - Historical data of other requests
So, let's dive into it.
1. Measuring Time
Let's start by measuring times like this:

Or this:

In both cases, we surround our code with DebugBar-specific functions:
start_measure('Creating Order'); $orderStatus = Order::distinct()->pluck('status'); $order = Order::factory() ->hasOrderProducts(random_int(1, 10)); if ($orderStatus->count() > 3) { $order = $order->create(['status' => $orderStatus->random()]);} else { $order = $order->create();} stop_measure('Creating Order');This allows us to see how long it took for the code to run between the two functions. And it's usage is pretty simple:
start_measure('Measurement Name'); // Your code that is slow stop_measure('Measurement Name');Or even simpler:
measure('Measurement Name', function () { // Your code that is slow});This is useful when you have a long page load time and want to see what is causing it. Just wrap different parts of your code with start_measure and stop_measure, and you will see what is causing the problem.
2. Mail Collector
Another helpful feature is the mail collector. It allows you to see what emails were sent during a request.
For example, we send an email when a new order is created:
$order = Order::factory() ->hasOrderProducts(random_int(1, 10)); if ($orderStatus->count() > 3) { $order = $order->create(['status' => $orderStatus->random()]);} else { $order = $order->create();} stop_measure('Creating Order'); auth()->user()->notify(new OrderCreatedNotification($order->id)); Now, once this code runs, we can see the email in the mail collector:

This allows you to see what emails were sent and to whom. But that's not all. If you use the log mail driver locally, you can see the email content as well in the Messages tab:

Combining both, you can see what emails were sent and what was in them. Great for testing and debugging.
3. Messages
Last is the magical Messages tab. We've seen Emails appear on it, but what else can we put there?
In short - anything. This can be used as a replacement for dd() or dump() functions. For example, we can put a message in it:
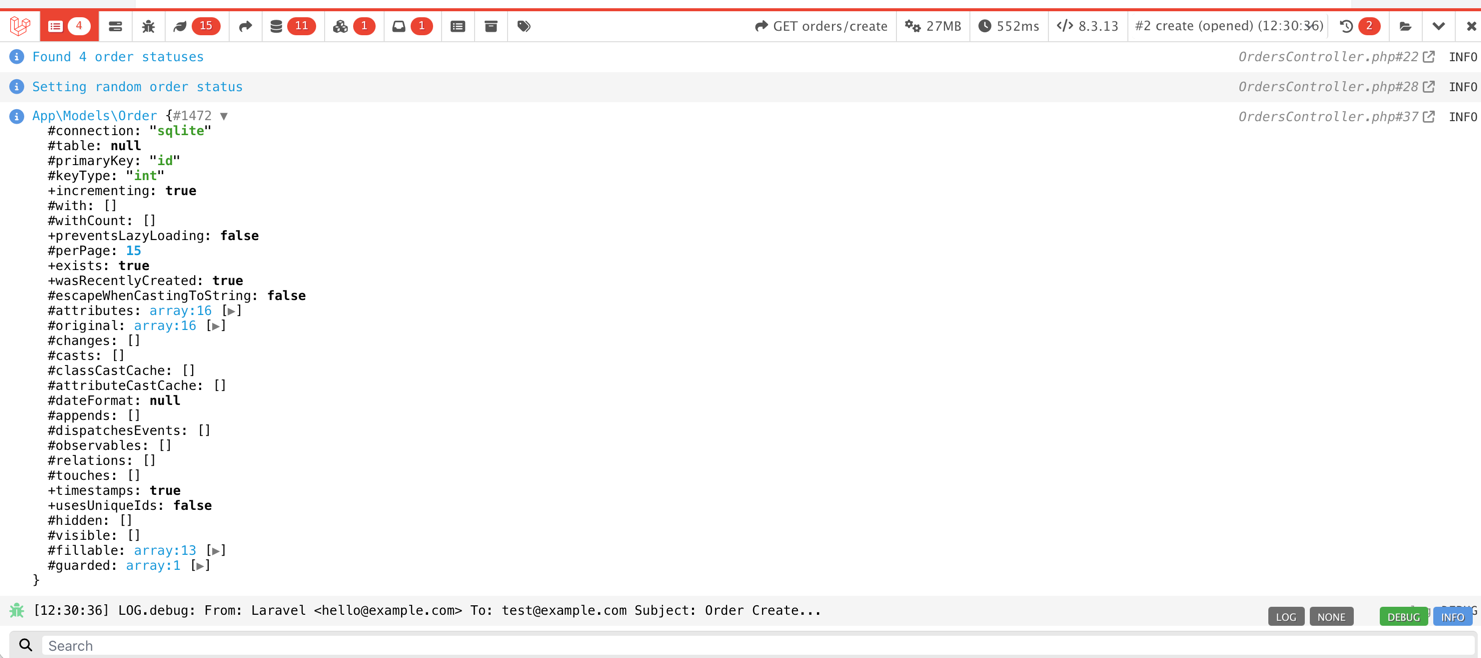
$orderStatus = Order::distinct()->pluck('status'); Debugbar::info('Found ' . $orderStatus->count() . ' order statuses'); $order = Order::factory() ->hasOrderProducts(random_int(1, 10)); if ($orderStatus->count() > 3) { Debugbar::info('Setting random order status'); $order = $order->create(['status' => $orderStatus->random()]);} else { Debugbar::info('Creating new order with new status'); $order = $order->create();} auth()->user()->notify(new OrderCreatedNotification($order->id)); return redirect()->back();Now, when we run this code, we can see the messages in the Messages tab:

As you can see, we got the messages we put in the code. It even included the File and Line where the message came from. And all of this without using dd() or dump() that would break our UI in some ways.
Worth mentioning that it can also dump objects and arrays:
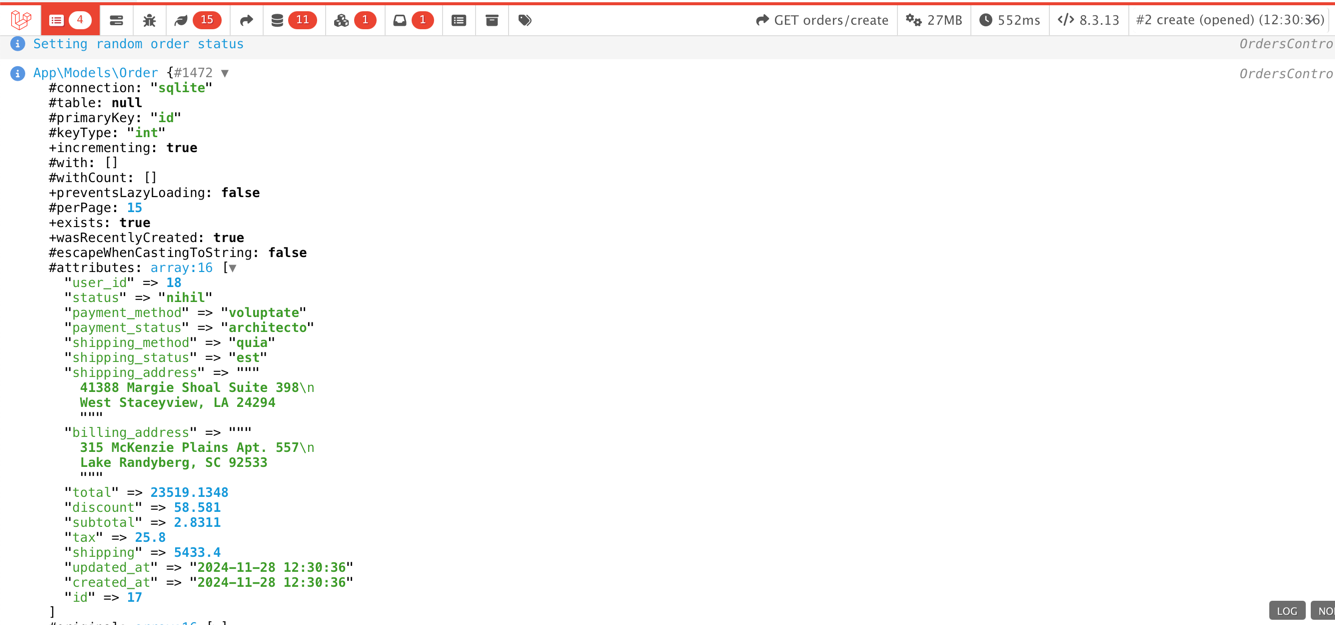
$orderStatus = Order::distinct()->pluck('status'); Debugbar::info('Found ' . $orderStatus->count() . ' order statuses'); $order = Order::factory() ->hasOrderProducts(random_int(1, 10)); if ($orderStatus->count() > 3) { Debugbar::info('Setting random order status'); $order = $order->create(['status' => $orderStatus->random()]);} else { Debugbar::info('Creating new order with new status'); $order = $order->create();} Debugbar::info($order); auth()->user()->notify(new OrderCreatedNotification($order->id)); return redirect()->back();This will output the $order object in the Messages tab:

And it's even clickable:

This helps when you want to execute the code and see what is happening without breaking the UI or using dd().
4. Historical Data
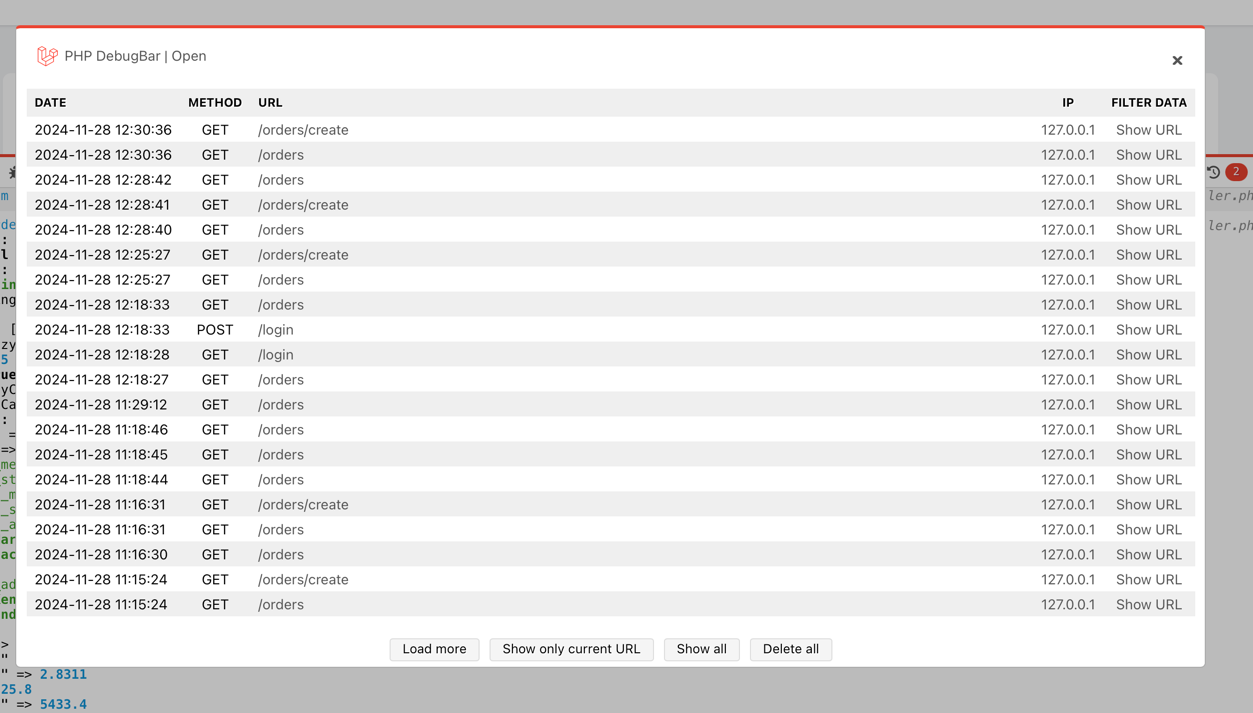
Lastly, the DebugBar stores the data for the whole request. This means you can see what happened during the request even after the request is done. Just click on:

And it will open all requests that you made:

From there, just click on any `URL' you want to see, and DebugBar will open it for you. This is great when you want to see what happened during the request or even compare multiple requests.
These are the less-known features of Laravel Debugbar. Would you add something to this list that you often use yourself?

Thank you, this was my most expected in the older days.