File upload is one of the most popular features in modern web. And we have quite a few libraries that can help us to build upload form. Let's take two of my favorites - Dropzone on the front-end, and Spatie MediaLibrary on the back-end, and build a great uploading experience, in this tutorial.
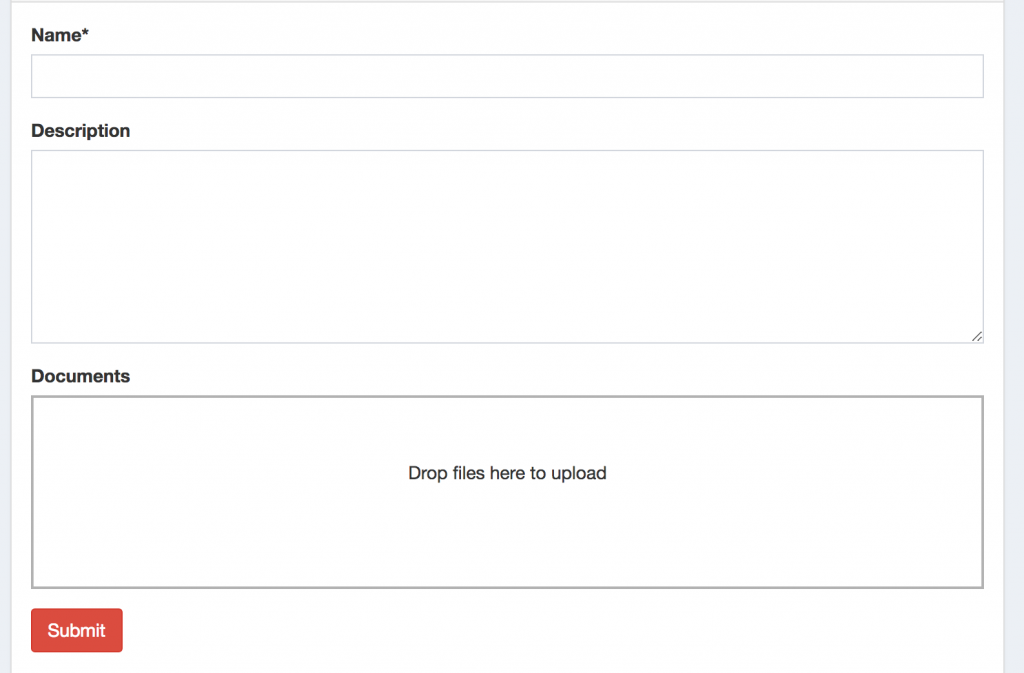
First, what we're building here. A simple for to add Projects, where you can also upload multiple files for every project.

As you can see, file upload has a big block instead of just an input file field. That's how Dropzone works. But let's take it one step at a time.
Step 1. MediaLibrary Installation
Let's prepare the back-end, where we will actually store the files. We install the package like this:
composer require spatie/laravel-medialibrary:^10.0.0Next, we publish their migration files, and run migrations:
php artisan vendor:publish --provider="Spatie\MediaLibrary\MediaLibraryServiceProvider" --tag="migrations"
php artisan migrate
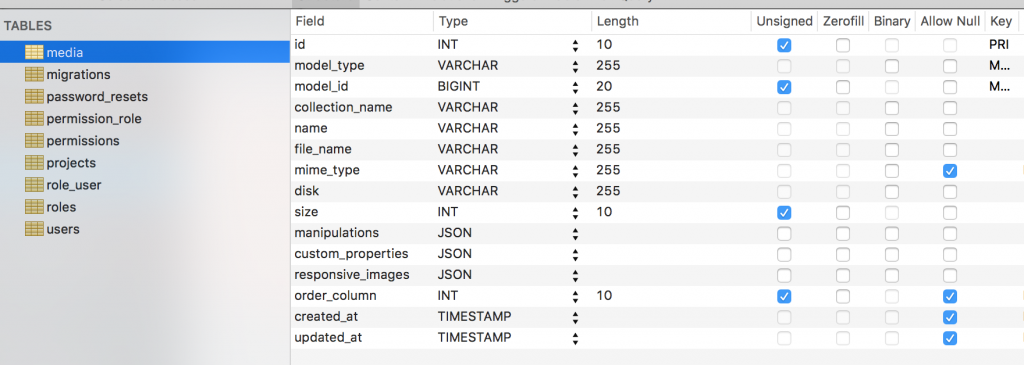
By this time, we should have media table in our database.

This table uses Polymorphic Relations, so in our case will store records with model_type field equals app/Models/Project, which means that media file will be assigned to a project (not to a user, or anything else).
Step 2. Adding Dropzone.js code
In our Blade file, with the form, we need to add JavaScript code for Dropzone. There are multiple ways to do it, depending how you structure your whole Blade architecture, but here's my version of resources/views/admin/projects/create.blade.php:
<form action="{{ route("projects.store") }}" method="POST" enctype="multipart/form-data">
    @csrf

    {{-- Name/Description fields, irrelevant for this article --}}

    <div class="form-group">
        <label for="document">Documents</label>
        <div class="needsclick dropzone" id="document-dropzone">

        </div>
    </div>
    <div>
        <input class="btn btn-danger" type="submit">
    </div>
</form>
Ok, so what you can see here?
- Full form is gonna be submitted to projects.store route - we will get to that later
- Dropzone block is just a DIV with ID and some classes, how will it actually work?
Ok ok, let's add the JavaScript to make it actually work. At the end of the Blade file, I have this section:
@section('scripts')
<script>
  var uploadedDocumentMap = {}
  Dropzone.options.documentDropzone = {
    url: '{{ route('projects.storeMedia') }}',
    maxFilesize: 2, // MB
    addRemoveLinks: true,
    headers: {
      'X-CSRF-TOKEN': "{{ csrf_token() }}"
    },
    success: function (file, response) {
      $('form').append('<input type="hidden" name="document[]" value="' + response.name + '">')
      uploadedDocumentMap[file.name] = response.name
    },
    removedfile: function (file) {
      file.previewElement.remove()
      var name = ''
      if (typeof file.file_name !== 'undefined') {
        name = file.file_name
      } else {
        name = uploadedDocumentMap[file.name]
      }
      $('form').find('input[name="document[]"][value="' + name + '"]').remove()
    },
    init: function () {
      @if(isset($project) && $project->document)
        var files =
          {!! json_encode($project->document) !!}
        for (var i in files) {
          var file = files[i]
          this.options.addedfile.call(this, file)
          file.previewElement.classList.add('dz-complete')
          $('form').append('<input type="hidden" name="document[]" value="' + file.file_name + '">')
        }
      @endif
    }
  }
</script>
@stop
Looks complicated, doesn't it? No worries, I will point to the actual places you need to look at:
- route('admin.projects.storeMedia') - that would be the URL to process the file that has been dropped into the area, before the actual form is submitted;
- $('form').append() - after the URL above will do the job of uploading the file, we will take its filename and add a hidden input array field with that filename. And later on submitting the form we will process only that filename and assign it where appropriate;
- There's also function to remove file, then that hidden field is also being deleted;
- A few more details like CSRF-token or 2 MB upload restriction, but I think you will figure it out.
Notice: this JavaScript code will also work without any changes for edit form, not only create.
Now, keep in mind that this section cannot come just like that. In the main "parent" Blade layout file you should load some more scripts and @yield('scripts') command. Here are excerpts from my resources/views/layouts/admin.blade.php:
{{-- CSS assets in head section --}}
<link href="https://cdnjs.cloudflare.com/ajax/libs/dropzone/5.5.1/min/dropzone.min.css" rel="stylesheet" />

{{-- ... a lot of main HTML code ... --}}

{{-- JS assets at the bottom --}}
<script src="https://cdnjs.cloudflare.com/ajax/libs/jquery/3.3.1/jquery.min.js"></script>
<script src="https://cdnjs.cloudflare.com/ajax/libs/twitter-bootstrap/3.3.7/js/bootstrap.js"></script>
{{-- ...Some more scripts... --}}
<script src="https://cdnjs.cloudflare.com/ajax/libs/dropzone/5.5.1/min/dropzone.min.js"></script>
@yield('scripts')

</html>
So, as you can see, we're loading jQuery, Bootstrap theme and Dropzone CSS+JS from CDN.
Ok, at this point, we should be able to drop the files into our Dropzone block, but they are not being uploaded yet. We need to implement that route('projects.storeMedia') part.
Step 3. Uploading the Files
First, our routes/web.php will have this line:
Route::post('projects/media', [ProjectsController::class, 'storeMedia'])->name('projects.storeMedia');
Now, let's go to app/Http/Controllers/ProjectsController.php:
public function storeMedia(Request $request)
{
    $path = storage_path('tmp/uploads');

    if (!file_exists($path)) {
        mkdir($path, 0777, true);
    }

    $file = $request->file('file');

    $name = uniqid() . '_' . trim($file->getClientOriginalName());

    $file->move($path, $name);

    return response()->json([
        'name'          => $name,
        'original_name' => $file->getClientOriginalName(),
    ]);
}
Nothing magical here, just using standard Laravel/PHP functions to upload file, forming its unique filename, and returning it along with original name, as JSON result, so that Dropzone script could continue its work.
Notice: I store files temporarily in storage/tmp/uploads, you may choose other location.
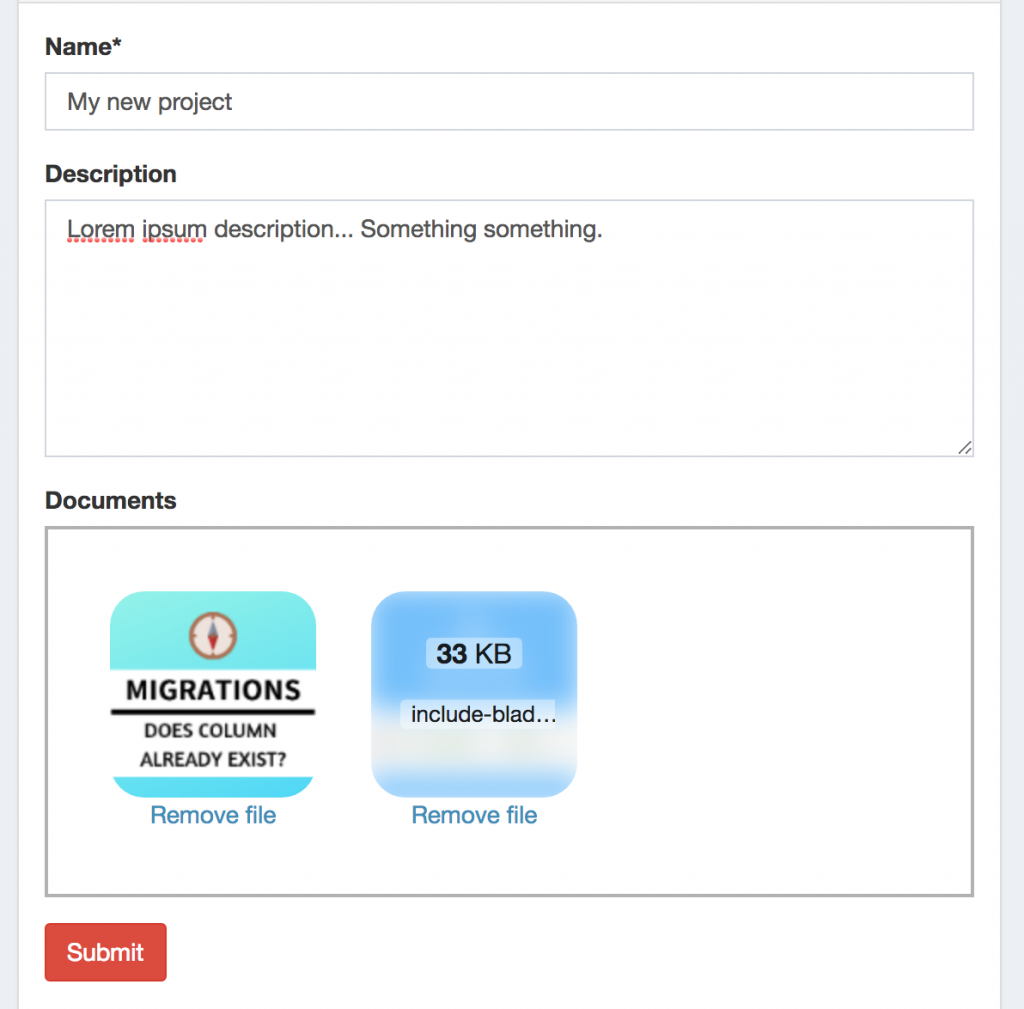
Ok, we're getting close. Now we have files in our server, but no entry in the database, because Project form isn't submitted yet. It looks something like this:

Now, let's hit Submit and see how to tie it all together.
Step 4. Submitting the Form
After we click Submit, we land on the method ProjectsController@store(), which is typical for Laravel resource controller. Here's the code:
public function store(StoreProjectRequest $request)
{
    $project = Project::create($request->all());

    foreach ($request->input('document', []) as $file) {
        $project->addMedia(storage_path('tmp/uploads/' . $file))->toMediaCollection('document');
    }

    return redirect()->route('projects.index');
}
Looks simple, doesn't it? Typical creating of Project record, and then going through each hidden document field (remember, we create them after each file upload), and adding them into Media Library.
At this point, you should have records in media database table, related to the Project's ID that you have just saved.
Step 5. Edit/Update Form
If you want to have the same functionality in Edit form, the front-end part (Blade/JavaScript) remains almost unchanged, the important part is how to save the update files with record. So we're looking at ProjectController again:
public function update(UpdateProjectRequest $request, Project $project)
{
    $project->update($request->all());

    if (count($project->document) > 0) {
        foreach ($project->document as $media) {
            if (!in_array($media->file_name, $request->input('document', []))) {
                $media->delete();
            }
        }
    }

    $media = $project->document->pluck('file_name')->toArray();

    foreach ($request->input('document', []) as $file) {
        if (count($media) === 0 || !in_array($file, $media)) {
            $project->addMedia(storage_path('tmp/uploads/' . $file))->toMediaCollection('document');
        }
    }

    return redirect()->route('admin.projects.index');
}
In other words, first we delete unused files, and then assign only those that are not in the media list yet.
Step Homework: Clean-up
I didn't put it in this article, but you may want to handle the situation when people upload the files on the form but then don't hit final Submit. It means that the files are still stored on the server.
It's up to you how to deal with them - save in user's "memory" somewhere for future use, or maybe create a separate cron-based Artisan command to cleanup all those files that have not been used.
That's it! For more information, visit official documentations of both packages and Laravel Filesystem.

Hi Povilas, Can you give some shoot about this library (dropzone js) and how it's work with livewire 3?