
IMPORTANT: this course is for older Laravel 11, released in 2024. We have a new VIDEO course for the LATEST version: Laravel 12 for Beginners: Your First Project.
Until now, we have been working with existing data and only showing it, not entering it. Now, let's look at how we can manage the data.
We will create a simple admin panel to manage categories and posts. For that, we will create a separate Laravel project based on the same Models and database structure. Why do we need a separate project? Two reasons:
- Starter Kits. Laravel has starter kits to help with authentication and authorization. Features like login, logout, and register come out of the box with Laravel ecosystem packages. This course will use Laravel Breeze because it is simpler. Starter kits must be installed on a fresh Laravel project because they overwrite some files. That's why we can't use our existing project.
- Visual Design. We have used a simple Bootstrap template for the front page. Starter kits use Tailwind, which would also conflict with our current project code.
Notice: Tailwind is not a requirement to use Laravel. If you still prefer Bootstrap, there's a separate older laravel/ui starter kit for that.
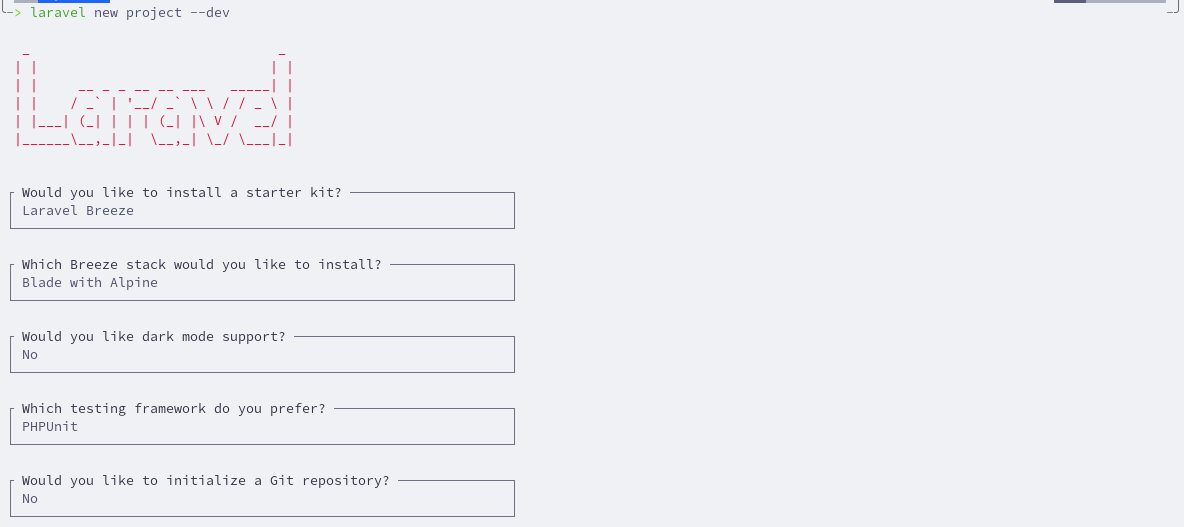
So, when you create a new project using Laravel Installer, you may choose to install a starter kit. We will select Laravel Breeze with the stack Blade with Alpine. The testing framework doesn't matter, as we won't write tests in this course.
If you have created a new Laravel project without choosing a starter kit, you can install Laravel Breeze as any other package using Composer.
composer require laravel/breezeNext, let's re-create the same Models with Migrations as in previous lessons.
php artisan make:model Category -mphp artisan make:model Post -mpublic function up(): void{ Schema::create('categories', function (Blueprint $table) { $table->id(); $table->string('name'); $table->timestamps(); });}database/migrations/xxx_create_posts_table.php:
public function up(): void{ Schema::create('posts', function (Blueprint $table) { $table->id(); $table->string('title'); $table->text('text'); $table->foreignId('category_id')->constrained(); $table->timestamps(); });}Migrate the database.
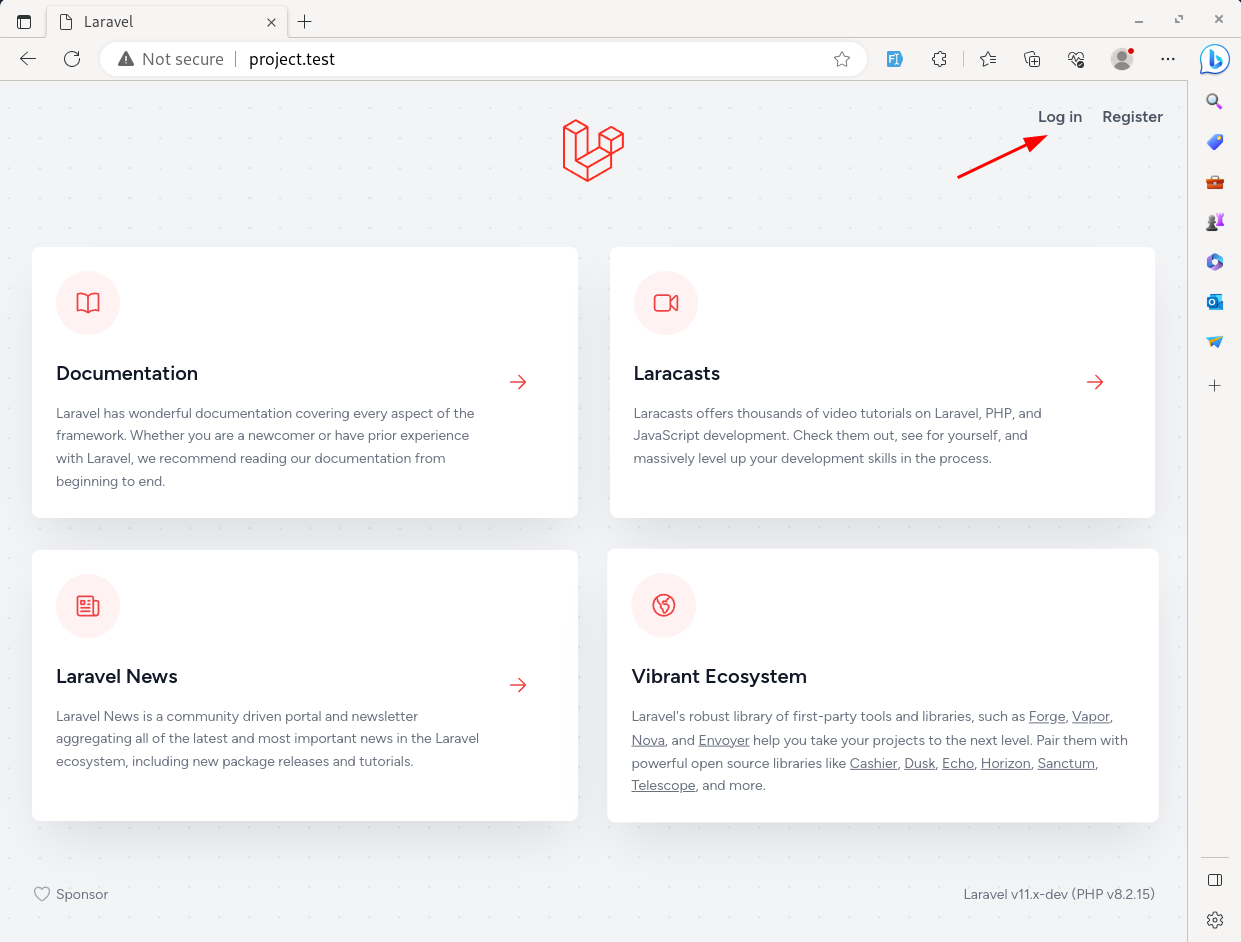
php artisan migrateThe home page looks the same as a default Welcome page but has two new links to the Login and Register pages at the top right.
The Breeze register page looks as in the image below.

After registering, we see the Breeze dashboard.
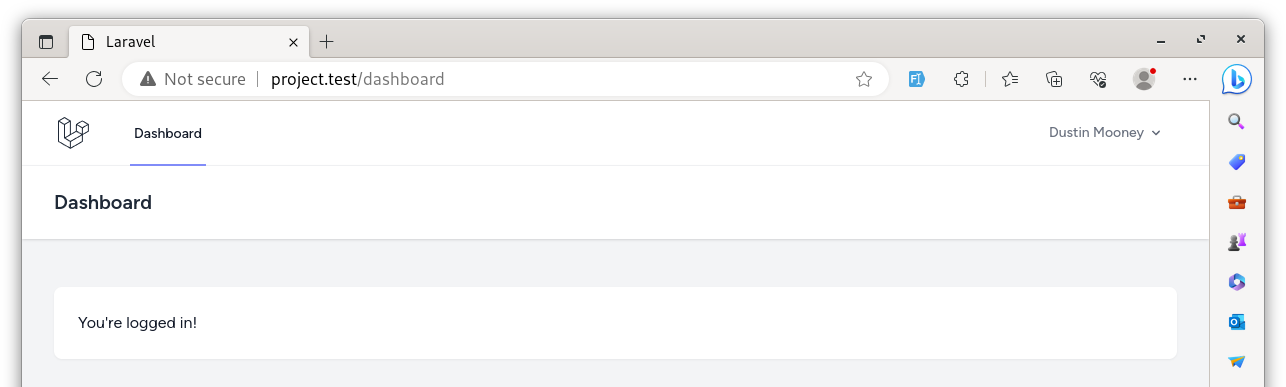
This way, using Laravel Breeze, we have a simple design for logging in, registering, and updating profile pages.
Breeze New Routes
Laravel Breeze automatically adds a few routes below the default Welcome page.
routes/web.php:
use App\Http\Controllers\ProfileController; Route::get('/', function () { return view('welcome');}); Route::get('/dashboard', function () { return view('dashboard');})->middleware(['auth', 'verified'])->name('dashboard'); Route::middleware('auth')->group(function () { Route::get('/profile', [ProfileController::class, 'edit'])->name('profile.edit'); Route::patch('/profile', [ProfileController::class, 'update'])->name('profile.update'); Route::delete('/profile', [ProfileController::class, 'destroy'])->name('profile.destroy');}); require __DIR__.'/auth.php';The first route is for the /dashboard URL. It has an additional method, middleware, with auth as a parameter. It means that only authenticated logged-in users can access that page.
The second is a group of routes for the user profile. This group also has an auth Middleware. We will talk more about Middleware and Route groups in later lessons.
And on the last line, Breeze adds a link to a separate Auth routes file. In that file, we can see all the Routes required for the authentication: login, registration, logout, forgot password, etc.
routes/web.php:
use App\Http\Controllers\ProfileController; Route::get('/', function () { return view('welcome');}); Route::get('/dashboard', function () { return view('dashboard');})->middleware(['auth', 'verified'])->name('dashboard'); Route::middleware('auth')->group(function () { Route::get('/profile', [ProfileController::class, 'edit'])->name('profile.edit'); Route::patch('/profile', [ProfileController::class, 'update'])->name('profile.update'); Route::delete('/profile', [ProfileController::class, 'destroy'])->name('profile.destroy');}); require __DIR__.'/auth.php'; If you open the routes/auth.php file, there are two groups of Routes with different Middlewares: guest and auth. The guest Middleware is used when Routes should be accessed only for unauthenticated users, like login or register pages.
routes/auth.php:
Route::middleware('guest')->group(function () { // ...}); Route::middleware('auth')->group(function () { // ...});So yeah, now we have all the login/register functionality. Wasn't it a breeze? :)
In the following lessons, we will manage the categories and posts as administrators.
while installing breeze manually:
after running:
composer require laravel/breeze
then another (given below command) should be run:
php artisan breeze:install
otherwise the login and register option will remain invisible.
Or install with a new laravel project