
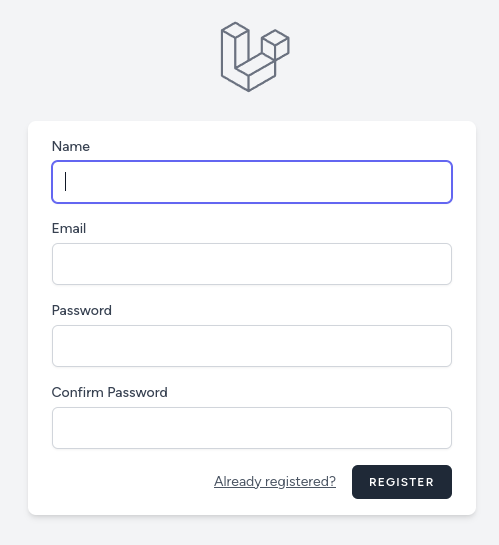
So, let's start by creating a new project. We will use Laravel Breeze Blade stack for a starter kit.
laravel new project --breeze --stack=bladeNow, we can register to the application.
Next, let's focus on one user role: student.
We will create a new page (for example, a timetable), specifically for this role.
Right from the start, we must think about other areas: for teacher and administrator roles. So, we must separate the Controllers, Views, and Routes.
Student Controller and Routes
Let's start with the Controller, and when creating it, we must create it under a separate namespace.
php artisan make:controller Student/TimetableControllerNow, let's use this Controller and create a Route for it.
routes/web.php:
use App\Http\Controllers\Student\TimetableController; Route::get('/', function () { return view('welcome');}); Route::get('/dashboard', function () { return view('dashboard');})->middleware(['auth', 'verified'])->name('dashboard'); Route::get('student/timetable', [TimetableController::class, 'index']) ->middleware(['auth', 'verified']) ->name('student.timetable'); Route::middleware('auth')->group(function () { Route::get('/profile', [ProfileController::class, 'edit'])->name('profile.edit'); Route::patch('/profile', [ProfileController::class, 'update'])->name('profile.update'); Route::delete('/profile', [ProfileController::class, 'destroy'])->name('profile.destroy');}); require __DIR__.'/auth.php';As you can see, the prefix "student" is already used in three places:
- Controller sub-folder
- URL
/student/xxxxx - Route name:
student.xxxxx
We will also create a sub-folder "student" for Blade Views, see the next section below.
In the StudentController, let's create an index() method and return a View.
app/Http/Controllers/Student/TimetableController.php:
use Illuminate\Contracts\View\View;use App\Http\Controllers\Controller; class TimetableController extends Controller{ public function index(): View { return view('student.timetable'); }}Student Blade View(s)
For the content of that Blade file, we will reuse code from the resources/views/dashboard.blade.php and will change only the content static text.
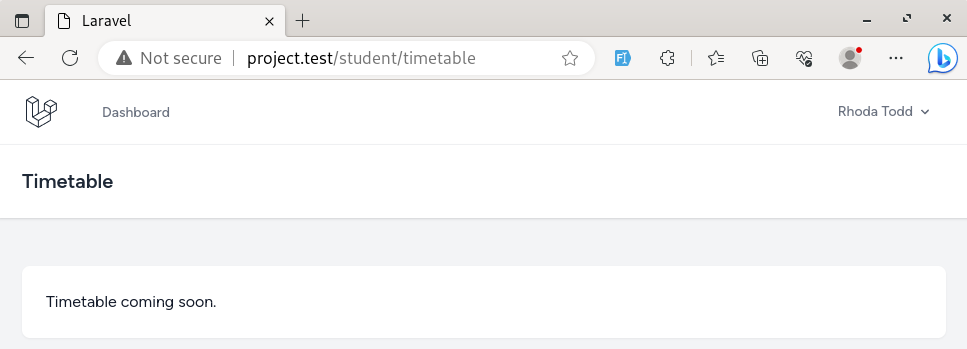
resources/views/student/timetable.blade.php:
<x-app-layout> <x-slot name="header"> <h2 class="font-semibold text-xl text-gray-800 dark:text-gray-200 leading-tight"> {{ __('Timetable') }} </h2> </x-slot> <div class="py-12"> <div class="max-w-7xl mx-auto sm:px-6 lg:px-8"> <div class="bg-white dark:bg-gray-800 overflow-hidden shadow-sm sm:rounded-lg"> <div class="p-6 text-gray-900 dark:text-gray-100"> {{ __('Timetable coming soon.') }} </div> </div> </div> </div></x-app-layout>Now we can visit the /student/timetable URL and access this page.
Student Navigation Menu Items
Finally, the menu item. In Breeze, navigation is in the resources/views/layouts/navigation.blade.php Blade file.
Keep in mind that in Breeze there are two places where you need to add links. One adds to the desktop version, and another adds to the mobile view.
resources/views/layouts/navigation.blade.php:
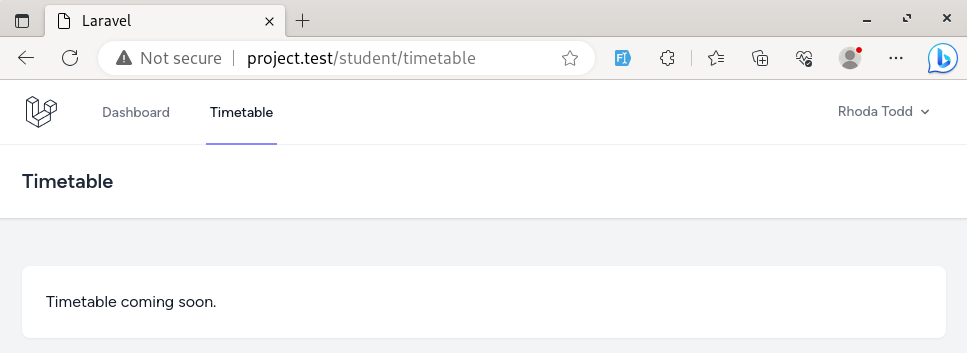
// ... <!-- Navigation Links --><div class="hidden space-x-8 sm:-my-px sm:ms-10 sm:flex"> <x-nav-link :href="route('dashboard')" :active="request()->routeIs('dashboard')"> {{ __('Dashboard') }} </x-nav-link> <x-nav-link :href="route('student.timetable')" :active="request()->routeIs('student.timetable')"> {{ __('Timetable') }} </x-nav-link></div> // ... <!-- Responsive Settings Options --><div class="pt-4 pb-1 border-t border-gray-200 dark:border-gray-600"> <div class="px-4"> <div class="font-medium text-base text-gray-800 dark:text-gray-200">{{ Auth::user()->name }}</div> <div class="font-medium text-sm text-gray-500">{{ Auth::user()->email }}</div> </div> <div class="mt-3 space-y-1"> <x-responsive-nav-link :href="route('student.timetable')"> {{ __('Timetable') }} </x-responsive-nav-link> <x-responsive-nav-link :href="route('profile.edit')"> {{ __('Profile') }} </x-responsive-nav-link> <!-- Authentication --> <form method="POST" action="{{ route('logout') }}"> @csrf <x-responsive-nav-link :href="route('logout')" onclick="event.preventDefault(); this.closest('form').submit();"> {{ __('Log Out') }} </x-responsive-nav-link> </form> </div></div> // ...Now, we have a navigation item for the timetable, and when we are on the timetable page, it is shown as active.
As planned, we now have a new page for students with a separate namespace.
Notice: This Course Focuses on Roles ONLY
Before we move on to creating the teachers and admins area, a side note: I deliberately will NOT create the content for the pages. The logic of timetables and other pages is not the point of this course.
We will focus on separating the role areas, what's inside of those areas, and what are the roles and functions.
The content of the exact pages is very individual and deliberately is left out of this mini-course.
Hi,
Student or TimetableController?
Regards A
I don't understand your question
Just to improve the description. You mention a Student Controller but you are not creating a student controller. Instead you are creating a Timetable controller. For teacher the description is better: Teacher: Timetable Controller and View (lesson 6)