
The next feature we will work on is Google Login. Our client decided that they want the users to log in via Google. This means we must add Google as a Socialite provider.
Reminder: This course is about the process and not much about the code. For the code, we will use the example from our separate older Tutorial about Google Sign In on Laravel Daily.
The main emphasis in this lesson will be on the process of making that feature work in a multi-server and multi-developer environment: how to set up an external 3rd-party provider to make it work locally and on other servers and write automated tests for it.
The general plan of action is this:
- Installing Socialite
- Configuring Google provider
- Adding Socialite Controller
- Adding Routes
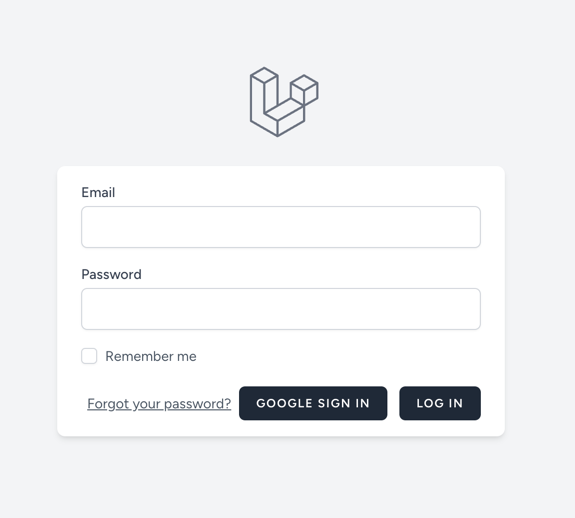
- Adding a Button to Login/Registration pages
- Setting up our project in Google Identity
- Testing integration locally
- Writing tests
- Preparing for Staging/Production environments
Let's get to work!
Note: Just a reminder - as for every new feature, we are creating a GitHub issue and a new branch here, and you should, too.
Installing Socialite
Installing Socialite is as simple as running a composer command:
composer require laravel/socialiteOnce that is done, we need to configure it.
Configuring Google Provider
Let's add the Google provider to our config/services.php file.
config/services.php
// ... 'google' => [ 'client_id' => env('GOOGLE_CLIENT_ID'), 'client_secret' => env('GOOGLE_CLIENT_SECRET'), 'redirect' => env('GOOGLE_REDIRECT'),], // ...Next, we need to create a list of...
No comments yet…