
Now, let's build the page to edit the task. It will be structurally similar to the Create form but with a few differences.
Also, at the end of this lesson, we will add breadcrumbs above the table.
Table: Link to Edit Route
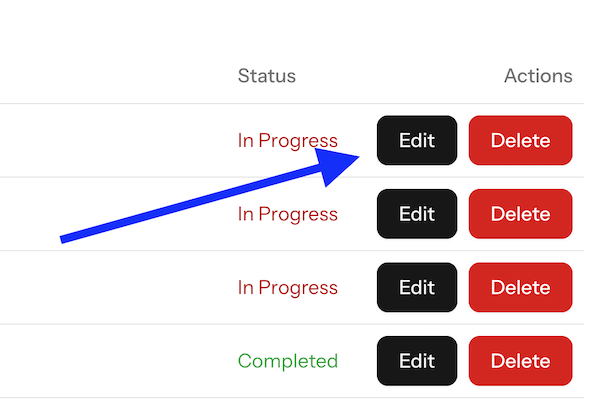
We need to add the "Edit" button to the table.
<TableRow v-for="task in tasks" :key="task.id"> <TableCell>{{ task.name }}</TableCell> <TableCell :class="{ 'text-green-600': task.is_completed, 'text-red-700': !task.is_completed }"> {{ task.is_completed ? 'Completed' : 'In Progress' }} </TableCell> <TableCell class="text-right">// [tl! --] <TableCell class="flex gap-x-2 text-right">// [tl! ++] <Link :class="buttonVariants({ variant: 'default' })" :href="`/tasks/${task.id}/edit`">Edit </Link>// [tl! ++] <Button variant="destructive" @click="deleteTask(task.id)" class="mr-2">Delete </Button> </TableCell></TableRow>Here's the visual result:
Edit Page: Vue Component
The previous code snippet above shows the URL /tasks/${task.id}/edit. This corresponds to the
Controller method edit(), which uses...
The checkbox form has a issue - the use of checked seems to throw it off.
Should be: <Checkbox id="is_completed" v-model="form.is_completed" class="mt-1" /> instead of: <Checkbox id="is_completed" v-model:checked="form.is_completed" class="mt-1" />
What exactly was throwing it off? Curious as I did not see an issue at that point. I'll check if it needs an update