
Text Version of the Lesson
Filament is installed in the existing Laravel project. Ideally, before Filament, you should have the database migrations/models/seeders, and then Filament would build the admin panels and forms for that data.
So, first, let's prepare a simple Laravel project.
New Laravel Project with One Model
So, I've created a new Laravel 12 project:
laravel new filament3-courseThe wizard will ask for a starter kit. Choose None.
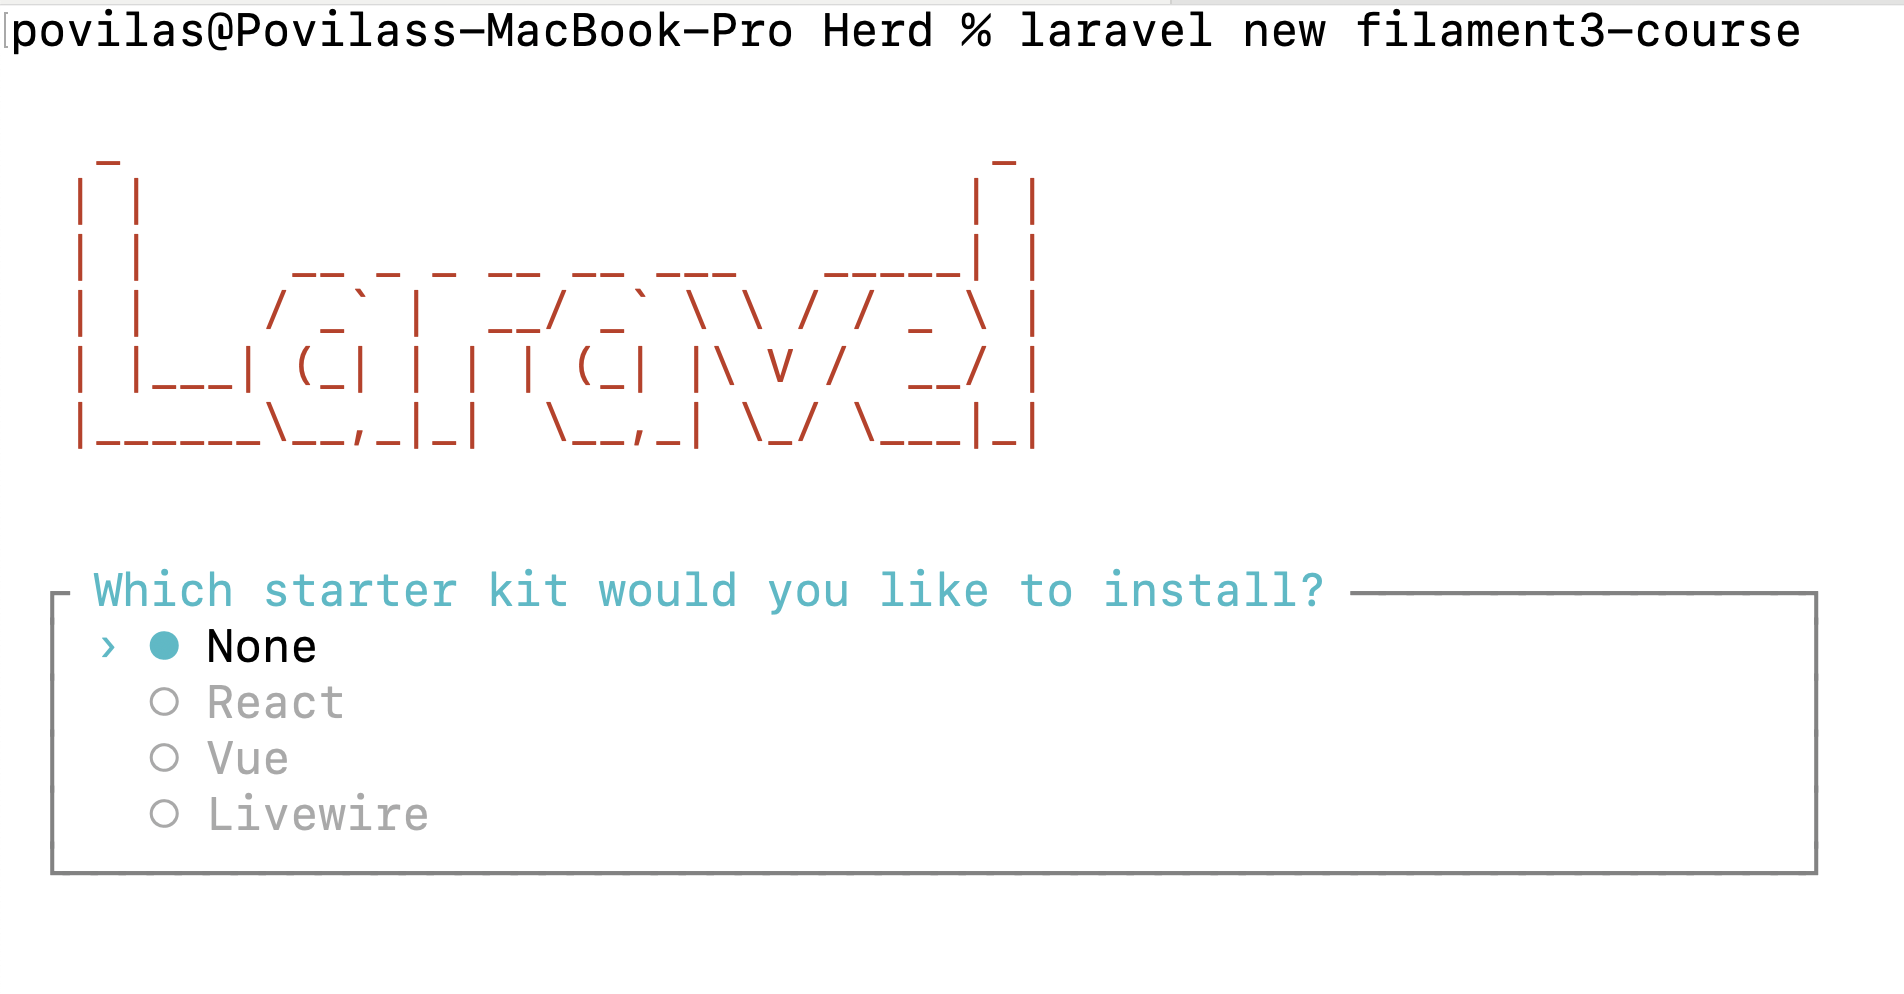
All other choices are your personal preferences.
Next, we create a Model + Migration for one simple DB table "products", for now:
php artisan make:model Product -mMigration
Schema::create('products', function (Blueprint $table) { $table->id(); $table->string('name'); $table->integer('price'); $table->timestamps();});Next, we run those migrations:
php artisan migrateIn the Model, we add those columns as fillables:
app/Models/Product.php
class Product extends Model{ protected $fillable = ['name', 'price'];}And that's it. Laravel project is ready. Now, let's install Filament to manage those products.
Filament Installation
According to the official docs, there are two Terminal commands you need to run:
composer require filament/filament:"^3.3" -Wphp artisan filament:install --panelsYou can run them one by one or together in one go.
The wizard will ask one question: what...
Povilas, I intend to use the multitenant functionality in an application but I have a question: some models will be global to the system and should not be filtered by the tenant scope. Could you explain to me how I could get this?
It's not something I can explain quickly in a short comment. I will dedicate a separate lesson for multi-tenancy.
Oh, wonderful! Can not wait 😀
I honestly like how v3 of filament is smooth
My error when I run php artisan jetstream:install livewire --teams
Composer plugins have been disabled for safety in this non-interactive session. Set COMPOSER_ALLOW_SUPERUSER=1 if you want to allow plugins to run as root/super user. Do not run Composer as root/super user! See https://getcomposer.org/root for details ./composer.json has been updated Running composer update livewire/livewire Loading composer repositories with package information Updating dependencies Your requirements could not be resolved to an installable set of packages.
Problem 1 - Root composer.json requires livewire/livewire ^2.11, found livewire/livewire[v2.11.0, ..., 2.x-dev] but these were not loaded, likely because it conflicts with another require. Problem 2 - filament/support v3.0.15 requires livewire/livewire v3.0.0-beta.7 -> found livewire/livewire[v3.0.0-beta.7] but it conflicts with your root composer.json require (^2.11). - filament/filament v3.0.15 requires filament/support v3.0.15 -> satisfiable by filament/support[v3.0.15]. - filament/filament is locked to version v3.0.15 and an update of this package was not requested.
Use the option --with-all-dependencies (-W) to allow upgrades, downgrades and removals for packages currently locked to specific versions.
Installation failed, reverting ./composer.json and ./composer.lock to their original content.
There's something wrong with your composer user setup. The error mesage says clearly what to do.
Also, plenty of results on Google, like this one.
Thanks you
Other wish when I deployed to production error: async-alpine.js?v=3.0.16.0:1 Mixed Content: The page at 'https://' was loaded over HTTPS, but requested an insecure script 'http:/..../js/filament/forms/components/select.js?v=3.0.16.0'. This request has been blocked; the content must be served over HTTPS.
Maybe you didn't specify you APP_URL correctly in production in the .env file, and you have http:// something there?
Terrible development in Filament 🤙
Terrible? :)
Can filament replace functionality of authentication instead breeze etc ? Or maybe can the authentication on the filament be replaced by using breeze etc ??
The actual authentication comes from LARAVEL, not Breeze. Breeze is the layer for login/register forms and the first design. So yes, Filament 3 can fully replace Breeze because it has Auth functions you may add - login, register, edit profile forms.
I want to ask. Do you plan to record videos for this course? Thanks
I was thinking to, but realized how much time it would take - a few weeks at least, and then the problem is to update those videos, and Filament 3 will get new features rapidly. So, for now, since people are not demanding video version (many actually prefer text), I'm not planning videos.
I will shoot a lot of videos on my Filament Daily YouTube channel.
Greetings, Povilas Thank you for your excellent work.
I am a novice in Filament and was hoping you could assist me. I am in the process of creating an administrative panel for a multilingual website. Naturally, I need to implement a form to add translations in multiple languages, both using tabs and without them. I am aware of the package by spatie and occasionally use it in my projects. However, in my current scenario, I cannot use it due to a vast catalog featuring search and filtering. Consequently, I am not using JSON translations and instead opt for additional translation tables like: post_translations
But aside from using the spatie laravel translatable package, I haven't found any examples of creating and editing translation forms.
Polyvas, I would appreciate your assistance. Perhaps I am missing an evident solution.
I think you won't find any examples for your case for filament. You need to find examples for laravel and apply them for filament.
Thanks for the course, can I use ldap or sso authentication with filament?
I don't think so. At least I haven't tried and haven't seen any plugin for that.
This is too early in the tutorial. I am following this tutorial, but I'm just not working the way I would expect it to. I have a users table in my database with two users in it, one called admin and one called test, where the users table has a field is_admin. This field in the table is for a character and is nullable, so I put a number 1 in the is_admin field where the admin is and the non-admin user is just left Null. When I login as the admin user, it works as expected. However, when I login as the non-admin user, I get an error "These credentials do not match." But was expecting a 403 Forbidden. Not what I'm expecting. I'm sure I'm missing something.
The error message you mentioned
These credentials do not matchis due to email/password missmatch and not due to any 403 error or permission check.Make sure you have correct login details seeded
Negative, thanks for the reply. If I remove canAccessPanel function the login works as expected.
Oh... Hmm, that's a weird one. I guess filament handles that differently and produces a safe way out (even if it's not fully clear why it was there).
Anyway, in that case - you need to do custom login to prevent people from accessing panels like this. Then you will be able to handle cases as this yourself.
This is how filament works in this case. If user doesn't have access he gets validation error
These credentials do not match. But if user is already authenticated and then tries to access panel he should get 403 error.@Nerijus this makes the most sense. Seems like a scenario I can test too, thanks. To your knowledge is this behaviour documented in the Filament documentation?
Hello, thank you for a lucrative tutorial on filament, it will be of great help if you would include a small tutorial on how to extract filament admin panel from an existing laravel project (let's say built from quickadminpanel).
Hi, the tutorial you suggested is not possible to be made, because projects can vary in complexity.
For example, to replace a simple CRUD project with no custom logic - all you have to do is install filament in the same project (or a new one, but copy migrations/models) and then run resource generation. That should do it for the most part.
Now, if your project uses extensive features or includes Vue/Livewire custom things - you can't just do that and you will have to adapt each page to Filament. This becomes tricky to display in a tutorial as we can't know what people might get stuck with. Some will get stuck with complex calculations, others will have issues with queue management and inline resource creation. So all of this really depends on the project and is too individual, sorry
Who use Laravel 11, run
composer require filament/filament:"^3.2.57-stable" -Whi Povilas, why dont you put Like/Clap button on every article ? i need to click it
Thanks for sharing and its easy to follow.
Hi, it would be great to have a tutorial on the development process with Filament. Do I use npm run dev and what do I need to tell Vite? What about changes to tailwind? I added a class to a view that had not been used so tailwind does not have the utility for it loaded (justify-around), so I guess I need to rebuild it. How do I do that? Can I set something to watch for changes and rebuild?
I think Filament is a good choice for me but I find its layout very rigid and not to my liking. Figuring out how to rearrange the main elements on the page is confusing. Like I would like to switch the sidebar to the other side and put the top navigation in a header below the topbar, not in the topbar itself. Things like that do not seem possible without major hacks to the system that are difficult to work in.
Thank you
Hi,
We do have a mini-course on this topic: https://laraveldaily.com/course/filament-visual-customize
In general, Filament comes with it's own theme. This means that any change/class you have used from tailwindcss - is never going to be loaded. Even if you re-compile the assets. This is because Filament does not use these assets, it uses it's own.
So to achieve what you have mentioned here - you have to create a custom theme for Filament. And it doesn't have to have everything custom as it will inherit the default look and feel. You can just override it to your own liking. Once you create a custom theme, then you can run your typical npm commands to build/watch for changes. Before that, there is no real way to customize the look and feel of a panel.
Thank you. I will view that tutorial again.
I did make a custom theme per the Filament documentation, and when I ran npm run build at the end, I received a message that "The content option in your Tailwind CSS configuration is missing or empty". But my resources/css/filament/admin folder has a theme.css file and a tailwind.config.js file in it, the theme.css file refers to the tailwind file and the tailwind file has a content section: import preset from '../../../../vendor/filament/filament/tailwind.config.preset'
So I'm just a little confused by that.
There has to be something misconfigured. You can try to follow our:
https://laraveldaily.com/lesson/filament-3/change-colors-fonts-themes
And see if that helps!
Hi, http://127.0.0.1:8001/panel I am getting 404 error after change the env to production and it is giving same error whatever env i changed to. Please guide what has gone wrong. here
http://127.0.0.1:8001/panel/login http://127.0.0.1:8001/admin/login nothing is working please guide
It is resolved automatically dont know the reason.
Helloo, thanks for the course. I'm builind and api with laravel. I want to integrate filament as an admin panel but I want to make it a seperate laravel project to make it independant from the laravel api project .
Is it possible knowing both will communicate to the same database ?
It can communicate to the same database as long as you do one of the following:
But I have done that, there's nothing that would stop you as long as you correctly set up your database
Why do you suggest we use None starter kit ? I can still use this in a React+Inertia starter kit right ?
You can, however we use
noneas we did not build any front-end facing things and just used Filament