
In this lesson, we will work more on our Login page styling:
But keep in mind that we are not going to discuss the complete design. We are going to use Flutter's Material design to style our login page, not a custom design.
Changing the Layout
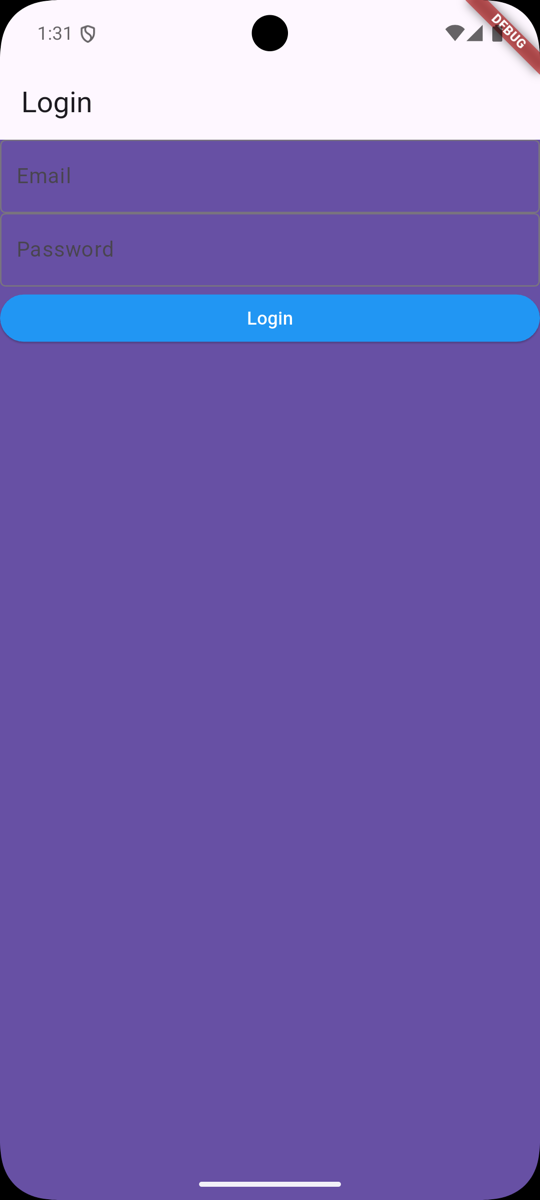
Let's start our changes by surrounding our Column with a Container widget. With this, we will set the background color of the Container to the primary color of the theme:
return MaterialApp( title: 'Welcome to Flutter', home: Scaffold( appBar: AppBar( title: Text('Login'), ), body: Column( body: Container( color: Theme.of(context).primaryColor, child: Column( children: <Widget>[ TextField( keyboardType: TextInputType.emailAddress, decoration: InputDecoration( border: OutlineInputBorder(), labelText: 'Email', ), ), TextField( keyboardType: TextInputType.visiblePassword, decoration: InputDecoration( border: OutlineInputBorder(), labelText: 'Password', ), ), ElevatedButton( onPressed: () { print('Login button pressed'); }, child: Text('Login'), style: ElevatedButton.styleFrom( backgroundColor: Colors.blue, foregroundColor: Colors.white, minimumSize: Size(double.infinity, 36), ), ), ], )), ));}This will result in our login page having a purple background color:
Making it Card-like
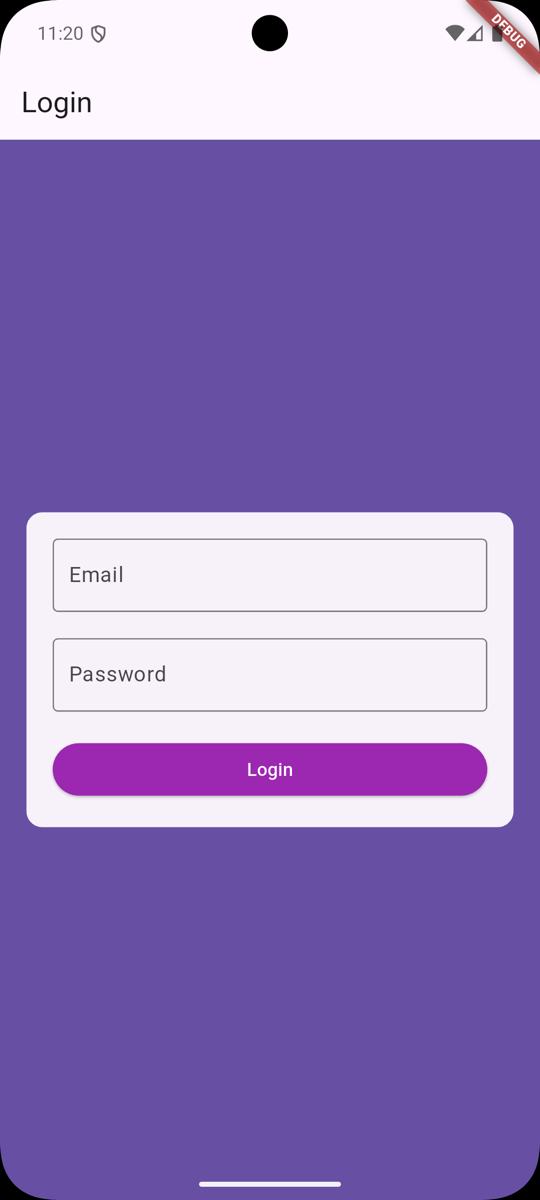
Next, we want to make it look like a card. We can do this by adding a Card widget around our Column:
Widget build(BuildContext context) {return MaterialApp( title: 'Welcome to Flutter', home: Scaffold( appBar: AppBar( title: Text('Login'), ), body: Container( color: Theme.of(context).primaryColor, child: Column( mainAxisAlignment: MainAxisAlignment.center, children: <Widget>[ Card( elevation: 0, margin: EdgeInsets.only(left: 20, right: 20), child: Padding( padding: EdgeInsets.all(20), child: Column( children: [ TextField( keyboardType: TextInputType.emailAddress, decoration: InputDecoration( border: OutlineInputBorder(), labelText: 'Email', ), ), TextField( keyboardType: TextInputType.visiblePassword, decoration: InputDecoration( border: OutlineInputBorder(), labelText: 'Password', ), ), ElevatedButton( onPressed: () { print('Login button pressed'); }, child: Text('Login'), style: ElevatedButton.styleFrom( backgroundColor: Colors.blue, foregroundColor: Colors.white, minimumSize: Size(double.infinity, 36), ), ), ], ), ), ) ], )), ));}This will result in our login page...
hello,
since flutter 3.27 you can replace in columns: SizedBox(height: 20), with: Column( spacing: 20, ... )
https://helloyogita.medium.com/flutter-3-27-simplifying-rows-and-columns-with-the-new-spacing-parameter-0038b4f61d8a
thank you for this great tutorial :)