
In this lesson, we will build a page to manage categories. But first, we will recreate the DB structure from our original mini-blog.
Re-Create Categories/Posts from Previous Project
Next, let's re-create the same Models with Migrations as in previous lessons.
php artisan make:model Category -mphp artisan make:model Post -mpublic function up(): void{ Schema::create('categories', function (Blueprint $table) { $table->id(); $table->string('name'); $table->timestamps(); });}database/migrations/xxx_create_posts_table.php:
public function up(): void{ Schema::create('posts', function (Blueprint $table) { $table->id(); $table->string('title'); $table->text('text'); $table->foreignId('category_id')->constrained()->onDelete('cascade'); $table->timestamps(); });}And let's run php artisan migrate to create those tables.
Navigation Link and Resource Controller
Let's start by adding a link in the navigation. In Breeze, navigation is found in the resources/views/layouts/navigation.blade.php View file.
For the link, Breeze uses Blade components for better re-usability. We won't cover Blade components in this course, so we will create our link with a regular a HTML tag, taking the CSS classes from the nav-link component.
resources/views/components/nav-link.blade.php:
@props(['active']) @php$classes = ($active ?? false) ? 'inline-flex items-center px-1 pt-1 border-b-2 border-indigo-400 text-sm font-medium leading-5 text-gray-900 focus:outline-none focus:border-indigo-700 transition duration-150 ease-in-out' : 'inline-flex items-center px-1 pt-1 border-b-2 border-transparent text-sm font-medium leading-5 text-gray-500 hover:text-gray-700 hover:border-gray-300 focus:outline-none focus:text-gray-700 focus:border-gray-300 transition duration-150 ease-in-out'; @endphp <a {{ $attributes->merge(['class' => $classes]) }}> {{ $slot }}</a>So, we add the navigation link.
resources/views/layouts/navigation.blade.php:
// ... <!-- Navigation Links --><div class="hidden space-x-8 sm:-my-px sm:ms-10 sm:flex"> <x-nav-link :href="route('dashboard')" :active="request()->routeIs('dashboard')"> {{ __('Dashboard') }} </x-nav-link> <a href="{{ route('categories.index') }}" class="inline-flex items-center px-1 pt-1 border-b-2 border-transparent text-sm font-medium leading-5 text-gray-500 hover:text-gray-700 hover:border-gray-300 focus:outline-none focus:text-gray-700 focus:border-gray-300 transition duration-150 ease-in-out"> Categories </a></div> // ...Why does Route have the name of categories.index? You might think you should create a CategoryController and a GET Route and point to that Controllers index() method. But in this case, no.
Because here we will have a CRUD with actions for the list, create, edit, and delete, we will use a Resource Controller. Resource Controller can be created using the same make:controller artisan command and adding a --resource additional option. Another option that can be passed is --model, specifying the Model name with it. This way, Controller methods will have type-hinted Models in the methods where they are needed.
php artisan make:controller CategoryController --resource --model=CategoryWith the Artisan command in the CategoryController.php, we have created seven methods:
-
index()is used to show a list of categories. -
create()for showing the create form -
store()for saving records into the database. -
show()for showing individual records. -
edit()for showing the edit form -
update()for updating data in the database. -
destroy()for deleting a record.
Now we can add a Route::resource() Route with a name of categories and provide the Controller.
routes/web.php:
use App\Http\Controllers\CategoryController;// ... Route::resource('categories', CategoryController::class);The resource method for the Route has a specific rule for the Route names. The names have a "Route name dot method name" structure, so this is where the categories.index comes from. This is how Routes would look like:
| Verb | URI | Action | Route Name |
|---|---|---|---|
| GET | /categories |
index | categories.index |
| GET | /categories/create |
create | categories.create |
| POST | /categories |
store | categories.store |
| GET | /categories/{category} |
show | categories.show |
| GET | /categories/{category}/edit |
edit | categories.edit |
| PUT/PATCH | /categories/{category} |
update | categories.update |
| DELETE | /categories/{category} |
destroy | categories.destroy |
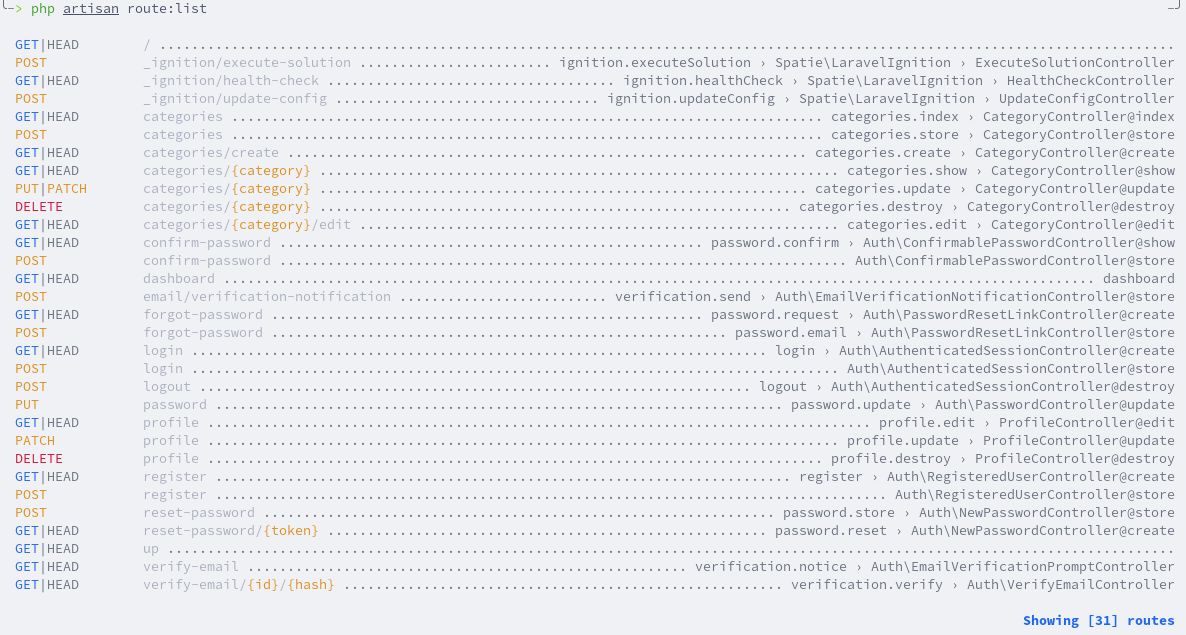
You can also check available Routes using an artisan command php artisan route:list.
Let's return some string in the Controllers index() method.
app/Http/Controllers/CategoryController.php:
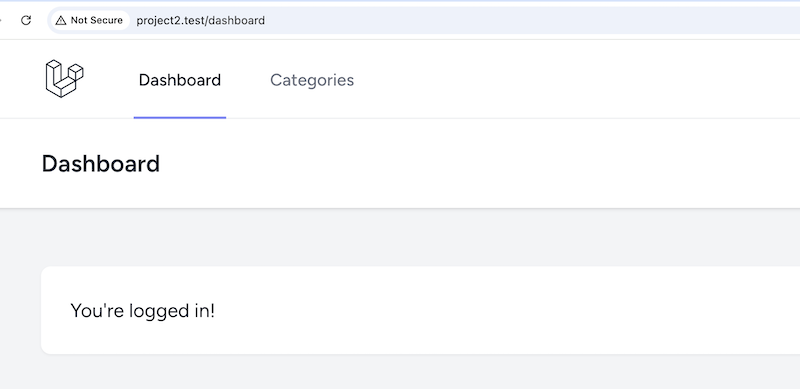
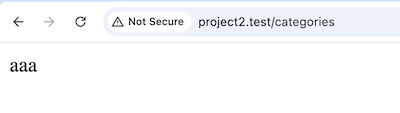
class CategoryController extends Controller{ public function index() { return 'aaa'; } // ...}Refresh the home page and see the Categories link in the navigation.
After pressing on the categories link, we can see the string is returned.
Listing Categories
Now, let's build the actual page to show categories. In the Controller, we need to do the same as in other lessons: get all the records and pass them to the View.
app/Http/Controllers/CategoryController.php:
use App\Models\Category; class CategoryController extends Controller{ public function index() { return 'aaa'; $categories = Category::all(); return view('categories.index', compact('categories')); } // ...}If you want to add View files in a sub-folder when returning View, you must add a dot between the folder and the View file. Create an index.blade.php View file inside the resources/views/categories folder and copy the content of dashboard.blade.php into the newly created View file.
Let's change the text from Dashboard to Categories and put a table instead of You're logged in!
resources/views/categories/index.blade.php:
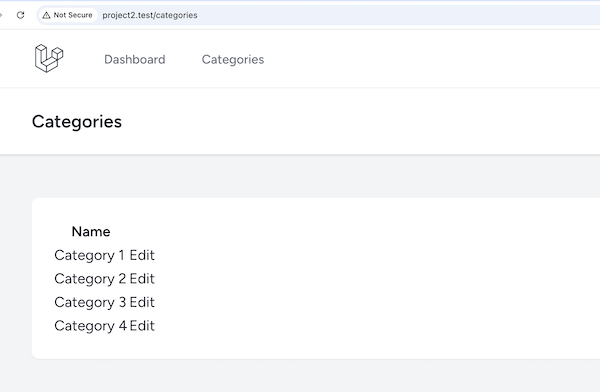
<x-app-layout> <x-slot name="header"> <h2 class="font-semibold text-xl text-gray-800 leading-tight"> {{ __('Dashboard') }} {{ __('Categories') }} </h2> </x-slot> <div class="py-12"> <div class="max-w-7xl mx-auto sm:px-6 lg:px-8"> <div class="bg-white overflow-hidden shadow-sm sm:rounded-lg"> <div class="p-6 text-gray-900"> {{ __("You're logged in!") }} <table> <thead> <tr> <th>Name</th> <th></th> </tr> </thead> <tbody> @foreach($categories as $category) <tr> <td>{{ $category->name }}</td> <td> <a href="{{ route('categories.edit', $category) }}">Edit</a> </td> </tr> @endforeach </tbody> </table> </div> </div> </div> </div></x-app-layout>For the edit link, again, we use the Route Model binding. For now, let's manually add a few categories to the DB. On the categories page, we can see the unstyled table.
After clicking on the edit link, an empty page will appear because we still need to build it. Let's create the edit page. We must return the view in the Controller and pass the category variable.
app/Http/Controllers/CategoryController.php:
class CategoryController extends Controller{ // ... public function edit(Category $category) { return view('categories.edit', compact('category')); } // ...}Create the edit View file. We will add a form to the View file, but for now, just to test whether it's working, the page will show the category name.
resources/views/categories/edit.blade.php:
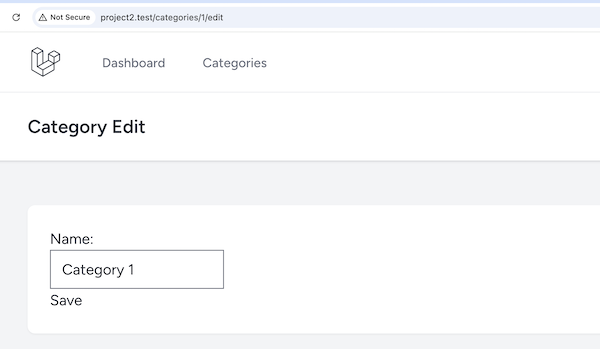
<x-app-layout> <x-slot name="header"> <h2 class="font-semibold text-xl text-gray-800 leading-tight"> {{ __('Category Edit') }} </h2> </x-slot> <div class="py-12"> <div class="max-w-7xl mx-auto sm:px-6 lg:px-8"> <div class="bg-white overflow-hidden shadow-sm sm:rounded-lg"> <div class="p-6 text-gray-900"> <form> {{ $category->name }} </form> </div> </div> </div> </div></x-app-layout>After visiting the edit page, we should see the name of the category shown.
![]()
Category Edit Page Form
Now, let's build the form. The method for the form will be POST, and the action will be another Route from the resource categories.update with a $category as a parameter.
For the update form, the actual method is PUT or PATCH, which must be defined in the form using @method Blade directive.
Also, every form must have the @csrf Blade directive for the cross-site protection.
resources/views/categories/edit.blade.php:
<x-app-layout> <x-slot name="header"> <h2 class="font-semibold text-xl text-gray-800 leading-tight"> {{ __('Category Edit') }} </h2> </x-slot> <div class="py-12"> <div class="max-w-7xl mx-auto sm:px-6 lg:px-8"> <div class="bg-white overflow-hidden shadow-sm sm:rounded-lg"> <div class="p-6 text-gray-900"> <form method="POST" action="{{ route('categories.update', $category) }}"> @csrf @method('PUT') {{ $category->name }} </form> </div> </div> </div> </div></x-app-layout>And let's add the input with the submit button.
resources/views/categories/edit.blade.php:
<x-app-layout> <x-slot name="header"> <h2 class="font-semibold text-xl text-gray-800 leading-tight"> {{ __('Category Edit') }} </h2> </x-slot> <div class="py-12"> <div class="max-w-7xl mx-auto sm:px-6 lg:px-8"> <div class="bg-white overflow-hidden shadow-sm sm:rounded-lg"> <div class="p-6 text-gray-900"> <form method="POST" action="{{ route('categories.update', $category) }}"> @csrf @method('PUT') <div> <div> <label for="name">Name:</label> </div> <input type="text" name="name" id="name" value="{{ $category->name }}"> </div> <div> <button type="submit"> Save </button> </div> </form> </div> </div> </div> </div></x-app-layout>We have the unstyled edit form.
After installing Laravel Breeze, we can take styles from the Blade components. The styles for the input can be taken from resources/views/components/text-input.blade.php and the button from the resources/views/components/primary-button.blade.php files.
resources/views/categories/edit.blade.php:
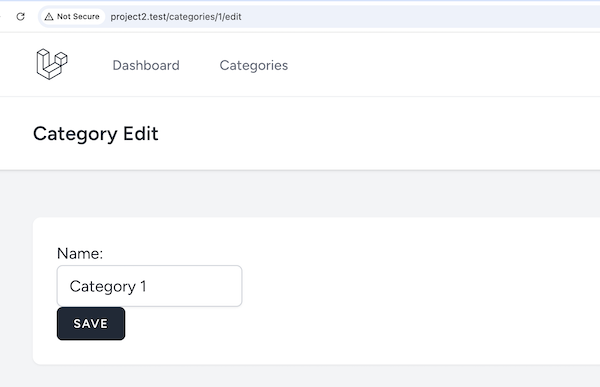
<x-app-layout> <x-slot name="header"> <h2 class="font-semibold text-xl text-gray-800 leading-tight"> {{ __('Category Edit') }} </h2> </x-slot> <div class="py-12"> <div class="max-w-7xl mx-auto sm:px-6 lg:px-8"> <div class="bg-white overflow-hidden shadow-sm sm:rounded-lg"> <div class="p-6 text-gray-900"> <form method="POST" action="{{ route('categories.update', $category) }}"> @csrf @method('PUT') <div> <div> <label for="name">Name:</label> </div> <input type="text" name="name" id="name" value="{{ $category->name }}" class="border-gray-300 focus:border-indigo-500 focus:ring-indigo-500 rounded-md shadow-sm"> </div> <div> <button type="submit" class="inline-flex items-center px-4 py-2 bg-gray-800 border border-transparent rounded-md font-semibold text-xs text-white uppercase tracking-widest hover:bg-gray-700 focus:bg-gray-700 active:bg-gray-900 focus:outline-none focus:ring-2 focus:ring-indigo-500 focus:ring-offset-2 transition ease-in-out duration-150"> Save </button> </div> </form> </div> </div> </div> </div></x-app-layout>Now we have form with some styles.
Submit The Form
Let's take care of the submission. The categories.update Route goes to the update() method in the Controller. By default, the category is passed using Route Model Binding.
We can call the update() method on the category and pass the fields as an array. We get the name from the Request class, which is injected into the method: that's another cool Laravel automation.
app/Http/Controllers/CategoryController.php:
use Illuminate\Http\Request; class CategoryController extends Controller{ // ... public function update(Request $request, Category $category) { $category->update([ 'name' => $request->input('name'), ]); } // ...}After the update, the user should be redirected somewhere. In this case, we will redirect to the categories.index Route.
app/Http/Controllers/CategoryController.php:
class CategoryController extends Controller{ // ... public function update(Request $request, Category $category) { $category->update([ 'name' => $request->input('name'), ]); return redirect()->route('categories.index'); } // ...}If you try to update the category now, you will get the mass assignment error.
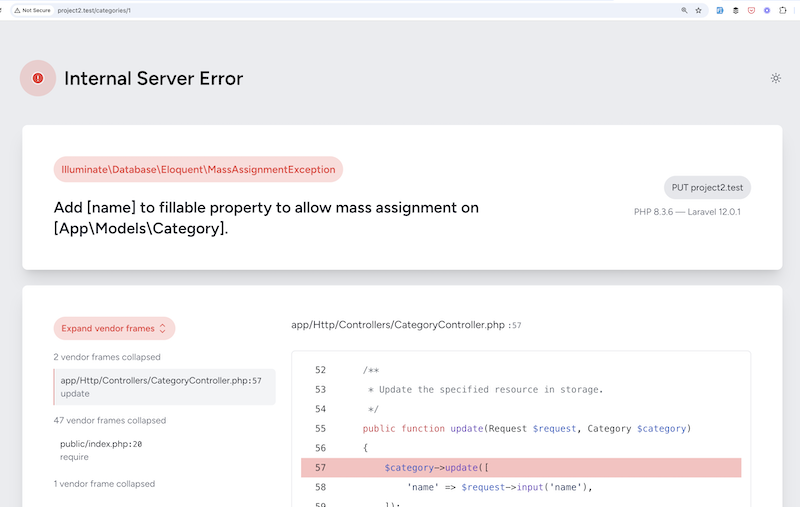
When using update() or create() methods on the Model, all fields must be added to the $fillable property as an array.
The
idandtimestampsfields are fillable by default.
app/Models/Category.php:
class Category extends Model{ protected $fillable = ['name']; }Let's also add fillable fields to the Post Model.
app/Models/Post.php:
class Post extends Model{ protected $fillable = ['title', 'text', 'category_id']; }The category update should work, and you should be redirected to the categories list page.
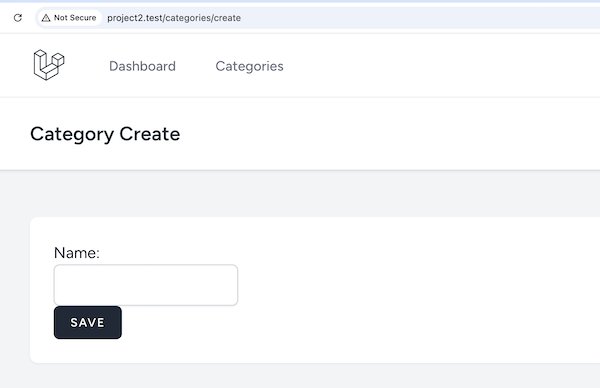
Create Category Page
Next, let's build the Create category page. On the index page, let's add a link.
resources/views/categories/index.blade.php:
<x-app-layout> // ... <div class="py-12"> <div class="max-w-7xl mx-auto sm:px-6 lg:px-8"> <div class="bg-white overflow-hidden shadow-sm sm:rounded-lg"> <div class="p-6 text-gray-900"> <a href="{{ route('categories.create') }}">Add new category</a> <table> // ... </table> </div> </div> </div> </div></x-app-layout>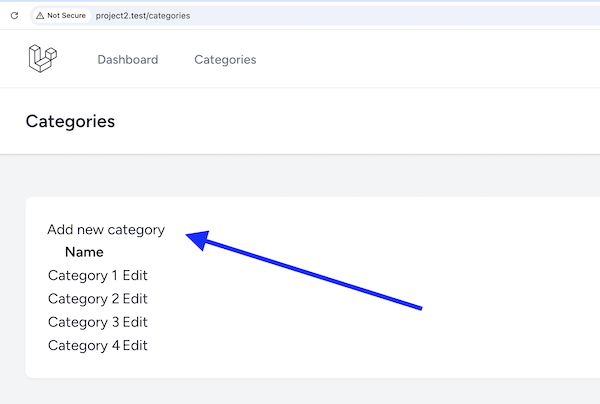
We must return the View in the create() method.
app/Http/Controllers/CategoryController.php:
class CategoryController extends Controller{ // ... public function create() { return view('categories.create'); } // ...}Create the create.blade.php View file and put the content from the edit.blade.php. The form will be identical, with some minor changes.
resources/views/categories/create.blade.php:
<x-app-layout> <x-slot name="header"> <h2 class="font-semibold text-xl text-gray-800 leading-tight"> {{ __('Category Edit') }} {{ __('Category Create') }} </h2> </x-slot> <div class="py-12"> <div class="max-w-7xl mx-auto sm:px-6 lg:px-8"> <div class="bg-white overflow-hidden shadow-sm sm:rounded-lg"> <div class="p-6 text-gray-900"> <form method="POST" action="{{ route('categories.update', $category) }}"> <form method="POST" action="{{ route('categories.store') }}"> @csrf @method('PUT') <div> <div> <label for="name">Name:</label> </div> <input type="text" name="name" id="name" value="{{ $category->name }}" class="border-gray-300 focus:border-indigo-500 focus:ring-indigo-500 rounded-md shadow-sm"> <input type="text" name="name" id="name" class="border-gray-300 focus:border-indigo-500 focus:ring-indigo-500 rounded-md shadow-sm"> </div> <div> <button type="submit" class="inline-flex items-center px-4 py-2 bg-gray-800 border border-transparent rounded-md font-semibold text-xs text-white uppercase tracking-widest hover:bg-gray-700 focus:bg-gray-700 active:bg-gray-900 focus:outline-none focus:ring-2 focus:ring-indigo-500 focus:ring-offset-2 transition ease-in-out duration-150"> Save </button> </div> </form> </div> </div> </div> </div></x-app-layout>The Route for creating a new record is categories.store. The method is POST, so we don't need to tell Laravel what method this is. We must remove the value from the input because we have nothing yet.
In the Controller, we need to call the create() Eloquent method on the Model and pass the fields as an array, similar to how we did with the update.
After creating the record, it's the same: we need to redirect the user somewhere.
app/Http/Controllers/CategoryController.php:
class CategoryController extends Controller{ // ... public function store(Request $request) { Category::create([ 'name' => $request->input('name'), ]); return redirect()->route('categories.index'); } // ...}We can create a new category from the create page!
Deleting the Category
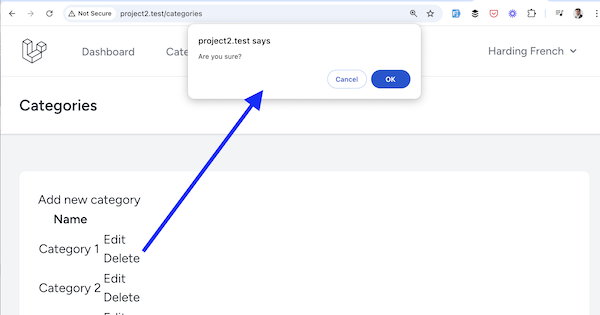
The last CRUD action is deleting, which is the Controller's destroy() method. The delete is different because it isn't a link but a POST form with the DELETE method.
Also, for the delete button, we have added the JavaScript confirmation.
resources/views/categories/index.blade.php:
// ...<tbody> @foreach($categories as $category) <tr> <td>{{ $category->name }}</td> <td> <a href="{{ route('categories.edit', $category) }}">Edit</a> <form method="POST" action="{{ route('categories.destroy', $category) }}"> @csrf @method('DELETE') <button type="submit" onclick="return confirm('Are you sure?')">Delete</button> </form> </td> </tr> @endforeach</tbody>// ...We have the delete button, and you can see the confirmation when you click.
Let's implement the destroy() method in the Controller. It's the same as we had with the update(). We have a category from the Route Model Binding, which means we can call the delete() Eloquent method on the category.
class CategoryController extends Controller{ // ... public function destroy(Category $category) { $category->delete(); return redirect()->route('categories.index'); }}After confirming the deletion, the category gets deleted, and the user is returned to the categories list page.
So yeah, now we have a complete CRUD of one Model of Category!
Here's the GitHub commit for this lesson.
Also, there's extra commit made later that adds onDelete('cascade') to the migration, after the comment below.
In the next lesson, we will discuss Route Groups and Middleware to determine who can access this page to manage categories.
Hi! When I am trying to delete a category (Category 3) which has a post (Post 3), it is refusing to delete as it is used as a foreign id.
The fix would be to cascade the deletion of all posts belonging to that category.
migrations/XXXXX_create_posts_table.phpThank you, very well noticed! I've updated the lessons for both demo-projects, and their repositories, to contain this
onDelete('cascade').