
In this lesson, we will add two more pages: "About" and "Contact us".
Of course, we could use File -> Save as in the IDE from home.blade.php and change text where needed, but this would create a lot of duplicate code, and changing something in the future would require changing every file.
Instead, we need to create a main layout and extend it on every individual page.
Layouts can be created in two ways:
- With Blade components
- Or, with layouts inheritance.
This is a personal preference, but in this course, we will use the second option, layouts inheritance, mainly to get to the result quicker and to avoid explaining another new term of Blade components. My course goal is usually to help students get to the actual practical result as soon as possible.
Main Layout and First Page
First, we must create a View file for the main layout. It will go inside the resources/views/layouts folder (but you can place it wherever you want inside the resources/views) and be called app.blade.php.
In the layout, we need to add parts of the template that must be reused on every page. In our case, it's everything except what's inside the <main> ... </main> part.
And then, instead of placing the main page content in the layout, we must use the @yield Blade directive and give that section a name.
So, the main layout would look like this:
resources/views/layouts/app.blade.php:
<!DOCTYPE html><html lang="en"><head> <meta charset="UTF-8"> <meta name="viewport" content="width=device-width, initial-scale=1.0"> <title>Homepage</title> @vite(['resources/css/app.css', 'resources/js/app.js'])</head><body class="bg-gray-100 text-gray-900"><header class="bg-white shadow-md py-4"> <div class="container mx-auto flex justify-between items-center px-6"> <a href="/"><h1 class="text-xl font-bold">Brand</h1></a> <nav> <ul class="flex space-x-6"> <li><a href="/about" class="hover:text-blue-500">About Us</a></li> <li><a href="/contact" class="hover:text-blue-500">Contact</a></li> </ul> </nav> </div></header><main class="container mx-auto mt-10 px-6 text-center"> @yield('content')</main><footer class="mt-10 py-6 bg-white text-center shadow-md"> <p class="text-gray-600">© 2025 Brand. All rights reserved.</p></footer></body></html>So, it's almost the same as before, just with @yield('content') in the middle.
Then, we extend this layout in every individual page, placing the actual content inside the @section block. That way, we don't need to repeat all the HTML tags and navigation with the footer.
To extend the main layout, we use the @extends Blade directive at the start of the View file and provide the location of the layout.
resources/views/home.blade.php:
@extends('layouts.app') @section('content') <h2 class="text-3xl font-bold">Welcome to Our Homepage</h2> <p class="mt-4 text-lg text-gray-600">Discover more about us and get in touch.</p> @endsectionAfter refreshing the home page, it should look the same.
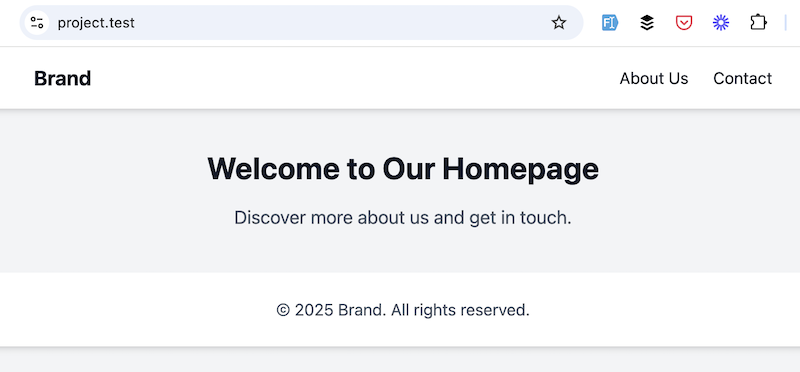
But now, we can create new pages reusing the same layout without copy-pasting the header/footer code.
Here's the GitHub commit for this change.
Two More Pages: Contact and About
Now, let's create two new pages. First, create two new View files for each page and extend the main layout.
resources/views/contact.blade.php:
@extends('layouts.app') @section('content') <h2 class="text-3xl font-bold">Contact Us</h2>@endsectionresources/views/about.blade.php:
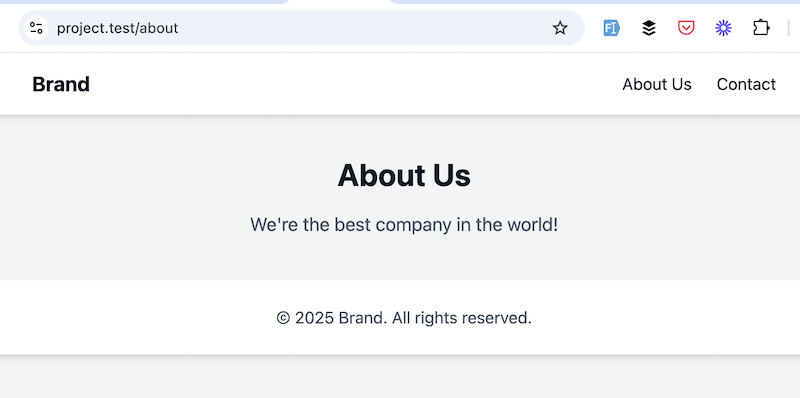
@extends('layouts.app') @section('content') <h2 class="text-3xl font-bold">About Us</h2> <p class="mt-4 text-lg text-gray-600">We're the best company in the world!</p>@endsectionNext, we need Routes. It's simple!
routes/web.php:
Route::view('/', 'home');Route::view('contact', 'contact');Route::view('about', 'about');Now, you should see a corresponding page after visiting /contact or /about.
You can also click the links on top and navigate between the pages.
Here's the GitHub commit for this change.
Bonus Tip: Route Names
I want to teach you one good practice about routes: adding names to them, in addition to the URLs.
It's a good practice: when using names, if the URL is changed in the future, you won't need to change the URL on every file where it was used. Instead, after changing only in the Routes file, it will change automatically everywhere else.
routes/web.php:
Route::view('/', 'home')->name('home');Route::view('contact', 'contact')->name('contact');Route::view('about', 'about')->name('about');In the main layout, where the navigation is, we can use these Route names within the Laravel helper route(), providing route names as parameters.
resources/views/layouts/app.blade.php:
// ... <a href="{{ route('home') }}"><h1 class="text-xl font-bold">Brand</h1></a><nav> <ul class="flex space-x-6"> <li><a href="{{ route('about') }}" class="hover:text-blue-500">About Us</a></li> <li><a href="{{ route('contact') }}" class="hover:text-blue-500">Contact</a></li> </ul></nav> // ...Here's the GitHub commit for this change.
That's basically all the main things you need to know about layouts and routes for static pages.
Now it's time to move to the next section of the course, where we will discuss pages that show data from the database.
No comments yet…