
For the next section of this course, we will show the data from the database. We will take a simple Blog with posts and categories as an example.
For that, we need a bit different page layout. Again, I asked ChatGPT to generate something simple with Tailwind, but this time, with the right sidebar.
Here's what our blog will look like.
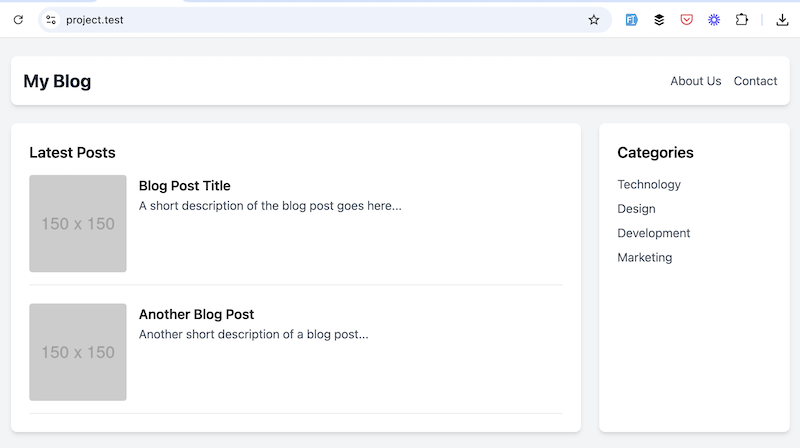
It's not very fancy, I know, but the visual look is not the point of this Laravel course. You can choose or generate any other design for your projects.
With this design, we will learn a few more things about layouts.
Blog Layout
Here's the code of our main layout file.
resources/views/layouts/blog.blade.php:
<!DOCTYPE html><html lang="en"><head> <meta charset="UTF-8"> <meta name="viewport" content="width=device-width, initial-scale=1.0"> <title>Blog Homepage</title> <script src="https://cdn.tailwindcss.com"></script></head><body class="bg-gray-100"><header class="bg-white shadow-md p-4 flex justify-between items-center container mx-auto mt-6 rounded-lg"> <a href="{{ route('home') }}" class="text-2xl font-bold text-gray-800">My Blog</a> <nav> <ul class="flex space-x-4"> <li><a href="{{ route('about') }}" class="text-gray-600 hover:text-gray-800">About Us</a></li> <li><a href="{{ route('contact') }}" class="text-gray-600 hover:text-gray-800">Contact</a></li> </ul> </nav></header> @yield('content') </body></html>Homepage Design
Then, we have a new homepage extending that new layout with a sidebar.
resources/views/home.blade.php:
@extends('layouts.blog') @section('content')<main class="container mx-auto mt-6 flex gap-6"> <!-- Blog Posts Section --> <section class="w-3/4 bg-white p-6 shadow-md rounded-lg"> <h2 class="text-xl font-semibold mb-4">Latest Posts</h2> <div class="space-y-6"> <article class="flex gap-4 border-b pb-4"> <img src="{{ asset('images/placeholder-150x150.png') }}" alt="Post Image" class="w-32 h-32 object-cover rounded"> <div> <h3 class="text-lg font-semibold"><a href="#" class="hover:underline">Blog Post Title</a></h3> <p class="text-gray-600">A short description of the blog post goes here...</p> </div> </article> <article class="flex gap-4 border-b pb-4"> <img src="{{ asset('images/placeholder-150x150.png') }}" alt="Post Image" class="w-32 h-32 object-cover rounded"> <div> <h3 class="text-lg font-semibold"><a href="#" class="hover:underline">Another Blog Post</a></h3> <p class="text-gray-600">Another short description of a blog post...</p> </div> </article> </div> </section> <!-- Sidebar Section --> <aside class="w-1/4 bg-white p-6 shadow-md rounded-lg"> <h2 class="text-xl font-semibold mb-4">Categories</h2> <ul class="space-y-2"> <li><a href="#" class="text-gray-600 hover:text-gray-800">Technology</a></li> <li><a href="#" class="text-gray-600 hover:text-gray-800">Design</a></li> <li><a href="#" class="text-gray-600 hover:text-gray-800">Development</a></li> <li><a href="#" class="text-gray-600 hover:text-gray-800">Marketing</a></li> </ul> </aside></main>@endsectionFor now, all posts/categories are hard-coded. In the next lesson, we will get them from DB.
You may also have noticed a new function called asset(). This is how you load images into your Blade files.
- You put the image itself into the
/publicfolder. In my case, it's/public/images/placeholder-150x150.png. - Then, to show the image, you call
asset()and provide the path relative to that/publicfolder. In my case, it'simages/placeholder-150x150.png.
Blog Article Page
Our second new page will be for the blog article. It will also extend the new blog layout but without the sidebar.
resources/views/article.blade.php:
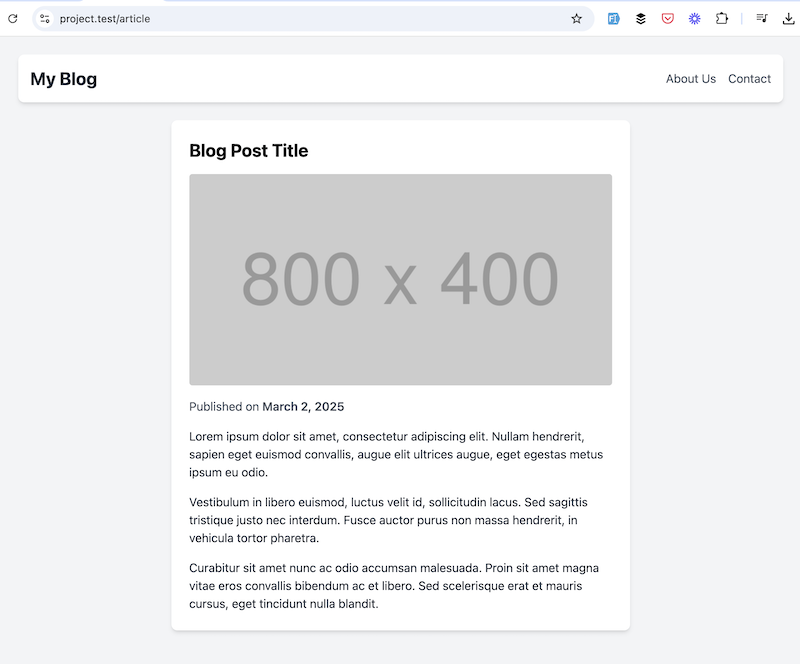
@extends('layouts.blog') @section('content')<main class="container mx-auto mt-6 flex justify-center"> <!-- Blog Article Section --> <section class="w-3/5 bg-white p-6 shadow-md rounded-lg"> <h1 class="text-2xl font-bold mb-4">Blog Post Title</h1> <img src="{{ asset('images/placeholder-800x400.png') }}" alt="Post Image" class="w-full object-cover rounded mb-4"> <p class="text-gray-600 mb-4">Published on <span class="font-semibold">March 2, 2025</span></p> <div class="text-gray-800 space-y-4"> <p>Lorem ipsum dolor sit amet, consectetur adipiscing elit. Nullam hendrerit, sapien eget euismod convallis, augue elit ultrices augue, eget egestas metus ipsum eu odio.</p> <p>Vestibulum in libero euismod, luctus velit id, sollicitudin lacus. Sed sagittis tristique justo nec interdum. Fusce auctor purus non massa hendrerit, in vehicula tortor pharetra.</p> <p>Curabitur sit amet nunc ac odio accumsan malesuada. Proin sit amet magna vitae eros convallis bibendum ac et libero. Sed scelerisque erat et mauris cursus, eget tincidunt nulla blandit.</p> </div> </section></main>@endsectionWe also need a new route for that. For now, that will also be hard-coded as a static article. We will add parameters in the next lesson.
routes/web.php:
Route::view('article', 'article')->name('article');Here's the visual result:
About/Contact Pages
The final detail: I've also updated the about.blade.php and contact.blade.php to use the new Blog layout.
resources/views/about.blade.php
@extends('layouts.blog') @section('content') <main class="container mx-auto mt-6 flex justify-center"> <section class="w-3/5 bg-white p-6 shadow-md rounded-lg"> <h1 class="text-2xl font-bold mb-4">About us</h1> <p class="mt-4 text-lg text-gray-600">We're the best company in the world!</p> </section> </main>@endsectionresources/views/contact.blade.php
@extends('layouts.blog') @section('content') <main class="container mx-auto mt-6 flex justify-center"> <section class="w-3/5 bg-white p-6 shadow-md rounded-lg"> <h1 class="text-2xl font-bold mb-4">Contact us</h1> </section> </main>@endsectionHere's the GitHub commit for all the changes in this lesson.
Good, now we're ready with the new layout and can fill it in with real data from the database in the next lesson.
No comments yet…