
Text Version of the Lesson
Welcome to the course section where we explore the official Laravel 12 Livewire Starter Kit.
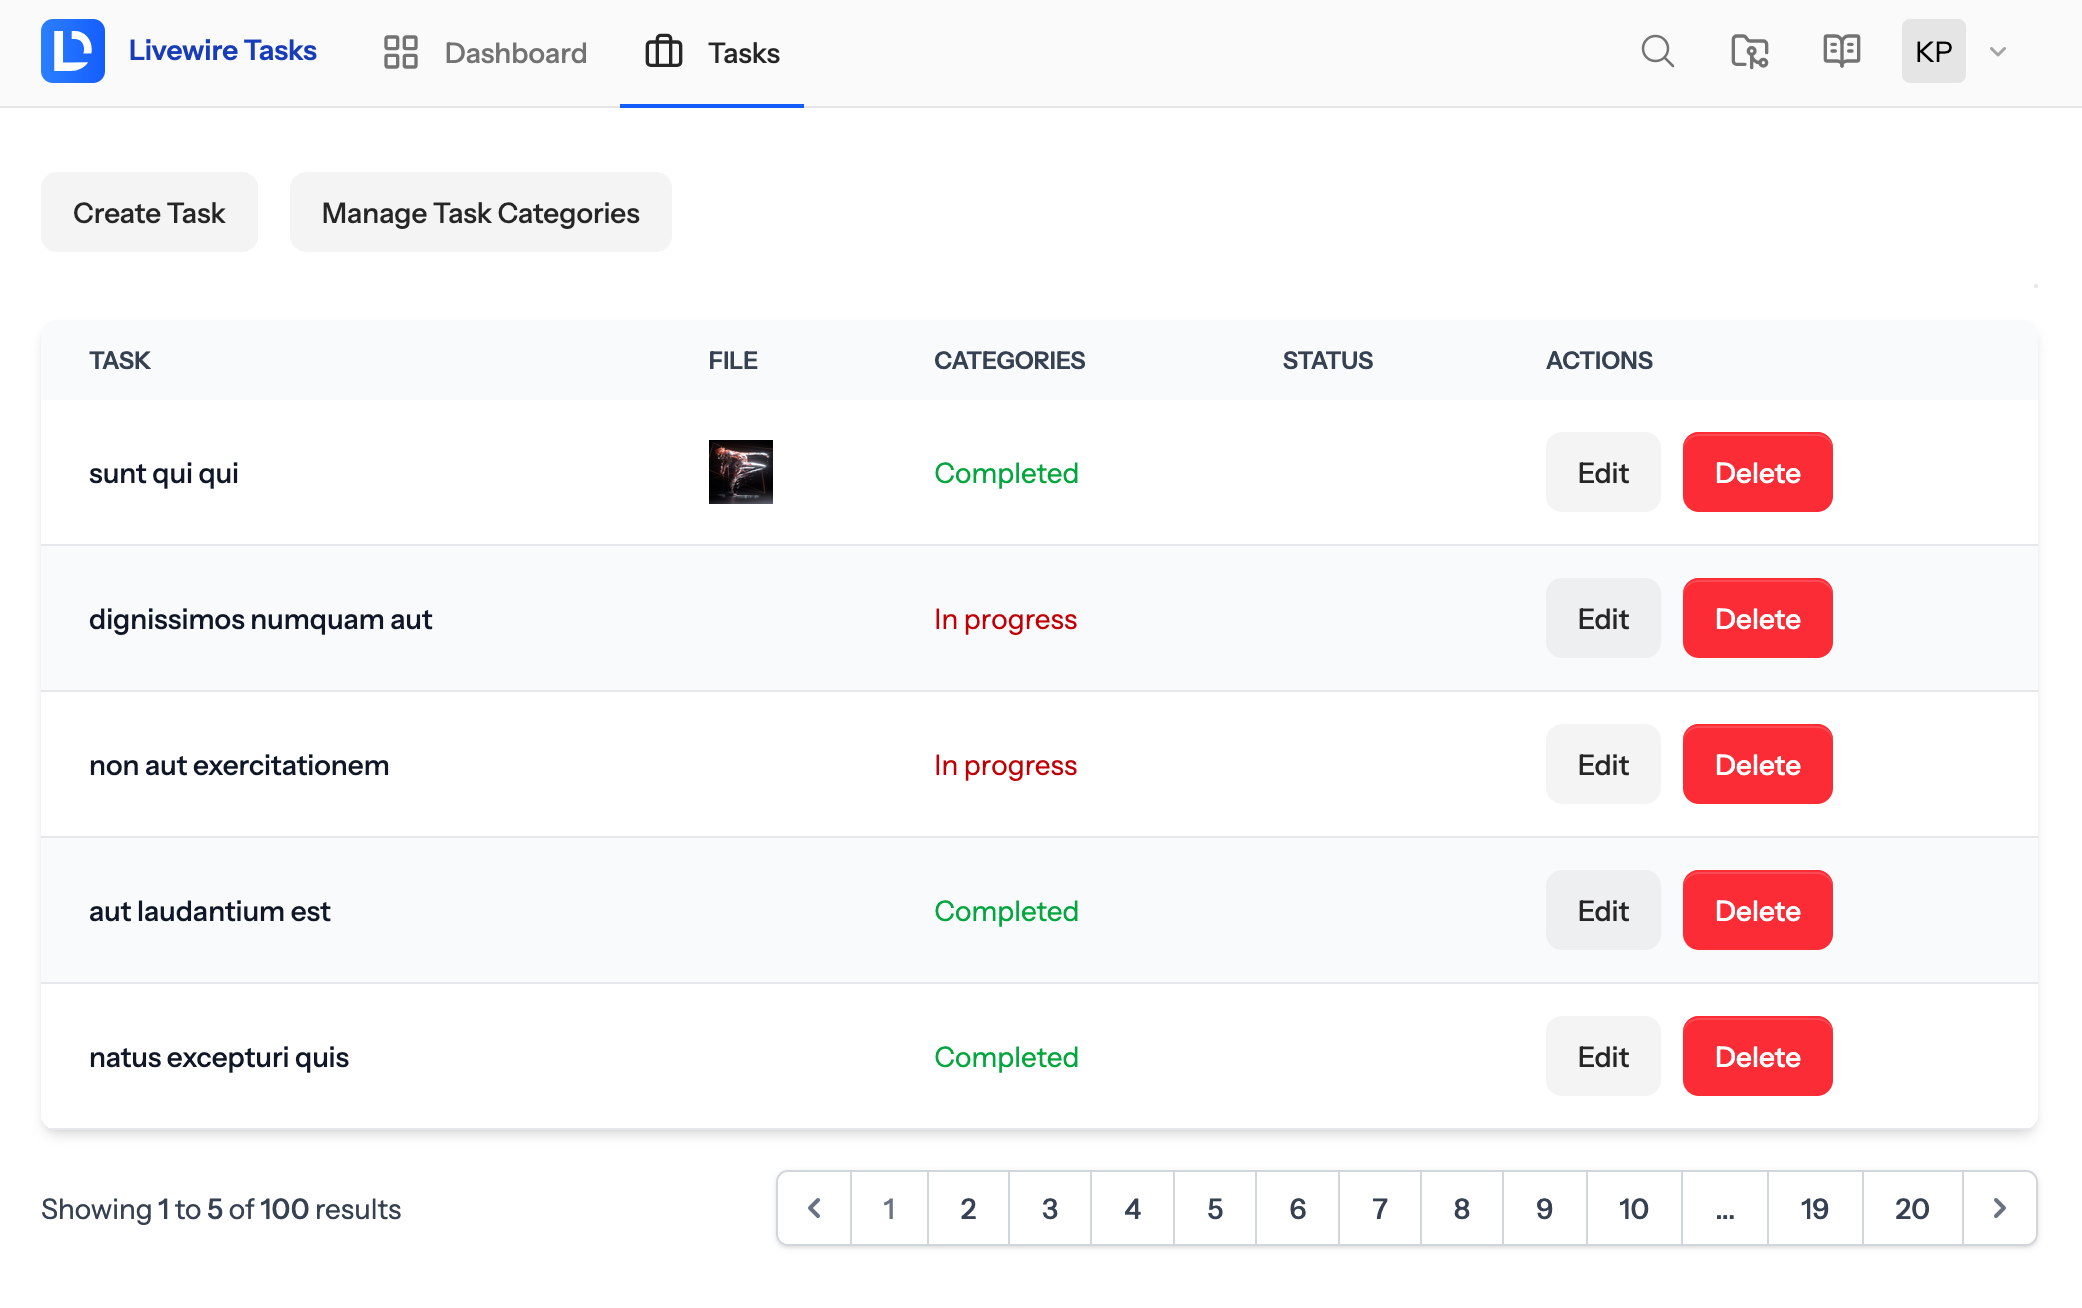
The goal of this section is to create a full CRUD on top of this starter kit, like this:
In this first lesson of the section, we will install Laravel with the Livewire starter kit and familiarize ourselves with its general structure and code.
Installation
We install a new Laravel project and will choose the Livewire starter kit:
laravel new laravel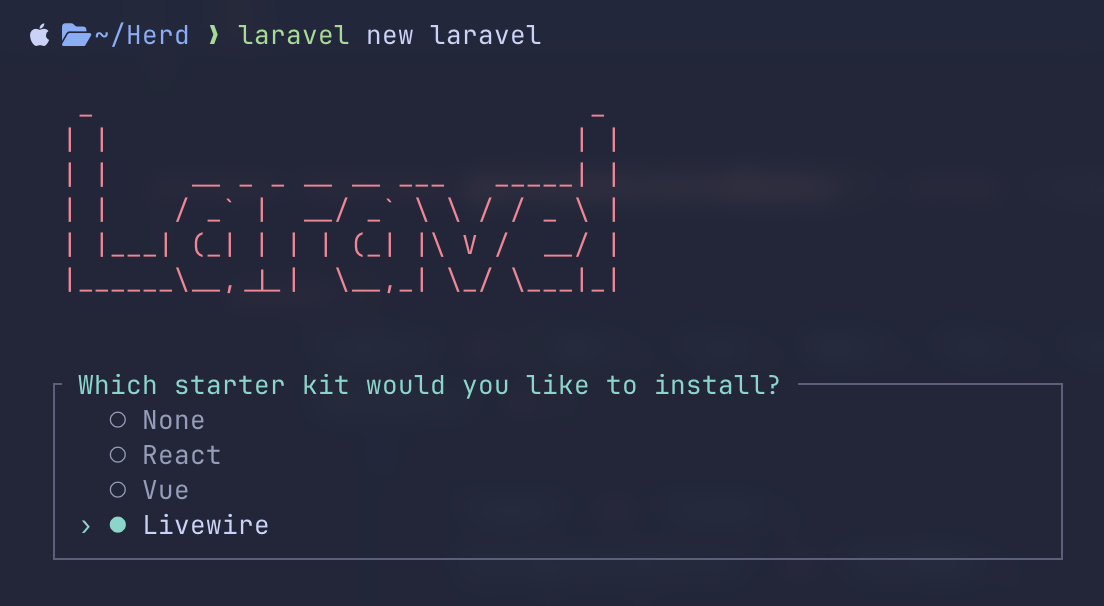
We stay with the default values for all the other choices in the wizard, except for the Volt option, where I will choose No.
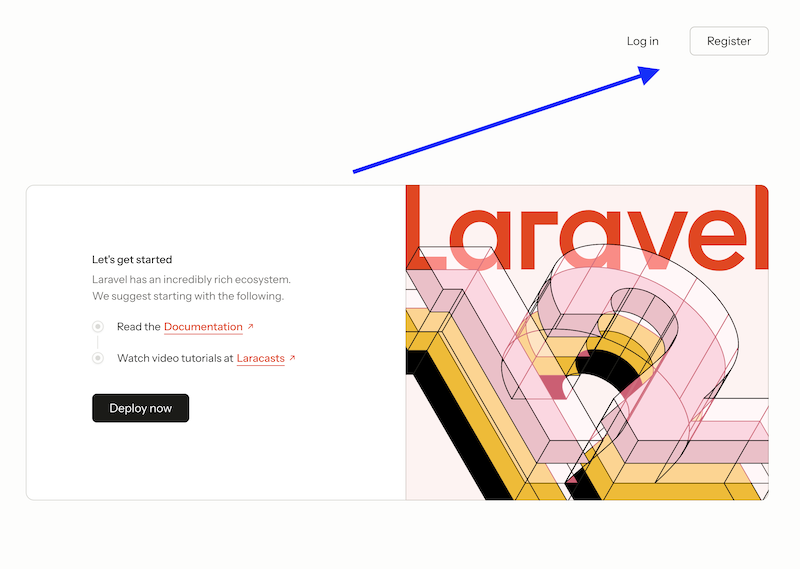
As a result, we have a regular Laravel homepage with "Log in" and "Register" links at the top.
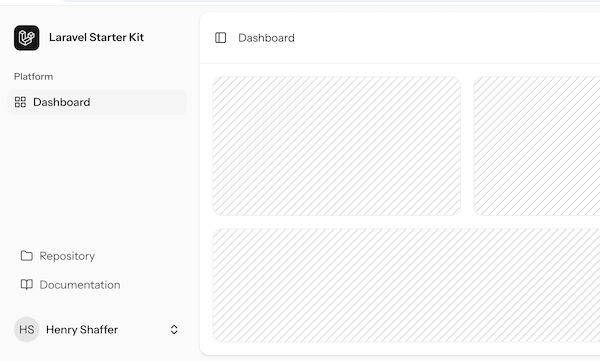
When we register as a new user, we land on an empty dashboard with a sidebar.
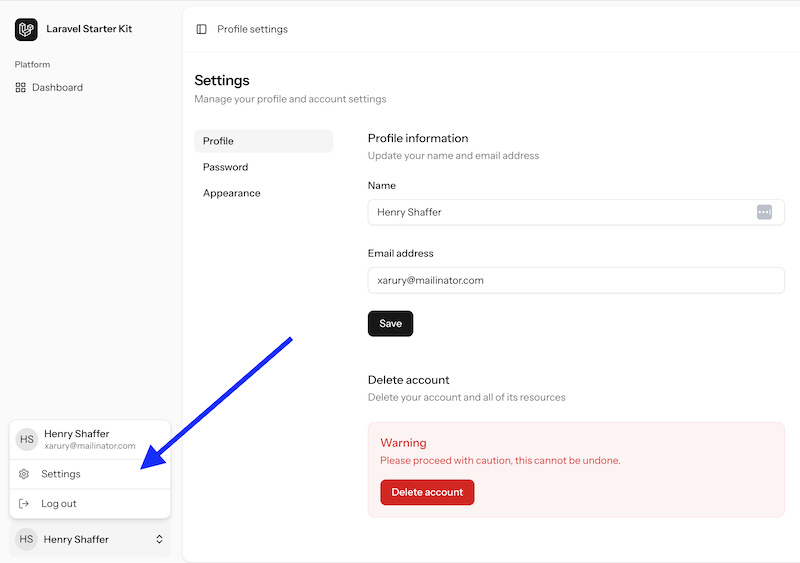
In addition to the layout, we have the "Settings" menu item that allows user profile data:
So yeah, that's all about installation! Simple, huh? Now, let's see what's inside the code.
Project Code Structure: Back-End
I typically start analyzing any Laravel project with Routes.
routes/web.php:
Route::get('/', function () { return view('welcome');})->name('home'); Route::view('dashboard', 'dashboard') ->middleware(['auth', 'verified']) ->name('dashboard'); Route::middleware(['auth'])->group(function () { Route::redirect('settings', 'settings/profile'); Route::get('settings/profile', Profile::class)->name('settings.profile'); Route::get('settings/password', Password::class)->name('settings.password'); Route::get('settings/appearance', Appearance::class)->name('settings.appearance');}); require __DIR__.'/auth.php';Nothing special here, right? Regular routes, and included route file for the auth routes.
If we look at the Settings Livewire component, we can see familiar PHP code.
One familiar Livewire method that you won't find is render(). When a render() method isn't provided, Livewire...
there is no option to not use VOlt. Apparantly it is default now
Maybe your Laravel Installer is not with the latest version? The option appeared in Installer v5.13, from what I remember.
on Laravel Installer 5.14.2 i remember they had the choice for volt or no volt. My laravel installer no longer has that choice
I encountered this issue recently, and here’s how I solved it:
composer global remove laravel/installercomposer global require laravel/installerThis simple step fixed the problem for me and might help others who face the same issue.